
Home Composting Basics
Home composting is a simple way to turn kitchen and yard waste into nutrient-rich soil. It reduces garbage, lowers methane from landfills, and improves garden health.
This guide covers practical steps to start a compost bin, what to include and avoid, and common problems with solutions.
Why Start a Compost Bin at Home
Composting saves money on fertilizer and keeps organics out of the trash. It also helps soil retain water and supports beneficial microbes.
Even small spaces can compost effectively with the right method and discipline.
Choosing a Compost Bin for Home Composting
Pick a bin that fits your space and routine. Options include tumblers, stationary bins, worm bins, and simple aerated piles.
- Tumbler: Good for small yards and faster turning.
- Stationary bin: Low cost, holds more material, needs manual turning.
- Worm bin (vermicompost): Ideal for apartments or small indoor spaces.
- Aerated pile: Best for large gardens where a neat enclosure is not required.
Location and Size
Place your bin on bare soil when possible to allow organisms to move in. Choose a size you can comfortably fill and turn; 3x3x3 feet is a common backyard standard.
For balconies or patios, use a compact worm bin or a small tumbler designed for limited space.
What to Compost: Greens and Browns
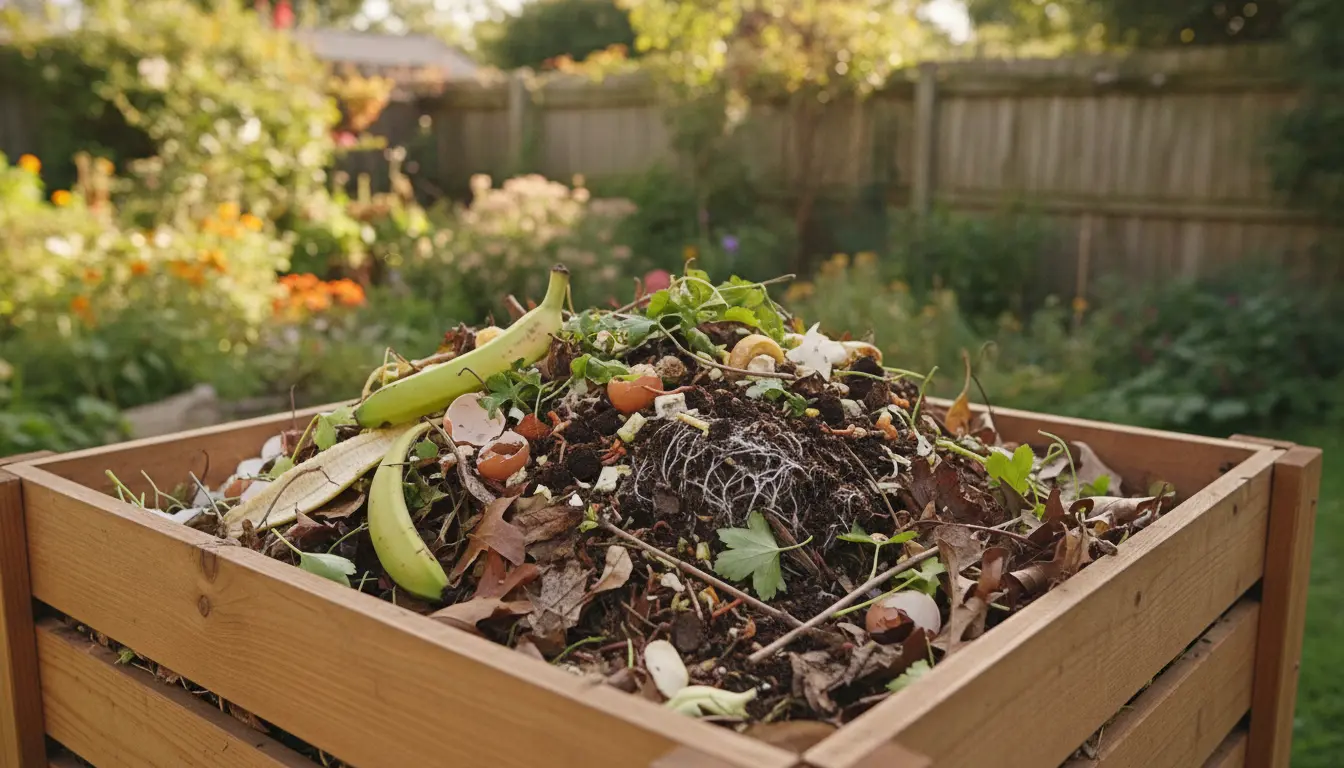
Successful compost mixes “greens” and “browns.” Greens supply nitrogen and moisture, while browns provide carbon and structure.
- Greens (nitrogen): Vegetable scraps, fruit peels, coffee grounds, fresh grass clippings.
- Browns (carbon): Dry leaves, shredded paper, cardboard, straw, small wood chips.
Aim for a roughly 2:1 or 3:1 ratio of browns to greens by volume for balanced decomposition.
Items to Avoid
- Meat, fish, and dairy — attract pests and create odors.
- Oily or greasy foods — slow to break down and smelly.
- Diseased plants or invasive weeds — risk spreading problems in finished compost.
- Pet waste from carnivores — contains pathogens unsafe for garden use.
Step-by-Step: How to Start a Compost Bin
Follow these steps for a reliable start that avoids common mistakes.
- Choose a bin and site with partial shade and good drainage.
- Lay a base layer of coarse browns like twigs to improve airflow.
- Add alternating layers: thin layer of greens, then thicker layer of browns.
- Keep the pile moist, like a wrung-out sponge. Water if dry, cover if too wet.
- Turn or mix the pile every 1–2 weeks to add oxygen and speed decomposition.
- Monitor temperature: a hot pile (40–60°C / 104–140°F) breaks down faster; cooler piles are fine but slower.
Speed Tips
- Shred or chop materials to increase surface area.
- Keep small pieces and blend greens and browns closely.
- Use a compost thermometer for larger bins to track heat.
Compost can reach temperatures over 140°F in active hot piles, which helps kill weed seeds and pathogens. Home piles often stabilize between 100°F and 140°F.
Troubleshooting Common Problems in Home Composting
Bad smell usually means too many greens or poor aeration. Add dry browns and turn the pile to fix odors.
Slow decomposition can result from lack of moisture, large pieces, or low temperatures. Add water, chop material, and ensure proper balance of browns and greens.
Fruit flies are common with open kitchen scraps. Use a closed lid, bury scraps, or use a worm bin indoors to limit insects.
Using Finished Compost
Finished compost looks dark, crumbly, and smells earthy. It can take weeks to many months depending on method and conditions.
Use compost as a top dressing, soil amendment, or mix it into potting soil for better structure and nutrient retention.
Application Rates
- Vegetable beds: 1–2 inches of compost worked into the topsoil annually.
- Potted plants: Mix 10–30% compost into potting mix.
- Lawn: Topdress with a thin layer in spring or fall to improve soil health.
Real-World Example: Sarah’s Balcony Worm Bin
Sarah, who lives in a city apartment, started a small worm bin to manage kitchen scraps. She used a two-tray vermicompost system under her sink area.
Within three months she had rich castings to top her potted herbs. She followed a simple routine: collect scraps in a sealed container, add to the bin twice weekly, and keep the bedding moist.
Result: Sarah reduced her food waste by 60% and saved about $30 per season on plant fertilizer.
Summary: Practical Tips for Home Composting
- Start simple: choose a bin that matches your space and routine.
- Balance greens and browns; keep the pile moist and aerated.
- Troubleshoot odors by adding browns and turning the pile.
- Use finished compost to improve soil, reduce fertilizer needs, and retain moisture.
Home composting is a low-cost, practical step toward sustainability. With basic attention and the right balance, almost anyone can turn organic waste into valuable soil amendment.