
Why a kitchen herb garden is a smart choice
A kitchen herb garden gives fresh flavor within arm’s reach and reduces grocery bills. It also adds greenery and improves air quality in small indoor spaces.
Starting one is low cost and beginner-friendly when you follow basic rules for light, soil, and care. This guide breaks each step into simple actions you can do this weekend.
Choosing herbs for your kitchen herb garden
Select herbs that match your cooking and your light conditions. Some herbs thrive indoors while others need more space and sunlight.
Best herbs for beginners
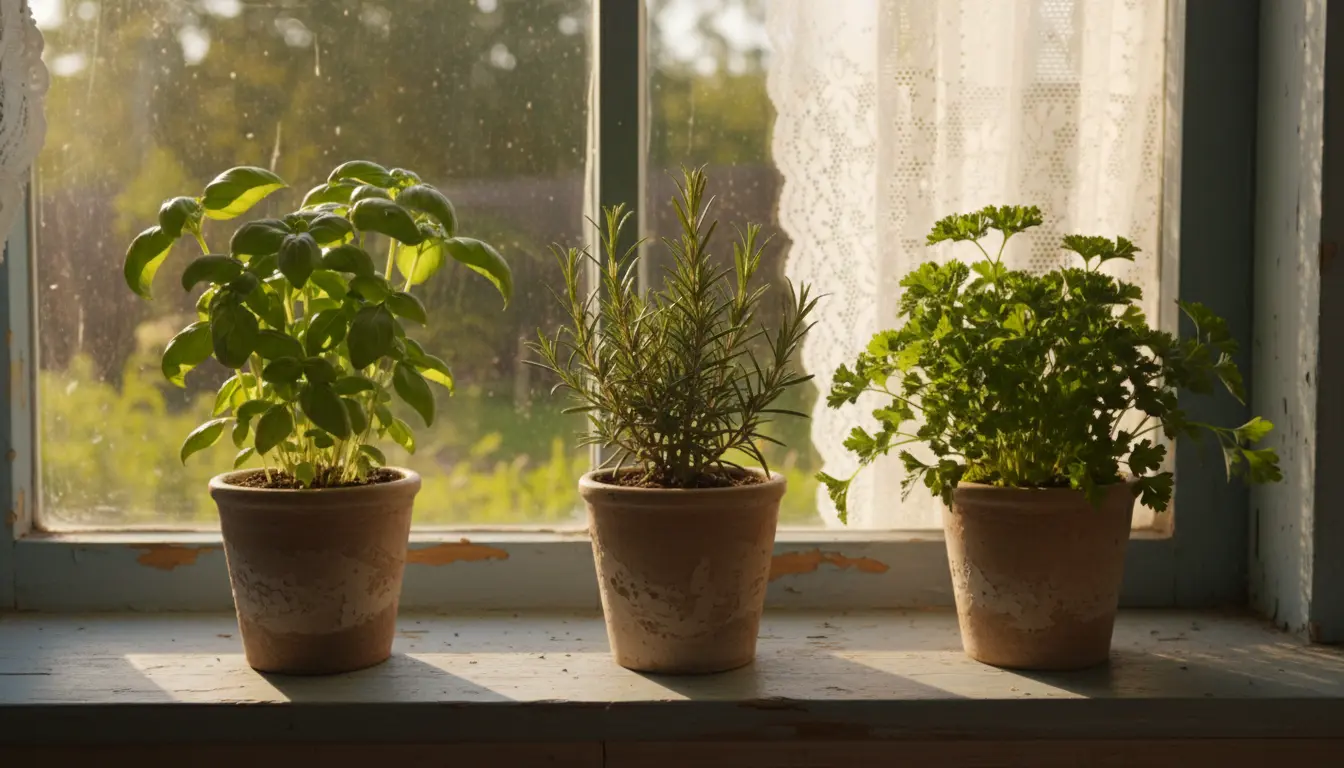
- Basil — great for sunny windowsills and quick to harvest.
- Parsley — tolerates partial shade and is versatile in cooking.
- Mint — spreads fast, best in its own pot to avoid takeover.
- Chives — compact, mild onion flavor, low maintenance.
- Lemon balm — aromatic and hardy in indirect light.
Considerations by kitchen light
If you have south-facing windows, choose sun-loving herbs like basil and rosemary. For north-facing or low light, pick parsley, chives, or mint.
Supplemental grow lights work well for 4–6 hours daily if natural light is insufficient. LED grow lights are energy efficient and affordable.
Step-by-step: How to start a kitchen herb garden
Follow these practical steps to get started quickly. Each step uses materials you can buy at a garden center or online.
- Pick containers: Use pots with drainage holes. Small terracotta or plastic pots are fine for individual herbs.
- Choose the right potting mix: Use a well-draining potting soil labeled for herbs or vegetables. Avoid garden soil that can compact indoors.
- Sow seeds or buy seedlings: Seedlings give faster results. If sowing seeds, follow depth and spacing on the packet.
- Position for light: Place pots on a sunny sill or under a grow light. Rotate pots weekly so plants grow evenly.
- Water properly: Water when the top 1–2 cm of soil dries. Overwatering causes root rot; under-watering wilts plants quickly.
- Feed lightly: Use a balanced liquid fertilizer every 4–6 weeks during the growing season for potted herbs.
- Harvest regularly: Pinch or cut leaves as needed to encourage bushier growth. Never remove more than 1/3 of the plant at once.
Light, soil, and water for a healthy kitchen herb garden
Maintaining balance among light, soil, and water is the core of indoor herb success. Small problems usually trace to one of these factors.
Light
Most culinary herbs need 4–6 hours of bright light. South or west windows work best. If leaves are pale and leggy, the plant needs more light.
Soil and drainage
Use a mix that drains well and contains perlite or vermiculite. Ensure pots have drainage holes and empty saucers after watering to avoid soggy roots.
Watering routine
Water thoroughly until water drains, then let the topsoil dry before the next watering. In winter, plants need less water due to lower light and growth rates.
Harvesting herbs regularly encourages new growth and can extend a plant’s productive life by months. Cut stems above a leaf node to promote branching.
Common problems and troubleshooting
Small indoor gardens face a few repeat issues. Spotting them early helps you correct the environment without harming plants.
- Leggy growth: Move to brighter light and trim tops to encourage bushiness.
- Yellow leaves: Check for overwatering and poor drainage; reduce water and repot if soil is compacted.
- Pests: Look for aphids or spider mites; rinse leaves or use insecticidal soap sparingly.
- Bitter flavor: Overfertilizing or stressed plants can taste bitter; flush soil with water and ease fertilization.
Small real-world example
Case study: Maria, a busy home cook, started a windowsill kitchen herb garden with basil, chives, and mint in three 4-inch pots. She used seedling plants and placed them on a south-facing sill.
Within five weeks she was harvesting fresh basil for pesto and saving money on store-bought herbs. Routine care took just 10–15 minutes twice a week.
Practical tips to keep going
Keep a small notebook or app with watering dates and fertilizing. This prevents overcare and helps you notice patterns.
- Label pots to remember varieties.
- Use saucers to catch excess water and protect surfaces.
- Start a second round of seeds every few weeks for continuous harvest.
- Divide aggressive herbs, like mint, into separate pots to control spread.
Final checklist before you begin
Use this quick checklist to ensure success when you set up your kitchen herb garden today:
- Choose 3–5 herbs suited to your light.
- Buy pots with drainage and quality potting mix.
- Place pots in bright light or use a grow light.
- Water correctly and fertilize lightly during growth.
- Harvest regularly to sustain productivity.
With a little planning and consistent care, a kitchen herb garden becomes a reliable source of fresh flavor and an enjoyable small indoor project. Start small, learn from each plant, and expand as you gain confidence.