
Start Here: A Simple Home Composting Guide
Home composting turns kitchen and yard waste into a useful soil amendment. This guide explains clear steps to start and maintain a compost bin that works.
What Is Home Composting?
Home composting is the controlled breakdown of organic material like vegetable scraps and grass clippings. Microorganisms and aeration turn waste into nutrient-rich compost over weeks to months.
Types of Home Composting Systems
Different systems fit different homes: a backyard pile, a covered bin, or a tumbler. Choose based on space, speed, effort, and aesthetics.
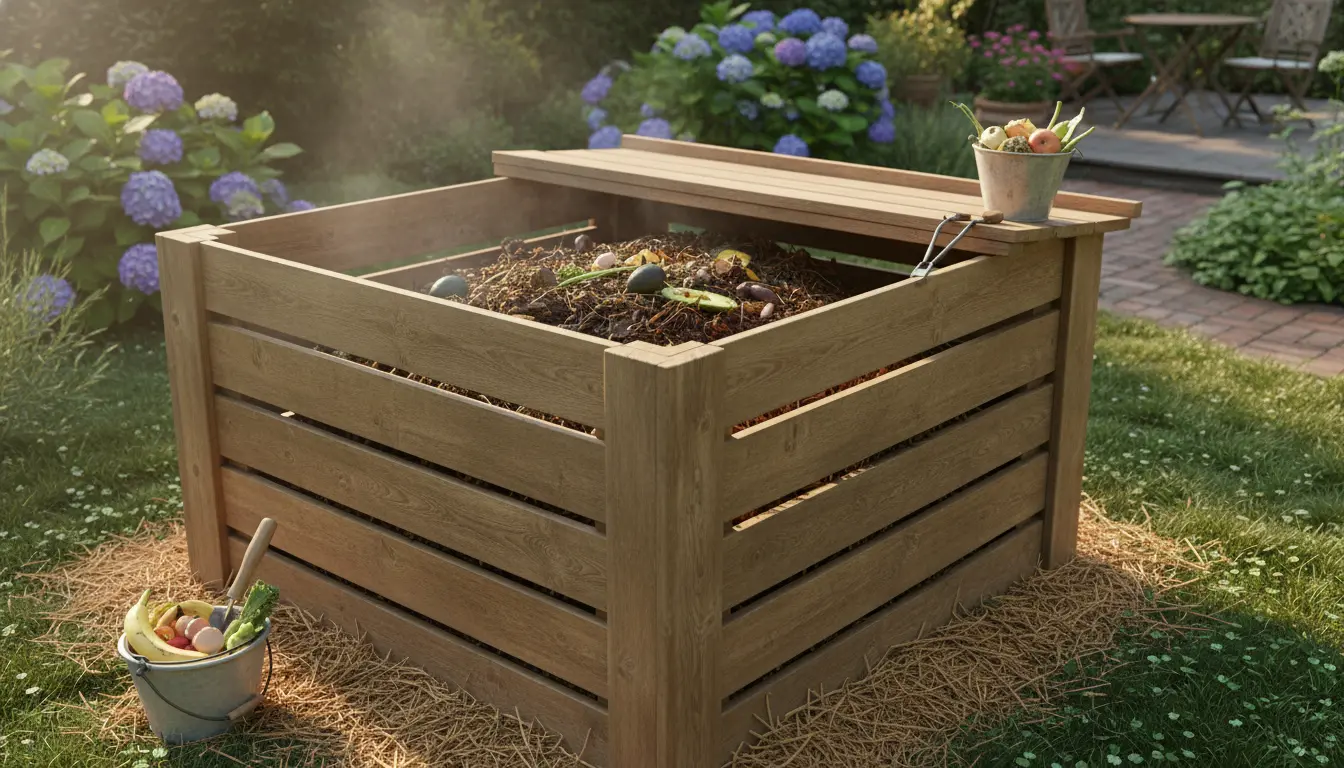
How to Start a Compost Bin: Step-by-Step
Starting a compost bin requires a few basic materials and simple assembly. Follow these steps for a reliable setup that minimizes odors and pests.
Materials You’ll Need
- Container: a plastic or wooden bin, compost tumbler, or a simple pile.
- Brown materials: dry leaves, shredded paper, cardboard.
- Green materials: fruit and vegetable scraps, coffee grounds, fresh grass clippings.
- Water, a pitchfork or aerator, and a small shovel.
Step-by-Step Setup
- Choose a Level Spot: Place the bin on bare soil or grass to allow worms and microbes to enter.
- Layer Materials: Start with a 3–4 inch layer of browns to improve airflow.
- Add Greens and Browns: Use roughly a 2:1 or 3:1 ratio of browns to greens by volume.
- Moisten: Aim for the texture of a wrung-out sponge. Add water if dry, or more browns if soggy.
- Aerate: Turn or mix the pile every 1–2 weeks to supply oxygen and speed decomposition.
Troubleshooting and Common Tips
Compost problems are usually easy to fix when you know what to look for. Use these quick checks to keep the process smooth and odor-free.
Common Issues and Fixes
- Bad smell: Usually too wet or too many greens. Add dry browns and turn the pile.
- Slow decomposition: Lack of nitrogen, moisture, or aeration. Chop materials and turn more often.
- Pests: Avoid adding meat, dairy, oily foods, and large fruit pieces. Use a closed bin or bury kitchen scraps in the pile.
Adding a handful of finished compost or garden soil to a new pile can jump-start decomposition by introducing helpful microbes and worms.
Benefits of Home Composting
Composting reduces household waste, lowers landfill methane, and creates nutrient-rich soil for plants. It can save money on fertilizers and improve garden health over time.
Real-World Example: Small Household Case Study
A two-person household in Portland started a 50-gallon tumbler. They added kitchen scraps and yard trimmings and turned the tumbler weekly.
Within five months they produced enough compost to top-dress potted herbs and a small vegetable bed. Their weekly trash volume dropped by 30% and plants showed visible growth improvement.
Advanced Tips for Faster Results
To accelerate composting, chop or shred materials into smaller pieces and maintain consistent moisture. A compost thermometer helps: active piles run between 120–160°F (50–71°C).
What to Add and Avoid
- Good greens: Vegetable peels, coffee grounds, tea leaves.
- Good browns: Dry leaves, straw, shredded cardboard.
- Avoid: Meat, dairy, oily foods, diseased plant material, and pet waste from carnivores.
How to Use Finished Compost
Finished compost is dark, crumbly, and smells earthy. Use it as a soil amendment, mixed into planting holes, or as a top dressing around vegetables and flowers.
Checklist: Quick Setup and Maintenance
- Select a bin type and location on soil.
- Collect kitchen scraps in a sealed counter pail.
- Layer browns and greens; aim for a 2–3:1 ratio of browns to greens.
- Keep the pile moist and aerate every 1–2 weeks.
- Monitor temperature if you want faster composting.
Home composting is low-cost and scalable. Start small, observe the pile, and adjust materials and turning frequency as you learn. Over time it becomes a simple routine that benefits your garden and the environment.