
Why Start a Home Compost Bin
A home compost bin turns kitchen scraps and yard waste into rich soil amendment. It reduces household waste and improves garden health without chemical inputs.
Composting supports sustainability and saves money on fertilizers and landfill fees. This guide gives practical steps to set up and maintain a successful home compost bin.
Choosing the Right Compost Bin
Choosing the right container affects odor, pest control, and decomposition speed. Options include tumblers, stationary bins, and simple DIY wooden or wire bins.
Consider space, budget, and how often you want to turn the pile when selecting a bin for your home compost bin.
Common Compost Bin Types
- Tumblers: Easier to turn and faster decomposition, ideal for small yards or patios.
- Stationary Bins: Cheaper and can hold more material; require a pitchfork or aeration tool to turn.
- DIY Bins: Pallet or wire bins are low-cost and customizable for backyard use.
Setting Up Your Home Compost Bin
Location and materials are the two most important setup choices. A well-placed bin speeds composting and minimizes issues.
Location
Place the bin on bare soil to allow worms and microbes to access the pile. A partially shaded spot avoids extremes of heat and cold.
Ensure easy access for adding materials and turning the pile, and keep it within a short walk of your kitchen for convenience.
Materials: Browns and Greens
Balance carbon-rich “browns” with nitrogen-rich “greens” for efficient breakdown. A common target ratio is roughly 3 parts browns to 1 part greens by volume.
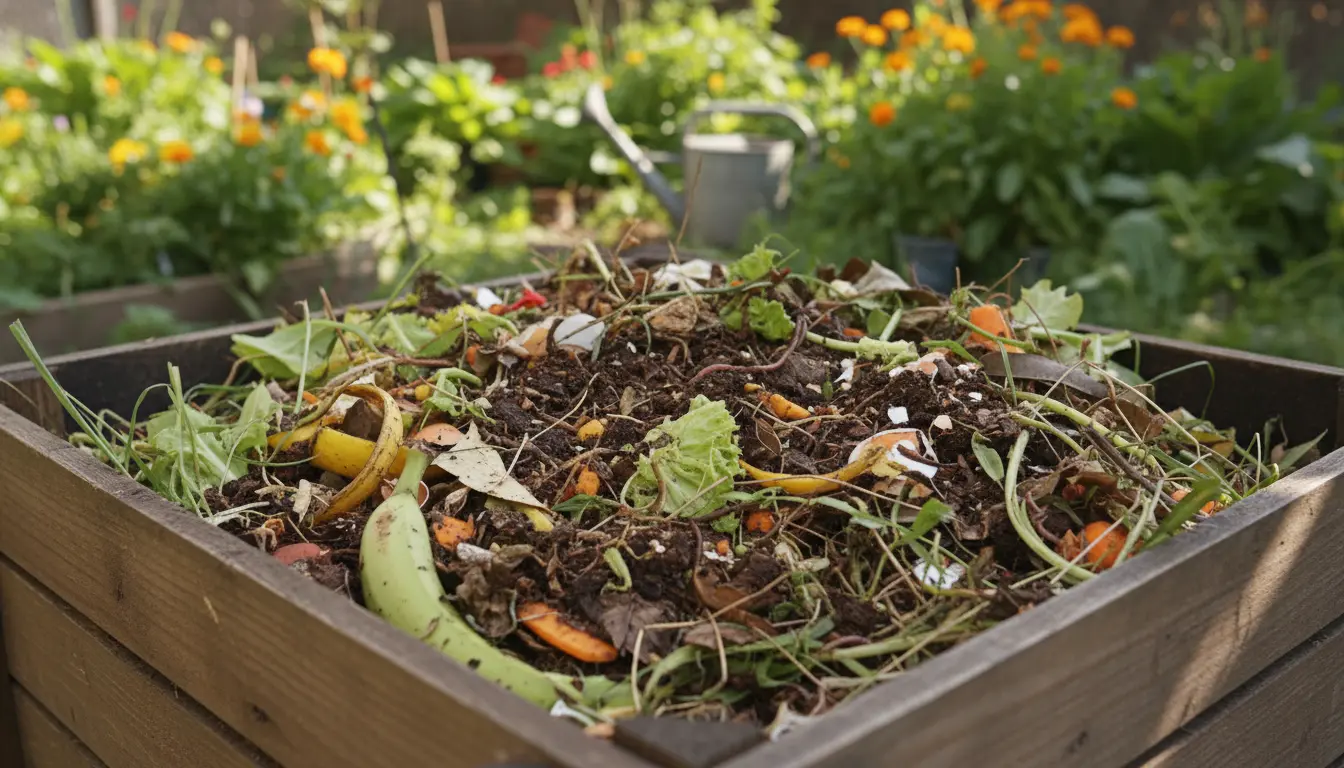
- Greens: vegetable scraps, coffee grounds, fresh grass clippings, fruit peels.
- Browns: dry leaves, shredded paper, straw, cardboard pieces.
Avoid meat, dairy, oily foods, and diseased plants to reduce pests and odors.
Layering and Aeration
Start with a coarse layer such as twigs or straw to improve drainage and airflow. Alternate thin layers of greens and browns to maintain balance.
Turn the pile every 1–2 weeks to introduce oxygen and speed decomposition. Use a pitchfork or tumbler handle to mix materials well.
Maintaining Your Home Compost Bin
Regular monitoring keeps the composting process on track. Check moisture, temperature, and composition weekly until the pile stabilizes.
Moisture and Temperature
The pile should be as moist as a wrung-out sponge. Add water during dry spells and more browns if it becomes soggy.
Active compost piles heat up to 120–160°F (49–71°C). If your home compost bin never warms, add more greens and turn more often to stimulate activity.
Turning and Feeding
Turn the pile every 1–2 weeks for faster results, or less often if using a large stationary bin. Add fresh greens regularly but avoid overloading the bin.
Chop large pieces before adding to speed breakdown and reduce the need for frequent turning.
Troubleshooting Common Problems
Small issues are normal and solvable with simple adjustments. Address problems promptly to keep composting effective.
- Bad odors: Add more browns, aerate the pile, and avoid meat or oily scraps.
- Pests: Bury food scraps under a layer of brown material and use a closed bin or fine mesh if rodents appear.
- Slow decomposition: Increase turning, add greens, and ensure the pile has enough moisture.
Compost can reduce household waste by up to 30 percent. Properly managed compost also improves soil structure and water retention, reducing the need for irrigation.
Using Finished Compost
Mature compost is dark, crumbly, and smells earthy. This material is ready to use when original materials are unrecognizable.
Apply finished compost as a top dressing for lawns, mix it into garden beds, or use it as potting mix amendment at a ratio of 1:3 compost to soil.
Real-World Example: Small Urban Home Compost Bin
Case study: A two-person household in an urban townhouse used a 60-liter tumbler on their balcony. They collected vegetable scraps and dry coffee grounds and added shredded paper as browns.
After six weeks of regular turning and monitoring, they produced usable compost for balcony planters. Monthly input reduced their trash volume and improved plant health.
Quick Checklist to Start a Home Compost Bin
- Choose a bin type that fits your space and budget.
- Place the bin on soil in a partly shaded area.
- Collect greens and browns separately for easy layering.
- Maintain moisture like a wrung-out sponge and turn weekly.
- Use finished compost to enrich soil and reduce fertilizer need.
Starting a home compost bin takes a little planning and regular attention, but it quickly becomes a low-effort habit. Follow the steps above to turn household waste into a valuable garden resource.