
Why Home Composting Works
Home composting turns kitchen scraps and yard waste into nutrient-rich soil. It reduces landfill waste and improves garden health without chemical fertilizers.
This guide explains how to set up and maintain a compost bin using simple steps anyone can follow.
What You Need for Home Composting
Starting with the right materials prevents common mistakes. A basic compost system needs three things: organic material, air, and moisture.
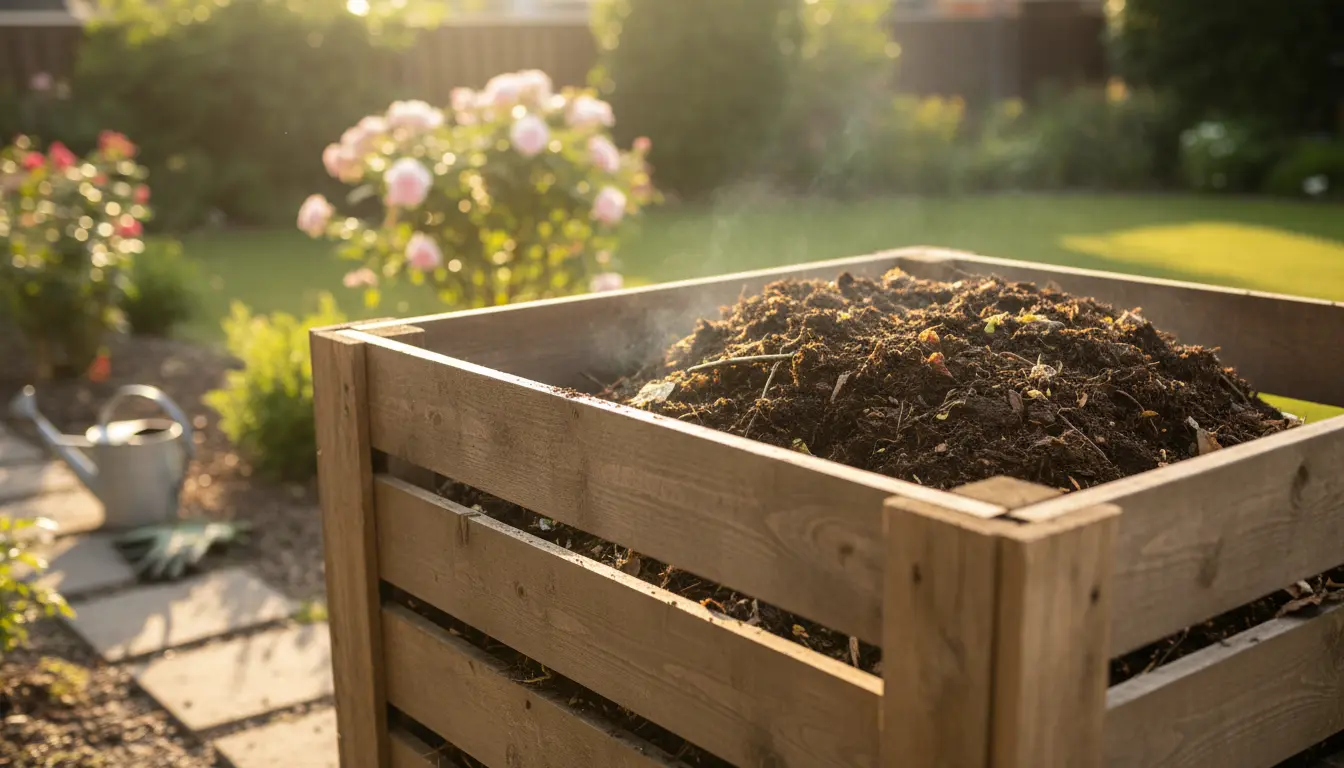
- Compost bin or pile: a container, tumbler, or open pile
- Greens: kitchen scraps, fresh grass clippings, coffee grounds
- Browns: dry leaves, shredded paper, straw, cardboard
- Water and occasional turning for aeration
How to Start a Compost Bin
Choose a location with partial shade and good drainage. If you use a bin, pick one about 3x3x3 feet for efficient heating and decomposition.
Follow these steps to start your compost bin:
- Add a 4–6 inch layer of coarse browns (twigs or straw) to help drainage.
- Alternate layers of greens and browns, aiming for roughly 2:1 browns to greens by volume.
- Moisten each layer so it’s damp like a wrung-out sponge.
- Cover the bin or pile to retain moisture and heat while allowing airflow.
What to Put in a Compost Bin
Good items:
- Vegetable and fruit scraps, coffee grounds, tea bags
- Yard clippings, shredded leaves, plant trimmings
- Shredded paper, cardboard (no glossy print), egg cartons
Avoid meat, dairy, oils, diseased plants, and pet waste to prevent pests and odor problems.
Managing Your Compost: Moisture, Heat, and Turning
Monitoring moisture and airflow keeps microbes active. Aim for a damp consistency but not soggy.
Turn the pile every 1–2 weeks to add oxygen. Turning speeds decomposition and helps maintain even heat.
Signs Your Compost Is Healthy
- Warm center temperature (up to 140°F in active piles)
- Earthy smell instead of rotten odor
- Material breaking down into dark, crumbly soil within months
Troubleshooting Common Problems
Problem: Foul odor. Fix: Add more browns and turn to aerate. Excess moisture or too many greens usually cause odor.
Problem: Pile is dry and slow. Fix: Add water and fresh greens, then cover to retain moisture.
Problem: Pests. Fix: Avoid adding meat or dairy, close bin lids, and bury food scraps under brown material.
Composting can reduce household waste by up to 30 percent. Finished compost can improve soil water retention by 20 percent or more, helping plants survive dry periods.
Finishing and Using Your Compost
Compost is ready when material is dark, crumbly, and smells like earth. Small twigs may remain but most matter should be unrecognizable.
Use finished compost in these ways:
- Mix into potting soil or garden beds at 10–25 percent by volume
- Top-dress lawns or around established plants for slow nutrient release
- Make compost tea by steeping compost in water for a nutrient boost
Small Real-World Case Study: One Urban Family
A two-person household in a city started a 50-gallon tumbler in spring. They collected kitchen scraps, shredded mail, and yard leaves.
Within four months they had usable compost. They used it in container tomatoes and saw fewer watering needs and stronger growth the following season.
Key lessons: consistent turning, balancing browns and greens, and keeping the bin covered reduced flies and odors.
Practical Tips for Busy People
- Use a kitchen caddy with a tight lid to store scraps between trips to the bin.
- Freeze meatless scraps if you need to prevent smells until you visit the compost site.
- Keep a supply of dry browns (shredded paper or leaves) on hand for quick layering.
Final Checklist to Start Home Composting
- Pick a bin or space that fits your yard and city rules
- Collect both greens and browns consistently
- Monitor moisture and turn regularly
- Harvest finished compost for garden use
Home composting is a low-cost way to reduce waste and improve soil. With a few simple habits you can create rich compost in months and support healthier plants year-round.