
Why start home composting
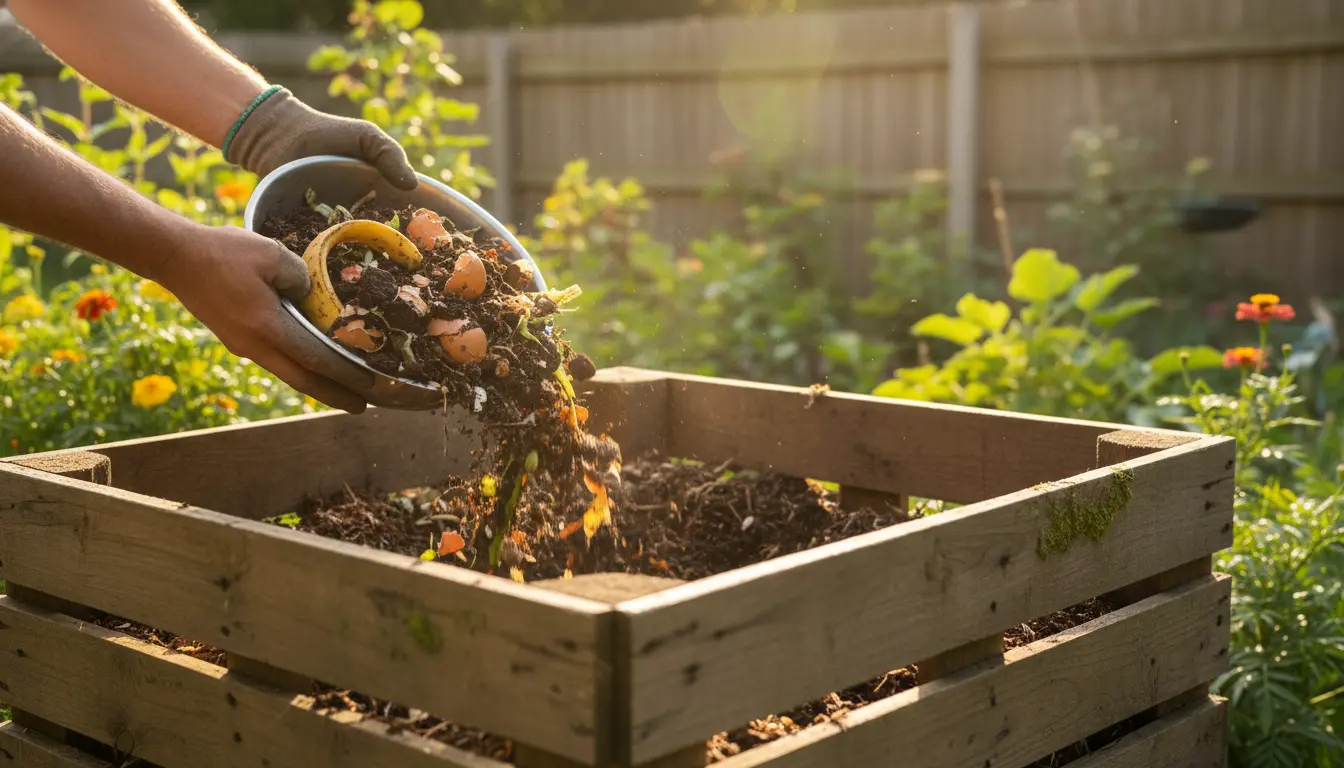
Home composting turns kitchen and yard waste into rich soil that improves garden health. It reduces household trash and lowers methane emissions from landfills.
Composting is simple when you follow a few rules about materials, moisture, and aeration. This guide gives clear, practical steps for beginners.
Basic principles of home composting
Compost decomposes when microbes break down organic matter. To keep microbes active, balance carbon-rich “browns” and nitrogen-rich “greens.”
Manage three things: the right mix of materials, adequate moisture, and air flow. These factors control odor, speed, and the quality of compost.
Feedstock: Greens and browns
Greens provide nitrogen. Examples include vegetable scraps, coffee grounds, and fresh grass clippings.
Browns supply carbon. Examples include dry leaves, shredded paper, and straw. Aim for a roughly 2:1 or 3:1 brown to green volume ratio.
Moisture and air
Compost should feel like a wrung-out sponge—moist but not soggy. Too dry slows decomposition; too wet causes odors.
Air lets aerobic microbes thrive. Turn the pile regularly or use a tumbling bin to keep oxygen flowing.
Choosing a compost bin for home composting
Pick a bin based on space, budget, and how quickly you want finished compost. Options include open piles, plastic bins, tumblers, and worm bins for apartments.
- Open pile: low cost, simple for yards, needs more space and turning.
- Plastic bin: tidy and contained, good for moderate volume.
- Tumbler: easy to turn and faster decomposition, ideal for small yards.
- Vermicompost (worm bin): great for kitchens or small balconies; produces nutrient-rich castings.
Step-by-step home composting process
Start small and expand after you learn the routine. Use these steps to build and maintain a healthy compost pile.
- Location: Place the bin on bare soil in partial shade to allow drainage and access to microbes. Avoid concrete if possible.
- Layering: Begin with a 2-4 inch layer of coarse browns (twigs or straw) to help drainage. Alternate greens and browns in 2-6 inch layers.
- Moisture: After adding material, lightly water if dry. Monitor moisture weekly.
- Turning: Turn or mix the pile every 1-2 weeks with a pitchfork or use a tumbler weekly to maintain aeration.
- Monitoring: Check for odors (too wet or too many greens), pests (secure bin and bury food scraps), and temperature (hot piles around 120–160°F indicate active decomposition).
- Harvesting: Finished compost is dark, crumbly, and smells earthy. Use it after 2–12 months depending on method and attention.
Quick maintenance tips
- Chop large items to speed breakdown.
- Mix in dry browns when adding many kitchen scraps.
- Keep a small countertop container with a lid for food scraps and empty it into the bin every few days.
Composting can divert up to 30 percent of household waste from landfill and can reduce greenhouse gas emissions from organic waste decomposition.
Troubleshooting common problems in home composting
Beginner composters often face three main problems: bad smells, pests, and slow decomposition. Each has a simple fix.
Bad smells
Bad odors usually mean the pile is too wet or has too many greens. Add dry browns, mix the pile, and increase aeration.
Pests
Animals are attracted to food scraps. Avoid meat, dairy, and oily foods. Bury food scraps under browns and use a closed bin if necessary.
Slow decomposition
If decomposition is slow, chop materials finer, add warm water to increase activity, and turn more often to add oxygen.
Using finished compost
Use finished compost to enrich garden beds, potting mixes, and lawns. Apply a 1–2 inch layer as mulch or mix it into planting holes for new plants.
Compost improves soil structure, retains moisture, and provides slow-release nutrients, reducing the need for chemical fertilizers.
Small real-world case study
Case: A two-person household in a suburban yard began home composting with a 55-gallon tumbler. They collected kitchen scraps and yard trimmings for six months.
Result: After 6 months they produced about 30 liters of finished compost, reduced weekly trash by one small bag, and used the compost for vegetable containers. Their tomatoes produced fuller fruit with less fertilizer.
Apartment options and vermicomposting
If you live in an apartment, a worm bin is a compact indoor option. Red worms process food scraps quickly and produce nutrient-rich castings.
Keep the worm bin in a cool, dark place. Feed worms small amounts of chopped food scraps weekly and avoid citrus, onions, and spicy foods in large amounts.
Final checklist for successful home composting
- Balance greens and browns (2:1 or 3:1 by volume).
- Keep compost moist like a wrung-out sponge.
- Turn regularly to supply oxygen.
- Avoid meat, dairy, and oily foods in outdoor piles.
- Harvest when material is dark and crumbly.
Home composting is a low-cost, high-impact way to reduce waste and improve soil. Start with small steps, monitor the pile, and adjust as you go. With routine care, home composting becomes an easy part of daily life.