
Container vegetable gardening makes growing your own food possible in small spaces. This guide explains the basics, step-by-step setup, and simple care you need to get reliable harvests from pots, tubs, and planters.
Why Choose Container Vegetable Gardening
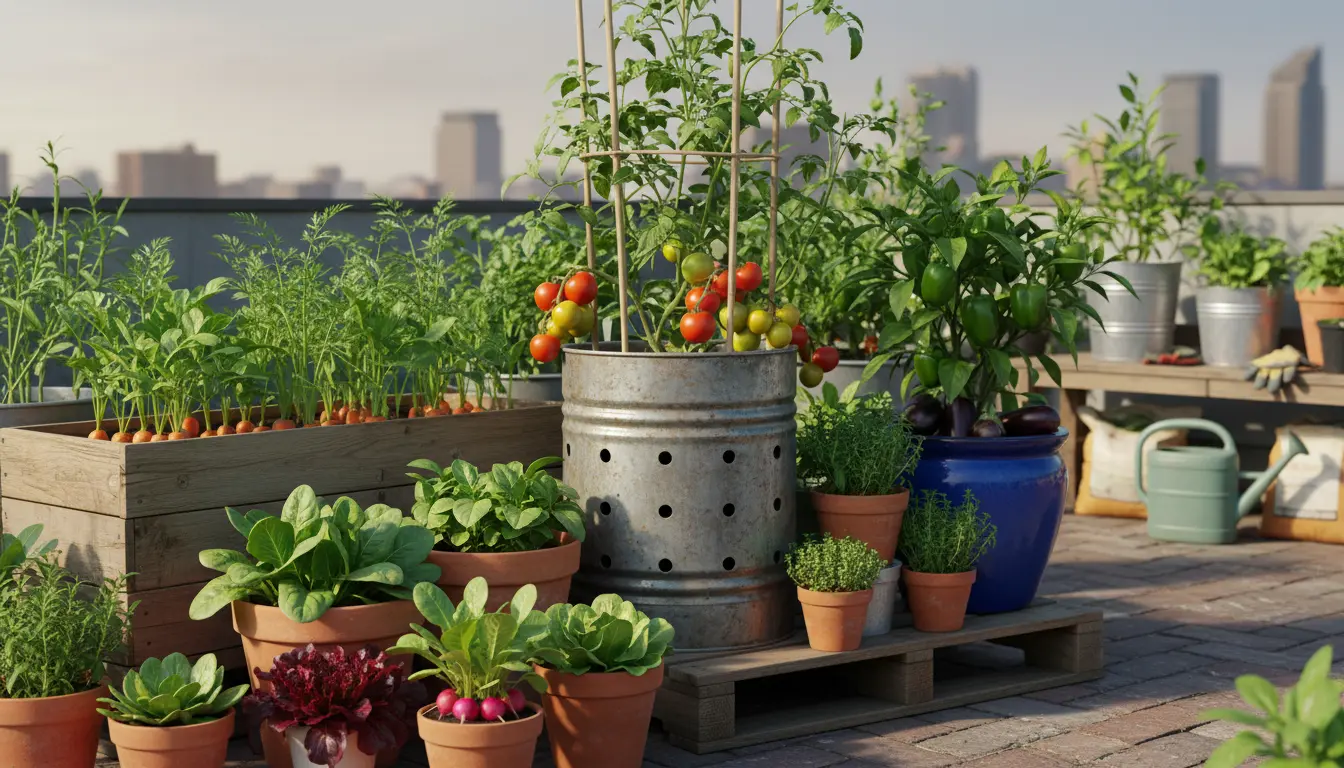
Container vegetable gardening fits apartments, balconies, patios, and small yards. It lets you control soil, drainage, and sunlight more easily than in-ground beds.
Beginners often prefer containers because they limit weeds, allow mobility, and reduce the need for heavy soil work.
Benefits of container vegetable gardening
- Space efficient: grow on balconies or patios
- Fewer weeds and soil-borne pests
- Better control over soil quality and moisture
- Portable: move plants to follow the sun or protect from weather
Getting Started: Essential Supplies for Container Vegetable Gardening
Start with a few basic items and add more as you learn what works for your space. You don’t need fancy gear to succeed.
Choose the right containers
Select containers with drainage holes to prevent waterlogging. Larger containers hold moisture and nutrients longer, which reduces watering frequency.
- Small herbs: 6–8 inch pots
- Leafy greens: 10–12 inch pots or window boxes
- Tomatoes, peppers, eggplant: 12–20+ inch deep containers
Soil, drainage, and water
Use a high-quality potting mix designed for containers. Garden soil is too heavy and compacts in pots. Add coarse perlite or vermiculite for drainage if needed.
Place containers on saucers or stands to protect surfaces and improve airflow under pots to prevent rot.
Choosing Vegetables for Container Vegetable Gardening
Pick varieties labeled compact, patio, or container friendly. These are bred to do well in limited root space.
- Easy starters: lettuce, spinach, radishes, bush beans
- Fruit-bearing: cherry tomatoes, dwarf peppers, compact cucumbers
- Herbs: basil, parsley, chives, cilantro
Step-by-Step Planting Guide for Container Vegetable Gardening
Follow these steps for reliable results. Each step uses common tools and straightforward techniques.
Step 1: Prepare the container
Clean the pot, ensure drain holes are clear, and add a layer of coarse material (optional) for extra drainage.
Step 2: Fill with potting mix
Fill to about 1–2 inches below the rim so you can water without overflow. Lightly firm the mix—do not compact it.
Step 3: Planting seeds or seedlings
Follow seed packet depth instructions. For seedlings, dig a hole deep enough to cover root ball and firm soil gently around the stem.
Step 4: Water after planting
Water thoroughly until water runs from the drainage holes. This helps settle the soil and contact roots.
Step 5: Place for sunlight
Most vegetables need 6–8 hours of direct sun. Move containers to a sunny spot or use a bright, south-facing balcony.
Care and Maintenance for Container Vegetable Gardening
Container plants need regular attention but the tasks are simple and quick. A weekly check prevents small problems from becoming crop losses.
- Watering: check soil daily in hot weather; water when top inch feels dry
- Feeding: apply a balanced liquid fertilizer every 2–4 weeks or use slow-release granules at planting
- Pest control: inspect leaves and stems; handpick pests or use insecticidal soap for small infestations
- Support: stake tomatoes and vining plants early to avoid root damage later
Troubleshooting Common Problems in Container Vegetable Gardening
Problems usually come from watering, light, or nutrient issues. Address the cause rather than only the symptom.
- Yellow lower leaves: often overwatering or poor drainage
- Leggy plants: not enough light; move to sunnier spot
- Poor fruit set: high temperatures or lack of pollinators; hand-pollinate flowers when needed
Tomatoes were first grown in pots in Europe as ornamental plants before being widely accepted as a food crop. Today many tomato varieties are bred specifically for containers.
Harvesting and Succession Planting for Container Vegetable Gardening
Harvest regularly to encourage new growth. Pick leafy greens young for best flavor and harvest tomatoes and peppers when ripe for full taste.
Use succession planting to keep a steady supply. After harvesting radishes or lettuce, refill the pot with fresh soil and plant another crop.
Case Study: A Small Balcony Success
Sarah had a sunny 6-foot balcony and started with three containers: one for cherry tomatoes, one for basil, and one for mixed salad greens. She used 12-inch pots and potting mix, watered every other day, and fed weekly with liquid fertilizer.
By the second month Sarah harvested daily salad leaves and weekly cherry tomatoes. Her success came from correct container size, morning sun, and consistent watering.
Quick Checklist for New Container Vegetable Gardening
- Choose a sunny location with at least 6 hours of light
- Select containers with drainage and appropriate depth
- Use lightweight potting mix, not garden soil
- Start with easy vegetables like lettuce, radishes, and cherry tomatoes
- Water regularly and feed on a schedule
Container vegetable gardening is an accessible way to grow fresh produce in limited space. Start small, learn from each season, and expand as you gain confidence.