
Why Choose Home Composting for Beginners
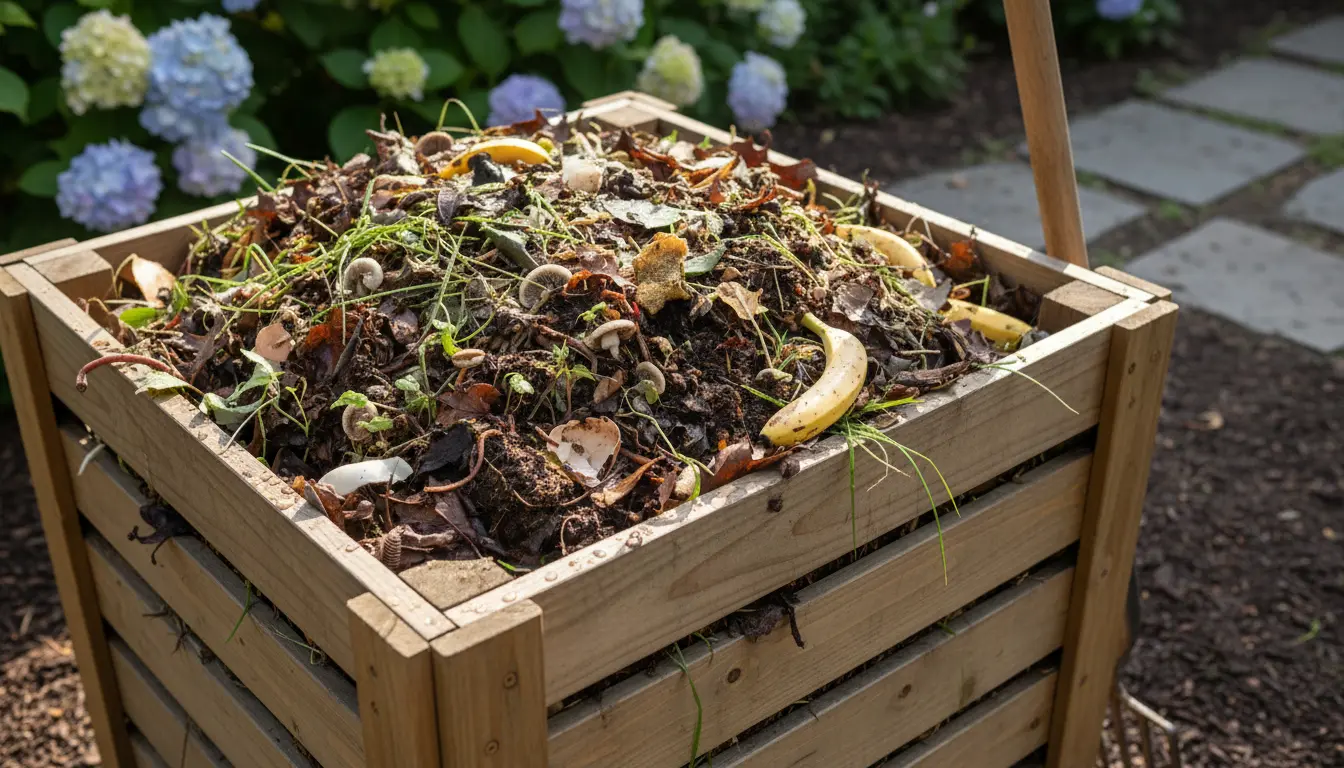
Home composting turns kitchen scraps and yard waste into a useful soil amendment. It reduces landfill waste and improves garden soil structure and fertility.
This guide gives easy, practical steps to start composting at home, choose a bin, and solve common problems. No prior experience required.
How Home Composting Works
Composting is a natural decomposition process driven by microbes and small invertebrates. These organisms break down organic material into stable humus that plants love.
Success depends on three things: the right balance of materials, moisture, and airflow. Manage these and the pile will heat up and decompose efficiently.
Key Components of Home Composting
- Browns: Carbon-rich materials such as dry leaves, shredded paper, and straw.
- Greens: Nitrogen-rich materials like kitchen scraps, fresh grass clippings, and coffee grounds.
- Air: Oxygen supports aerobic microbes and prevents odors.
- Water: Moisture should feel like a wrung-out sponge; too dry or too wet slows decomposition.
Choosing a Bin for Home Composting
Selecting the right bin makes composting easier and neater. Options range from simple piles to enclosed tumblers.
- Open pile: Cheap and simple, best if you have space and privacy.
- Stationary bin: Keeps material contained and is low maintenance.
- Tumbler: Makes turning the pile easy and speeds up decomposition.
Which Bin for Beginners
Beginners often start with a stationary bin or tumbler. These reduce pests and are tidy for small yards or balconies.
Place your bin on soil or grass to allow drainage and access for worms and microbes. Avoid concrete bases unless you add a bottom layer of soil.
Step-by-Step Start Guide for Home Composting
Follow these simple steps to begin home composting today. Each step focuses on balance and routine.
- Gather a mix of browns and greens. Aim for roughly 3 parts browns to 1 part greens by volume.
- Shred or chop large items to speed decomposition. Smaller pieces break down faster.
- Add materials in layers: a base of coarse browns, then greens, then cover with browns again.
- Keep moisture at a damp sponge level. Water dry piles or add dry browns to fix wet piles.
- Turn or mix the pile every 1–2 weeks to add oxygen and distribute heat.
Materials to Avoid
- Meat, dairy, fish, and oily foods — these attract pests and cause odors.
- Diseased plants or invasive weeds that may survive the composting process.
- Pet waste from carnivores — contains pathogens not safe for garden use.
Did You Know?
Adding cardboard or paper to your compost not only supplies carbon but also helps absorb excess moisture and reduce odor. Shredded paper speeds the process when mixed well.
Troubleshooting Common Home Composting Problems
Even simple compost systems can run into issues. Here are straightforward fixes for the most common problems.
Bad Smell
An ammonia or rotten smell indicates too many greens or poor airflow. Add browns and turn the pile to introduce oxygen.
Slow Decomposition
Slow breakdown often results from low moisture, lack of nitrogen, or large pieces. Chop materials, add green scraps, and moisten the pile.
Pests
Raccoons, rodents, or flies usually come when meat or oily foods are added. Avoid those materials and use a closed bin or secure lid.
How Long Until Compost Is Ready
Under active management (turning, correct balance, tumblers), compost can be ready in 2–4 months. A passive pile may take 6–12 months.
Mature compost looks dark, crumbly, and smells earthy. No recognizable food or plant parts should remain.
Using Your Finished Compost
Use finished compost as a soil amendment mixed into garden beds or pots. It improves water retention, nutrient content, and soil structure.
Applications include top-dressing lawns, mixing into potting soil for container plants, or adding to vegetable beds before planting.
Small Real-World Case Study
Case: Sarah, a city balcony gardener, started a simple tumbler with a mix of kitchen scraps and shredded cardboard. She emptied her kitchen pail twice weekly and turned the tumbler every 10 days.
Result: In four months she had about 25 liters of dark compost. She mixed it into pots for herbs and noticed improved growth and less need for store-bought fertilizers.
Key actions that helped: consistent turning, balanced browns and greens, and keeping the bin moist but not soggy.
Quick Checklist to Start Home Composting Today
- Choose a bin suitable for your space (tumbler or stationary bin recommended).
- Collect kitchen scraps and a supply of dry browns like leaves or shredded paper.
- Layer materials and maintain moisture and airflow.
- Turn the pile regularly and monitor for problems.
- Harvest finished compost when dark and crumbly.
Home composting is a low-cost, practical way to reduce waste and build healthy soil. Start small, keep the process balanced, and you will see results within months.