
Composting at home turns kitchen and garden waste into a valuable soil amendment. This guide gives clear, practical steps so you can start composting with confidence, even in small spaces.
Why Composting at Home Helps
Composting reduces trash sent to landfills and lowers greenhouse gas emissions. It also creates nutrient-rich compost you can use to improve soil and plant health.
Many people see composting as complicated, but basic methods work well and require little time or money.
How to Start Composting at Home
Follow a simple process: pick a system, gather materials, maintain the pile, and use the finished compost. Each step has easy options for beginners.
Choose a Compost System for Home Composting
Select a method that fits your space and routine. Options include open piles, tumblers, bins, and worm composting (vermicomposting).
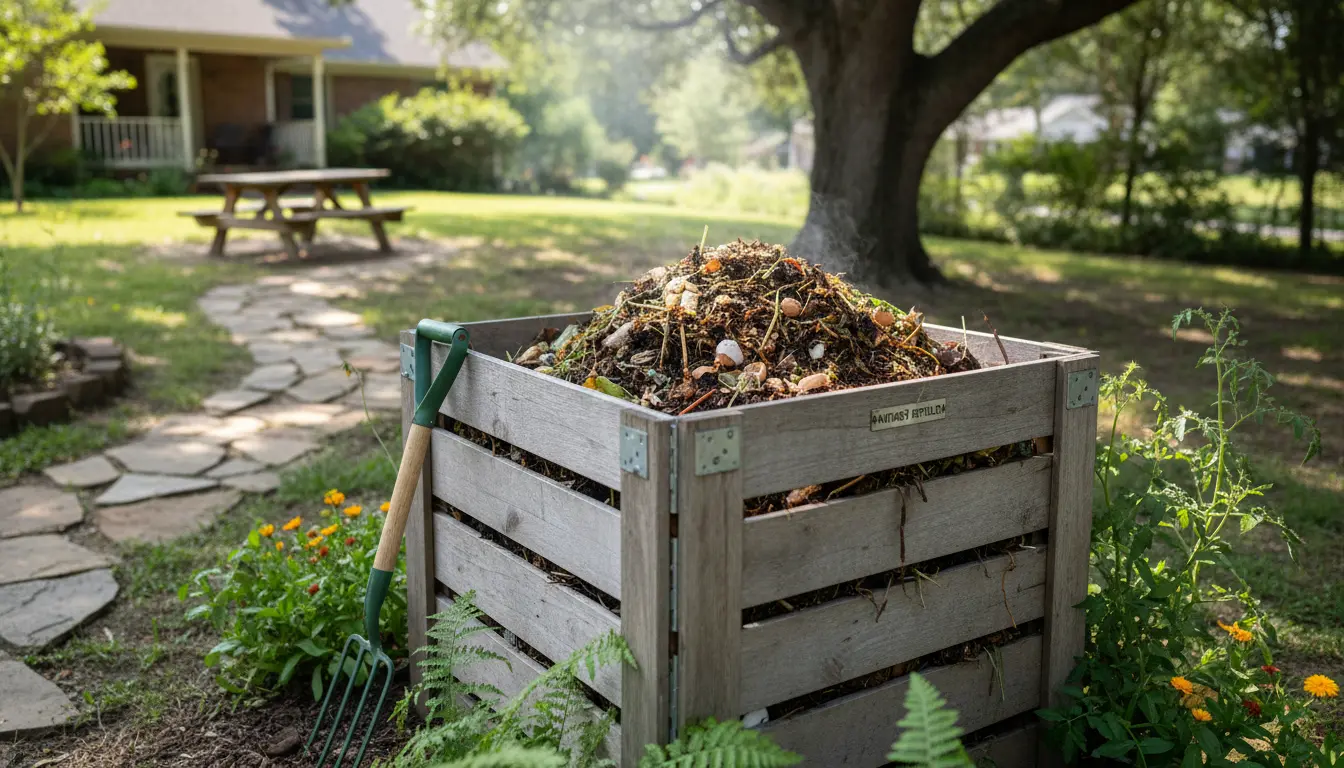
- Open pile: Good for yards, low cost, needs more space.
- Compost bin or tumbler: Neater, faster, works in small yards and patios.
- Vermicompost bin: Ideal for apartments and balconies, uses worms to speed decomposition.
What to Compost at Home
Balance “greens” (nitrogen) and “browns” (carbon) for a healthy system. Aim for roughly equal parts by volume for most backyard piles.
- Greens: Fruit and vegetable scraps, coffee grounds, fresh grass clippings.
- Browns: Dry leaves, shredded paper, cardboard, straw.
- Avoid: Meat, dairy, oils, diseased plants, and pet waste unless you use a hot composting system.
Maintaining Your Home Compost System
Regular maintenance keeps decomposition steady and prevents odors. Check moisture, turn or mix the pile, and add materials in layers.
Moisture and Aeration Tips
The pile should be as damp as a wrung-out sponge. Too dry slows decomposition; too wet causes odors.
Turn or aerate the pile every 1–2 weeks for faster breakdown. Tumblers make this task quick and easy.
Troubleshooting Common Issues
Smells: Bad odors usually mean too much moisture or too many greens. Add browns and turn the pile.
Pests: Keep meat and cooked food out, use a closed bin, and bury food scraps under cover material.
Slow decomposition: Chop large pieces, balance greens and browns, and ensure adequate aeration.
Harvesting and Using Compost From Home
Compost is ready when it is dark, crumbly, and earthy-smelling. This can take 2 months to a year depending on the method and conditions.
Use finished compost as a soil top dressing, mix into potting soil, or add to vegetable beds to boost fertility and water retention.
Application Examples
- Vegetable beds: Mix 1–2 inches of compost into the top 6–8 inches of soil before planting.
- Pots and containers: Blend 10–20% compost into potting mix for improved nutrition.
- Lawns: Spread a thin layer (about 1/4 inch) to improve soil structure without smothering grass.
Small Real-World Case Study
Case study: Emma, a city apartment gardener, started vermicomposting in a 10-liter bin under her kitchen sink. She used food scraps and shredded office paper and fed the worms small portions twice a week.
Within three months she had usable castings to top-dress her balcony herb pots. Her waste going to the trash dropped noticeably, and her basil and mint grew stronger.
Quick Checklist to Start Composting at Home
- Pick a bin type that fits your space (tumbler, bin, or worm bin).
- Collect greens and browns and store them separately.
- Layer materials and keep them moist but not soggy.
- Turn the pile regularly or use a tumbler to aerate.
- Harvest finished compost and apply it to plants or soil.
Final Tips for Successful Home Composting
Start small and learn as you go. Simple systems can be effective and require only a few minutes per week.
Keep a small container for kitchen scraps and empty it into your outdoor or indoor bin every few days to avoid odors and pests.
Composting at home is an accessible way to reduce waste and improve soil health. With the right system and basic care, anyone can turn kitchen scraps into a resource for healthier plants.