
Start Composting at Home: Practical First Steps
Composting at home turns kitchen scraps and yard waste into useful soil. This guide covers easy systems, what to add, maintenance, and troubleshooting for beginners.
Why Composting at Home Matters
Composting reduces landfill waste and lowers greenhouse gas emissions. It also produces nutrient-rich compost that improves garden soil structure and plant health.
Benefits of home composting
- Reduce household waste and disposal costs.
- Improve soil fertility without chemical fertilizers.
- Retain moisture in soil and reduce watering needs.
How to Start Composting at Home
Starting composting at home is simple and scalable. Choose a system that fits your space and the time you can commit.
Choose a compost system
Options include a simple pile, a bin, a tumbler, or a worm bin (vermicomposting). Each has pros and cons based on space, speed, and odor control.
- Open pile: Cheapest, needs space and some turning.
- Closed bin: Tidy and better for urban yards.
- Tumbler: Faster turning and faster results, good for small yards.
- Vermicompost: Great indoors or on patios, ideal for kitchen scraps.
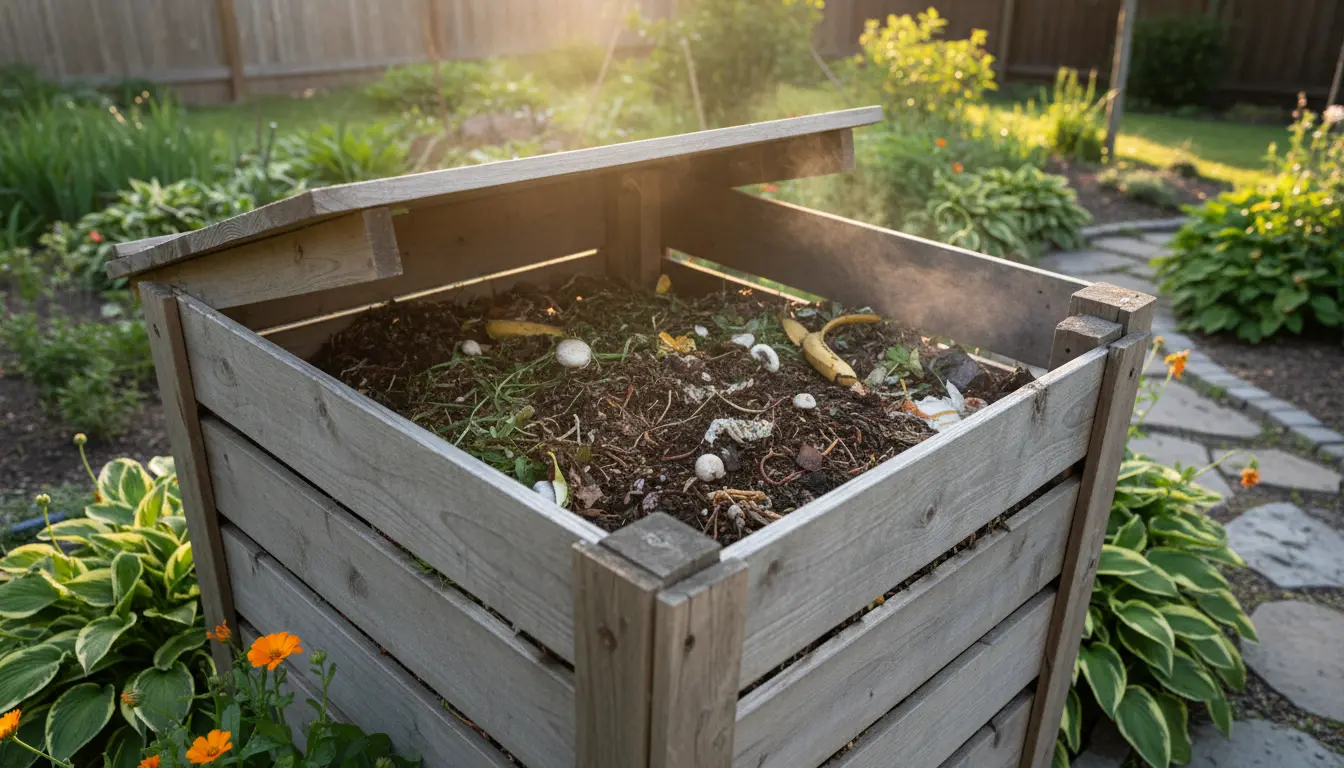
Location and setup
Place your compost container on soil or grass to allow worms and microbes to access it. Keep it partly shaded to avoid drying out in summer.
Start with a base layer of coarse material like twigs to improve airflow. Add alternating layers of green and brown materials for balance.
Composting at Home: What to Add
Compost needs a balance of carbon-rich (browns) and nitrogen-rich (greens) materials. Aim for roughly a 3:1 ratio of browns to greens by volume.
Acceptable materials
- Greens: fruit and vegetable scraps, coffee grounds, fresh grass clippings.
- Browns: dry leaves, straw, shredded paper, cardboard, small wood chips.
- Other: eggshells, tea bags (check the bag material), small amounts of hair or pet fur.
Materials to avoid
- Meat, dairy, and oily foods (attract pests and cause odors).
- Diseased plants or weeds with seeds that may survive composting.
- Pet waste from carnivores, treated wood, or glossy paper with heavy inks.
Maintenance Tips for Successful Composting at Home
Good maintenance keeps compost active and odor-free. Monitor moisture, aeration, and particle size for faster breakdown.
Moisture and aeration
Compost should feel like a wrung-out sponge: moist but not soggy. If it is too dry, add water and greens. If too wet, add browns and turn more often.
Turn or mix your pile every 1–2 weeks if using a pile or bin. Tumblers usually need turning every few days for best results.
Speeding up composting at home
- Chop materials into smaller pieces to increase surface area.
- Maintain the right green-to-brown ratio and moisture.
- Use a compost accelerator like finished compost or garden soil to introduce microbes.
Troubleshooting Common Problems
Some common issues are odor, pests, or slow decomposition. Small changes typically fix these quickly.
Odor
Bad smells usually mean too much green or too much moisture. Add dry browns, turn the pile, and ensure adequate airflow.
Pests
Avoid meat and oily foods. Use a closed bin or bury food scraps inside the pile to deter animals.
Slow breakdown
Increase surface area by chopping materials and adjust moisture and aeration. Adding a shovel of garden soil can introduce beneficial microbes.
Real-World Example: Small Urban Compost Case Study
Case study: A two-person apartment household began vermicomposting in a small indoor bin. They collected kitchen scraps in a covered container and fed the worm bin three times per week.
Within 10 weeks they harvested about 20 liters of dark, crumbly compost. They used the compost to enrich potted herbs and a balcony vegetable tray, reducing store-bought soil purchases by half.
Key actions that worked: consistent feeding, avoiding citrus overload, and keeping the bin mildly moist. The small time investment paid off with healthier plants and less kitchen waste.
Using Your Finished Compost
Finished compost is dark, crumbly, and earthy-smelling. Use it as a top dressing, mix into potting soil, or work into garden beds.
- Top dressing: Sprinkle compost around plants to slowly release nutrients.
- Soil mix: Blend 1 part compost with 2–3 parts garden soil for improved structure.
- Seed starting: Use a light mix of compost with sterilized material to avoid damping off.
Final Tips to Keep Composting at Home Simple
- Start small and scale up as you gain confidence.
- Keep a small kitchen scrap container with a lid to reduce smells.
- Record what you add and the timing; small tweaks improve results quickly.
Composting at home is a practical way to close the loop on organic waste and boost garden health. With minimal space and a little routine, most households can produce rich compost year-round.