
Begin Growing: Start a Vegetable Garden
Starting a vegetable garden is an easy way to enjoy fresh food and reduce grocery bills. This guide gives clear, practical steps to set up and maintain a productive garden, even in small spaces.
Why Start a Vegetable Garden
A vegetable garden improves the quality of your food and provides exercise and stress relief. It can also increase biodiversity and support pollinators in your neighborhood.
Key benefits of a vegetable garden
- Fresh, tastier produce with better nutrition.
- Lower food costs and less packaging waste.
- Outdoor activity that supports mental and physical health.
- Education for kids about food and seasons.
How to Start a Vegetable Garden: Step-by-Step

Follow these practical steps to plan and plant your vegetable garden. Each step is short and actionable so you can start quickly.
Step 1: Choose a Location
Select a spot with at least six hours of direct sunlight per day for most vegetables. If sunlight is limited, focus on leafy greens and herbs which tolerate partial shade.
Consider proximity to water and easy access for daily care. Use containers or raised beds if ground space is poor or compacted.
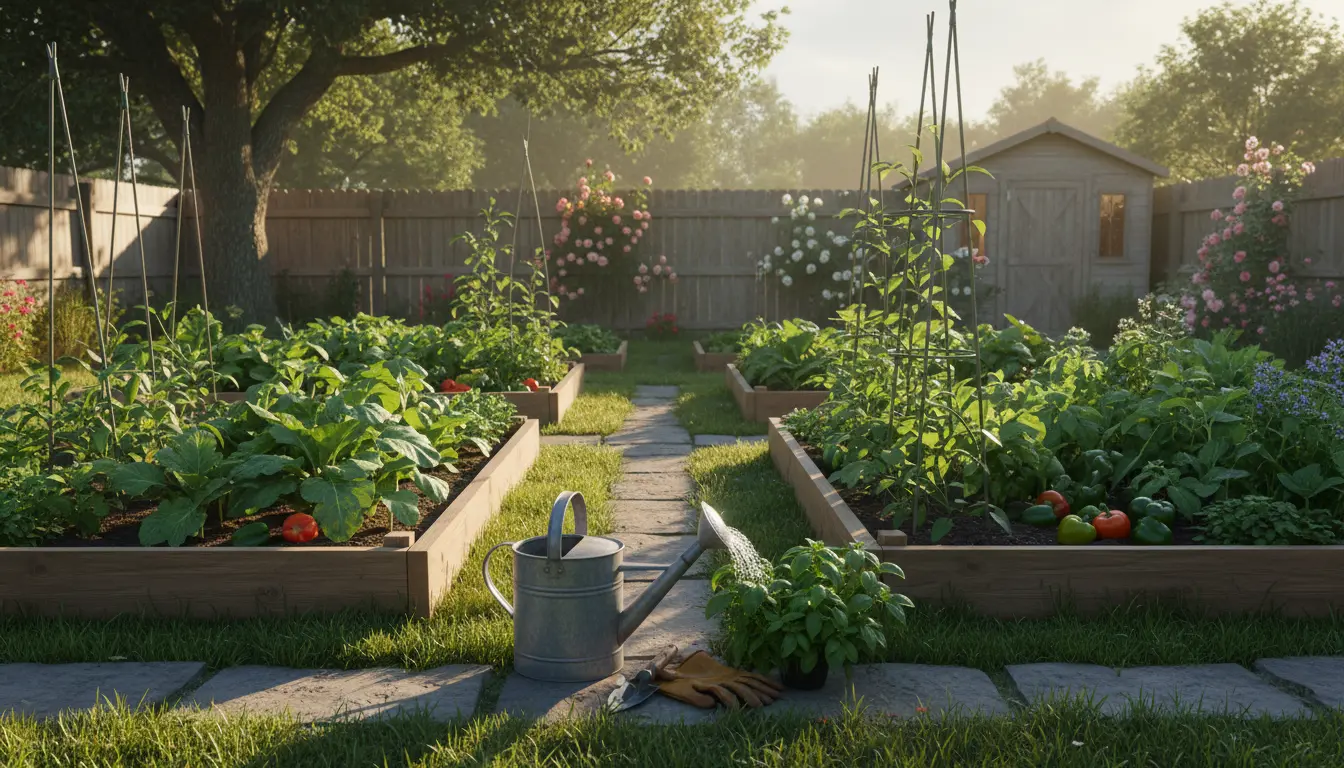
Step 2: Decide on Bed Type
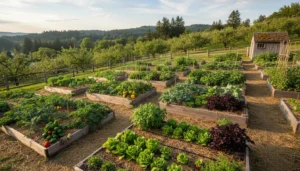
Choose between in-ground rows, raised beds, or containers depending on soil and space. Raised beds warm faster in spring and drain better, which helps root crops thrive.
- Raised beds: Good for small yards and better soil control.
- Containers: Best for patios, balconies, or renters.
- In-ground: Cost-effective if soil is healthy and well-drained.
Step 3: Test and Improve Soil
Test soil pH and nutrients using a basic kit or local extension service. Most vegetables prefer pH 6.0 to 7.0 and fertile, loose soil.
Add compost or well-rotted manure to increase organic matter. For heavy clay, mix in coarse sand and compost; for very sandy soil, add compost to improve water retention.
Step 4: Choose Vegetables and a Planting Plan

Start with easy, high-reward crops: tomatoes, peppers, lettuce, radishes, bush beans, and herbs. Consider your climate, season length, and space when selecting varieties.
Plan succession planting to maximize yield: sow quick crops like radishes and lettuce between slower starters like tomatoes.
Step 5: Planting and Timing
Plant seeds or transplants based on local last frost dates. Use seed packets or extension calendars for timing. Direct-sow root crops and heat-tolerant beans after soil warms.
Space plants as recommended to avoid crowding. Thinning seedlings early improves airflow and reduces disease pressure.
Step 6: Watering and Mulching
Water deeply and less frequently to encourage strong roots. Aim for 1 to 1.5 inches of water per week, adjusting for weather and soil type.
Apply 2–3 inches of organic mulch to conserve moisture, suppress weeds, and stabilize soil temperature.
Step 7: Basic Pest and Disease Management
Monitor plants weekly for pests and signs of disease. Early detection makes control easier and less chemical-dependent.
- Use row covers to protect seedlings from insects.
- Hand-pick pests like slugs and caterpillars where possible.
- Encourage beneficial insects with flowering plants nearby.
Maintenance Schedule
Simple routines keep a garden productive. A short weekly checklist avoids bigger problems later.
- Water deeply twice a week or as needed.
- Weed for 10–20 minutes to reduce competition.
- Check for pests and remove damaged leaves.
- Add compost or side-dress with balanced fertilizer mid-season.
Small Real-World Example
Case study: A family in Portland started a 10×4 foot raised bed in May. They filled it with compost-amended soil and planted cherry tomatoes, one row of bush beans, and alternating lettuce and radish rows.
By July they had steady salad ingredients. They used drip irrigation and 2 inches of straw mulch. The family harvested weekly and saved about $15–$25 per week in produce during peak season.
Warm-season crops like tomatoes can increase their flavor when daytime temperatures are consistently between 70 and 85 F. Cooler nights help sugars concentrate.
Troubleshooting Common Problems
If seedlings are stunted, check soil drainage and nutrient levels. Yellowing leaves often indicate nitrogen deficiency or overwatering.
If pests persist, rotate crops next season and increase diversity with companion plants like marigolds and basil.
Quick Starter Checklist
- Site with 6+ hours sun
- Choose raised bed or containers if needed
- Test soil and add compost
- Select easy vegetables and stagger plantings
- Water deeply, mulch, and monitor weekly
Starting a vegetable garden is manageable with a simple plan and small, consistent steps. Use this guide as a checklist, adapt to your climate, and learn from each season to improve yields.