
Why home composting matters
Home composting turns kitchen and yard waste into a valuable soil amendment. It reduces trash, lowers methane from landfills, and improves garden soil naturally.
This guide gives a practical, step-by-step approach to start home composting and maintain a healthy system all year.
Choose a home composting method
Select a method that fits your space, time, and goals. Each approach needs different attention and materials.
Cold pile composting (low effort)
Cold composting is simple and works for large volumes with minimal turning. It takes longer—often 6–12 months—but is low maintenance.
Hot composting (faster results)
Hot composting requires balancing carbon and nitrogen and turning regularly. With proper care, finished compost can be ready in 2–3 months.
Vermicomposting (worm bins)
Vermicomposting uses worms to break down food scraps in a small indoor or outdoor bin. It is ideal for apartment dwellers and produces rich worm castings.
What to put in a home compost
Good compost needs a mix of brown and green materials. Brown materials provide carbon and structure, while greens supply nitrogen.
- Brown materials: dry leaves, shredded paper, cardboard, straw
- Green materials: vegetable scraps, coffee grounds, grass clippings
- Small amounts of garden prunings and crushed eggshells are helpful
Avoid meat, dairy, oils, diseased plants, and pet waste to prevent odors and pests.
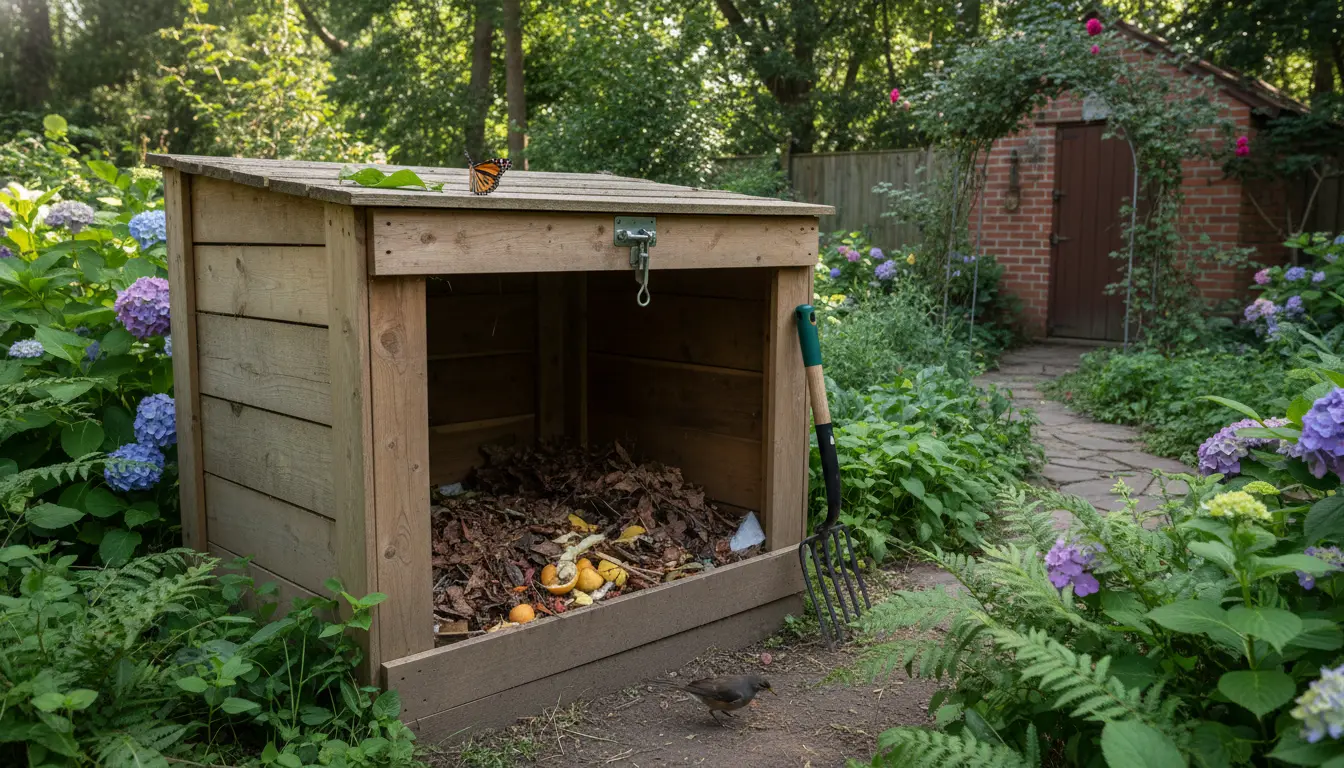
Set up your compost bin
Pick a location with partial sun and good drainage. Use a commercial bin, DIY wooden bin, or a simple compost pile.
Layer materials: start with coarse browns for airflow, then alternate greens and browns. Aim for 3 parts brown to 1 part green by volume for hot composting.
Maintaining home composting systems
Keep the pile moist like a wrung-out sponge. Too dry slows decomposition; too wet causes odors.
Turn the pile to introduce oxygen. For hot composting, turn every 1–2 weeks; cold piles can be left mostly alone and turned occasionally.
Temperature and monitoring
Hot piles should reach 130–160°F (55–70°C) to kill weed seeds and pathogens. Use a compost thermometer for accuracy.
Smaller or worm bins will stay cooler; monitor moisture and add bedding such as shredded paper for balance.
Troubleshooting common problems
Many issues are easy to fix once you know the cause. Check these common symptoms and solutions.
- Foul smell: Add more brown materials, turn the pile, and reduce moisture.
- Pests: Avoid meat and dairy, use a closed bin, and bury food scraps in the center.
- Slow breakdown: Chop materials into smaller pieces, add greens, and increase turning.
When is compost ready for use?
Finished compost is dark, crumbly, and smells earthy. It should not be recognizable as its original materials.
Screen compost to remove large pieces and use it as a soil amendment, mulch, or potting mix ingredient.
Composting can reduce household waste by up to 30 percent. Adding finished compost to garden beds also improves water retention and plant health.
Small real-world example
Case study: A two-person household in Portland started a 3-bin hot compost system in spring. They balanced kitchen scraps with shredded cardboard and yard clippings and turned the middle bin weekly.
Within four months they had usable compost for their tomato beds and cut weekly trash by nearly half. Their tomatoes produced earlier and had stronger growth than the prior year.
Practical tips for success
- Keep a small counter caddy for kitchen scraps and empty it regularly into the outdoor bin.
- Shred or chop materials to speed decomposition.
- Maintain a cover to retain heat and moisture during rain.
- Record turning dates and materials added to track what works best.
How to use finished home composting soil
Mix compost into garden beds at a 1–2 inch layer and incorporate into the topsoil. Use as a potting mix additive at up to 30 percent by volume.
Compost is excellent as a top dressing for lawns and as a starter amendment for new plantings.
Final checklist for new composters
- Choose a method: cold, hot, or vermicompost.
- Gather browns and greens and avoid banned items.
- Monitor moisture, temperature, and odors.
- Turn regularly for hot composting or intermittently for cold piles.
- Use finished compost to enrich soil and reduce fertilizer needs.
With these steps you can start home composting confidently. The system you choose will depend on how much time and space you have, but every effort helps cut waste and builds healthier soil.