
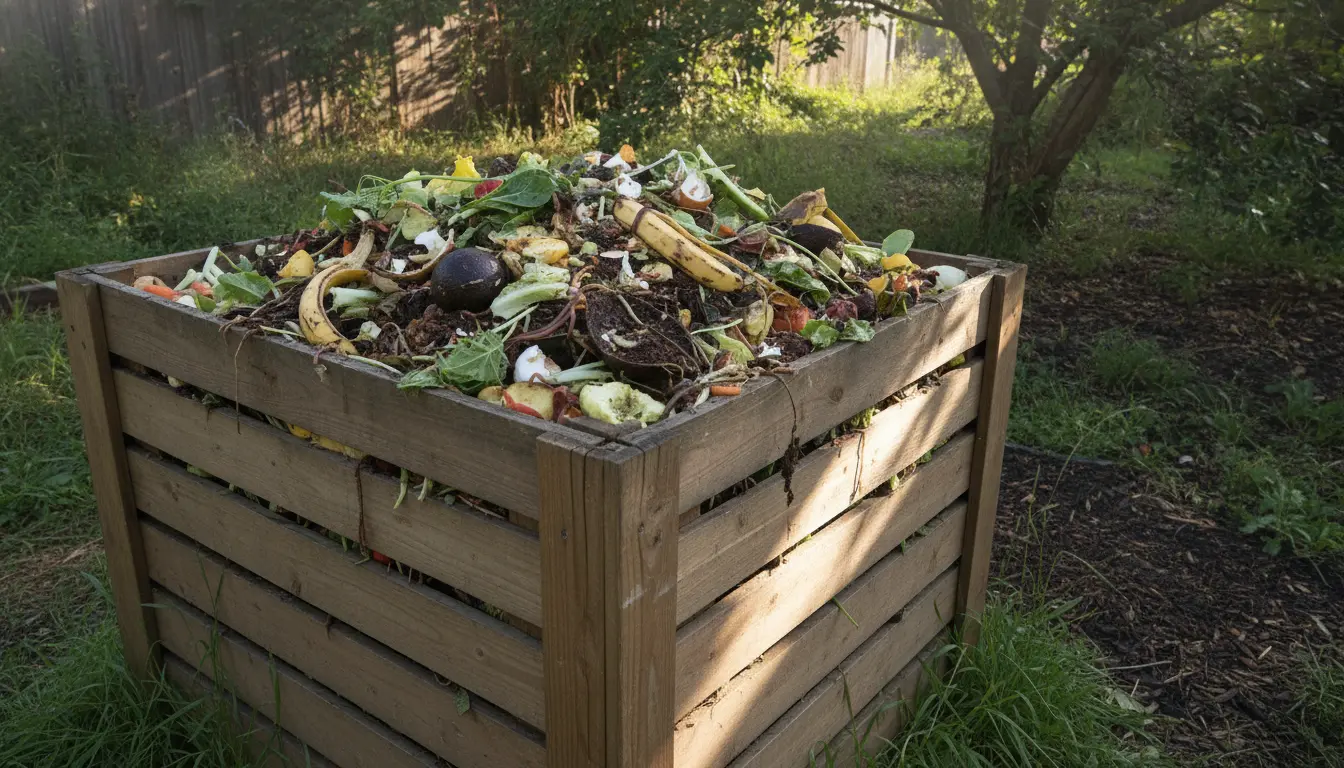
Composting at home turns kitchen and yard waste into rich soil in an affordable, low-effort way. This guide gives clear, actionable steps to start home composting for beginners and keep the process working reliably.
Why Home Composting Works
Composting uses natural decomposition to convert organic matter into humus that improves soil structure and plant health. Microbes, fungi, and worms break down materials when the right conditions of air, moisture, and carbon to nitrogen balance exist.
Home Composting for Beginners: Step-by-Step Setup
Setting up a compost system is quick and inexpensive using a bin, tumbler, or simple pile. Choose a method that fits your space and effort level, then follow the basic steps below.
Select a Compost System
Options include a closed bin, tumblers, worm bins (vermicompost), or an open pile for larger yards. Pick a system based on space: closed bins and worm bins work well for balconies or small yards, while piles suit larger gardens.
Choose a Location
Place your bin on soil or grass to allow worms and microbes to enter and to drain excess moisture. Select a mostly shaded spot to maintain steady moisture and temperature.
Gather Materials
Compost requires a mix of “greens” (nitrogen) and “browns” (carbon). Greens include fruit and vegetable scraps, coffee grounds, and fresh grass clippings. Browns include dry leaves, straw, shredded paper, and cardboard.
Layer and Maintain
Start with a layer of browns to help drainage, then add greens and cover each green layer with browns. Turn the pile every 1–2 weeks to add oxygen and speed decomposition, or rotate a tumbler as directed by the manufacturer.
Balancing Materials and Moisture
A roughly 3:1 ratio of browns to greens by volume is a good starting point for most home systems. The pile should feel like a damp sponge — moist but not dripping.
If the compost smells foul, it is too wet or lacks air; add dry browns and turn. If decomposition is slow, add more greens and water lightly to boost microbial activity.
Common Problems in Home Composting
Beginners often face small issues that are simple to fix with routine checks and adjustments. Watch for odors, pests, slow breakdown, or sogginess and apply the fixes below.
- Smelly compost: Add dry browns, turn the pile, and ensure drainage.
- Pests or rodents: Avoid adding meat, dairy, oily foods, and seal bins tightly.
- Slow decomposition: Chop materials into smaller pieces and increase greens or heat by insulating the bin.
- Too dry: Sprinkle water and mix to distribute moisture evenly.
- Too wet: Add shredded cardboard or straw and improve aeration by turning.
Home Composting for Beginners: What to Put In and Keep Out
Knowing acceptable inputs prevents problems and keeps your compost safe for gardens. Use common-sense rules for household scraps and yard waste.
- Acceptable: Vegetable and fruit scraps, coffee grounds and filters, tea bags (non-synthetic), eggshells, yard clippings, dry leaves, shredded paper, and cardboard.
- Avoid: Meat, dairy, cooked oils, diseased plants, invasive weeds with seeds, and pet waste from carnivores.
Compost can reach internal temperatures of 120 to 160°F in active piles, which helps kill many weed seeds and pathogens when properly managed.
Small Real-World Case Study
Maria, an apartment dweller, started a worm bin under her kitchen sink using a plastic bin with drainage and bedding made from shredded cardboard. She fed the worms fruit and vegetable scraps twice weekly and kept the bin moist.
Within three months she harvested dark, crumbly worm castings and reduced her trash by 60 percent. She used the castings in potted herbs, which showed stronger growth within a month.
Tips to Speed Composting for Beginners
To accelerate composting, increase surface area by chopping or shredding materials and keep the pile warm by insulating with straw or extra browns. Regular turning introduces oxygen and speeds microbial activity.
Use a compost thermometer to check progress; a steady decline from high heat toward ambient temperature signals mature compost. For worm bins, avoid high heat and keep conditions cool and moist.
How to Know When Compost Is Ready
Finished compost looks dark, crumbly, and earthy-smelling with few recognizable bits of the original materials. Screen it if you want a fine texture before using it in pots or garden beds.
Use finished compost as a soil amendment, mixing 10–30 percent compost into garden beds or top-dressing lawns and potted plants for gradual nutrient release.
Quick Start Checklist for Home Composting
- Choose a bin or method that fits your space.
- Select a partly shaded, well-drained location.
- Collect a steady supply of greens and browns.
- Maintain moisture like a damp sponge.
- Turn regularly and troubleshoot odors or pests quickly.
Home composting for beginners is practical, inexpensive, and environmentally beneficial. With basic materials and a little routine maintenance, anyone can turn household waste into valuable soil over weeks to months.