
Why Home Composting for Beginners Matters
Composting turns kitchen scraps and yard waste into a rich soil amendment. For beginners, it reduces household waste and improves garden health.
This guide focuses on simple, repeatable steps so you can start composting at home with confidence.
Choose the Right Compost System
Selecting a system depends on space, time, and effort. Common options include a backyard bin, tumbler, or indoor worm (vermicompost) setup.
Consider these factors when choosing:
- Available space: balcony, small yard, or garage.
- Time and effort: tumblers require regular turning; vermicompost needs daily monitoring.
- Volume of waste: larger families produce more green material.
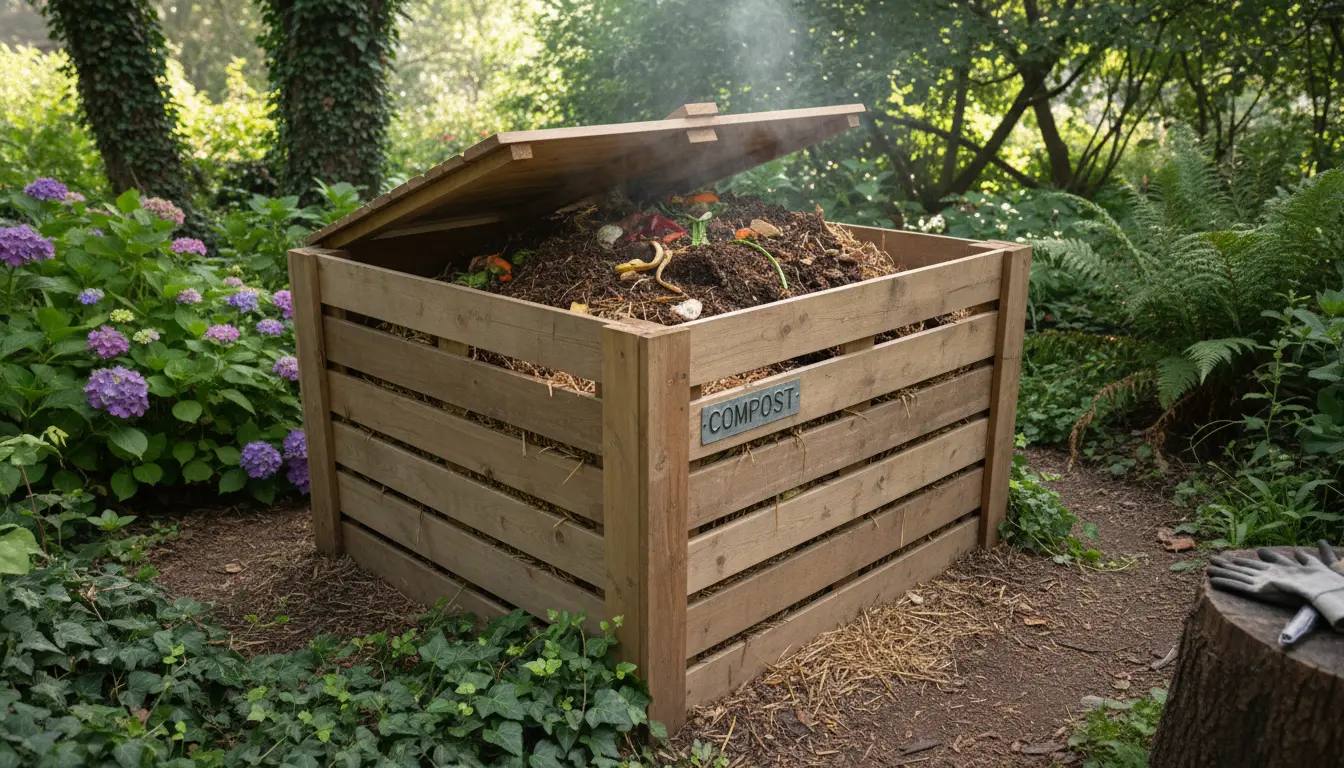
Backyard Bin vs. Tumbler vs. Worm Bin
Backyard bins are low-cost and forgiving for beginners. Tumblers speed up aeration. Worm bins are ideal for small spaces and kitchen scraps only.
Gather Materials: Greens and Browns
Compost works best when you balance nitrogen-rich “greens” and carbon-rich “browns.” Aim for a rough mix rather than exact ratios.
- Greens: fruit and vegetable scraps, coffee grounds, fresh grass clippings.
- Browns: dried leaves, shredded paper, cardboard, straw.
A common guideline is to add more browns than greens for a stable pile, roughly 2–3 parts brown to 1 part green by volume.
Start Your Pile: Layering and Moisture
Begin with a 4–6 inch layer of coarse browns to create airflow. Alternate thin layers of greens and browns.
Keep the pile as damp as a wrung-out sponge. Too dry and decomposition slows; too wet and it smells.
Quick Tips for Moisture Control
- Add water with a watering can during dry spells.
- Mix in dry browns if the pile becomes soggy.
- Cover the pile with a lid or tarp in heavy rain.
Aeration and Turning
Aeration supplies oxygen to microbes. Turn the pile every 1–2 weeks for faster, odor-free composting.
If you use a tumbler, turn it several times per week. For a static bin, use a pitchfork to move material from the outside inward.
Temperature and Decomposition
Hot composting (120–160°F / 49–71°C) kills seeds and pathogens and finishes faster. Cold composting takes longer but requires less work.
Beginners can start with cold composting to learn the process and upgrade to hot methods later.
Troubleshooting Common Problems
Problems are usually easy to fix once you identify the cause. Use this quick checklist:
- Bad smells: add more browns and turn the pile to introduce air.
- Slow breakdown: chop materials smaller and keep moisture steady.
- Pests: avoid meat, dairy, and oily foods. Use a closed bin or bury food in the pile.
When Is Compost Ready?
Finished compost looks dark, crumbly, and smells earthy. Depending on method, it can take 2 months (hot) to 1 year (cold).
Screen compost through a mesh to separate undecomposed pieces and return them to the pile.
How to Use Finished Compost
Incorporate compost into garden beds, use as a top dressing for lawns, or mix with potting soil for container plants.
Benefits include improved soil structure, moisture retention, and nutrient supply.
Vermicompost Option for Limited Space
Worm bins use red wiggler worms to convert kitchen waste into high-quality compost. They are quiet, fast, and suitable for apartments.
Feed worms small amounts weekly and keep the bin moist but not waterlogged.
Composting can divert up to 30% of household waste from landfills. Adding compost to soil increases its carbon storage potential.
Simple 30-Day Plan for Home Composting for Beginners
- Week 1: Set up your bin, collect a week of kitchen scraps, and start layering browns and greens.
- Week 2: Monitor moisture and turn the pile once. Add more brown material if necessary.
- Week 3: Continue weekly turns. Chop bigger pieces to speed decomposition.
- Week 4: Check the progress. Move finished sections to a curing area and use the compost in pots or beds.
Real-World Example: Small Apartment Success
Case study: A two-person apartment switched to vermicomposting. They used a 10-liter worm bin and added about 500 g of kitchen waste per week.
After six months they harvested approximately 12 liters of finished vermicompost and reduced their trash output by nearly 40%.
Lessons learned: chop scraps finely, avoid citrus overload, and harvest castings every 3–4 months.
Final Checklist for New Composters
- Choose a bin that fits your space and lifestyle.
- Balance greens and browns and maintain sponge-like moisture.
- Turn regularly or use a tumbler for faster results.
- Use finished compost to improve soil and reduce fertilizer needs.
Start small, observe, and adjust. Home composting for beginners is a low-cost way to manage waste and grow healthier plants.