
Why choose home composting
Home composting turns kitchen and yard waste into a valuable soil amendment. It reduces trash, lowers methane from landfills, and improves garden soil structure and fertility.
This guide gives step-by-step instructions for beginners to start and manage a compost bin at home. Use these practical tips to avoid common mistakes and get finished compost in months, not years.
What is home composting?
Home composting is the controlled decomposition of organic materials in a backyard bin, tumbler, or pile. Microbes break down plant and food waste into humus that plants can use.
Composting works best when the right mix of materials, moisture, air, and time are present. You can compost in small urban spaces or large yards with similar principles.
Getting started with home composting
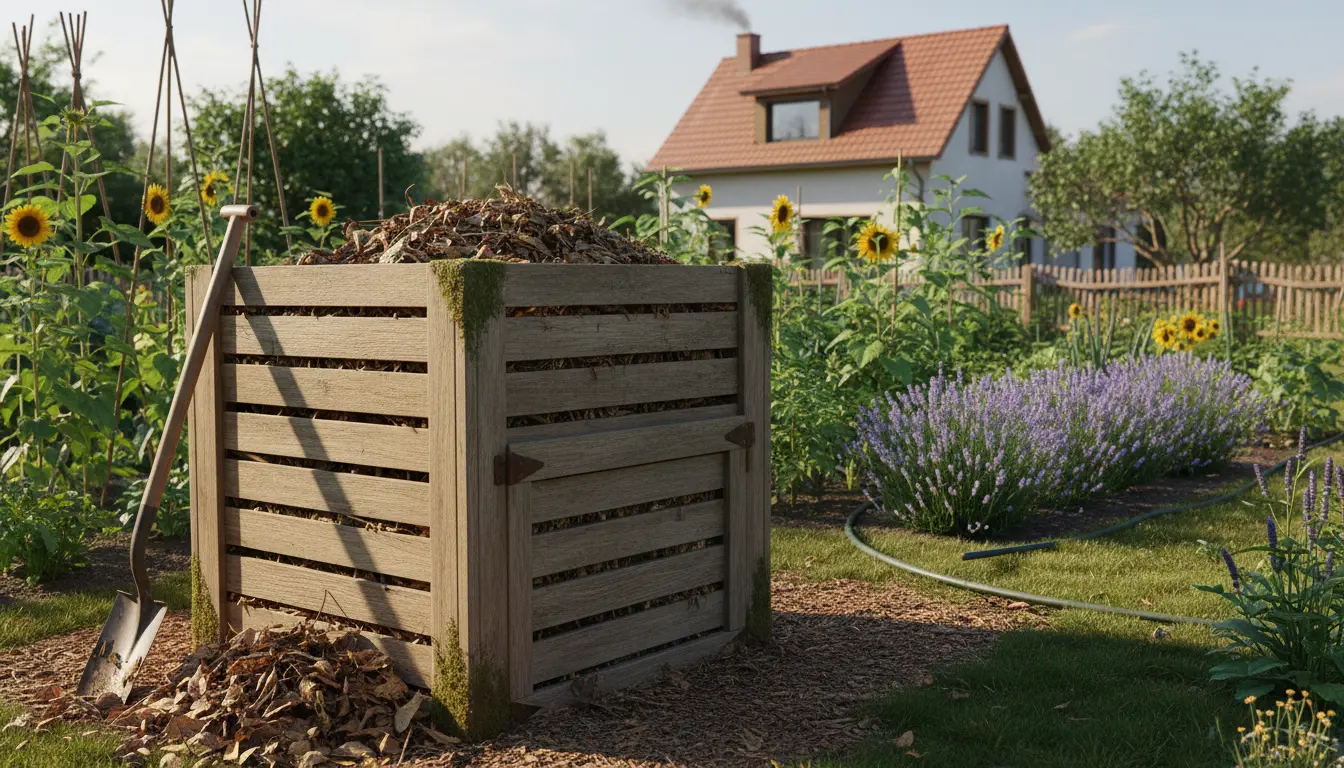
Choose a system that fits your space and needs. Options include a simple heap, a wooden or plastic bin, or a rotating tumbler for faster results.
Consider these choices:
- Open pile: low cost, needs more space and maintenance.
- Static bin: compact, keeps things tidy, moderate airflow.
- Tumbler: faster, easy to turn, more expensive.
Where to place your compost bin
Place the bin on soil or grass for drainage and access to beneficial organisms. A partly shaded spot reduces moisture loss and overheating.
Leave room for a pitchfork or tumbler rotation and easy access to add materials and remove finished compost.
What to compost
Balance green (nitrogen) and brown (carbon) materials for healthy decomposition. Aim for a rough 1:2 ratio by volume of greens to browns.
- Green materials: vegetable scraps, coffee grounds, fresh grass clippings, fruit peels.
- Brown materials: dry leaves, straw, shredded paper, cardboard pieces.
- Avoid: meat, dairy, fats, diseased plants, and pet waste from carnivores.
Managing your compost bin
Active management speeds up composting. Regular turning, moisture control, and proper layering keep microbes working efficiently.
Turning and aeration
Turn the pile every 1–2 weeks to add oxygen and mix materials. Tumblers make this easier, but a pitchfork works well for open bins.
If the pile smells sour, it likely needs more air and browns. Add dry material and turn aggressively to reduce odor.
Moisture and temperature
Compost should feel like a wrung-out sponge: moist but not dripping. Too dry slows decomposition; too wet creates anaerobic conditions and odors.
In hot weather, add water or more brown materials. In cold weather, insulate with extra browns and keep turning to maintain activity.
Troubleshooting common composting problems
Problems are usually easy to fix by adjusting balance, moisture, or aeration. Check these common issues and solutions.
- Bad smell: Add more brown materials and turn the pile to introduce oxygen.
- Pile not heating: Add greens, chop materials smaller, and turn to mix.
- Too wet: Add dry brown materials and improve drainage.
- Pests: Avoid meat and fatty scraps; use a closed bin or bury food in the center.
Well-managed compost can reach temperatures of 120 to 150°F (50 to 65°C), killing many weed seeds and pathogens. Turning and maintaining the right balance helps reach those temperatures.
How to tell when compost is ready
Finished compost is dark brown, crumbly, and smells earthy. Most materials will break down in 2–6 months with active management.
If large pieces remain, sift the compost and return the coarse material to the bin for further breakdown.
Using finished compost in your garden
Apply finished compost as a top dressing, mix into potting mixes, or work into garden beds to improve soil structure and nutrient content. Start with small amounts and increase over time.
Benefits include improved water retention, better root growth, and slow-release nutrients for plants.
Real-world example: Small urban garden case study
Maria, a city apartment gardener, started home composting in a 35-liter tumbler on her balcony. She added kitchen scraps, coffee grounds, and shredded newspaper.
By turning the tumbler twice a week and keeping the mix moist, she produced usable compost in about four months. Her tomato plants produced larger fruit and grew more vigorously after she mixed 2 inches of compost into the pots each season.
Tips and quick checklist for home composting
- Chop or shred materials to speed decomposition.
- Keep a roughly 1:2 ratio of greens to browns.
- Turn the pile every 1–2 weeks for active composting.
- Maintain moisture like a wrung-out sponge.
- Use finished compost to improve garden soil gradually.
Final thoughts on home composting
Home composting is a low-cost, practical way to reduce waste and enrich soil. Beginners should start with a simple system and learn by doing.
With a little attention to balance, moisture, and aeration, you can produce high-quality compost that benefits plants and the environment.