
Why start home composting
Composting at home turns kitchen and garden waste into a valuable soil amendment. It reduces landfill waste and improves soil structure, water retention, and nutrient content for plants.
This guide covers simple steps you can follow to set up and maintain a compost system that fits a small yard, balcony, or community garden.
Choose the right compost method for home composting
There are several ways to compost at home. Choose one based on space, effort, and timeline.
- Compost bin – Enclosed bins are neat and reduce pests. Good for yards.
- Tumbler – Easier turning and faster results. Works well for smaller volumes.
- Bokashi – Fermentation method for kitchens, handles cooked foods and works in apartments.
- Cold pile – Minimal effort, but slower decomposition.
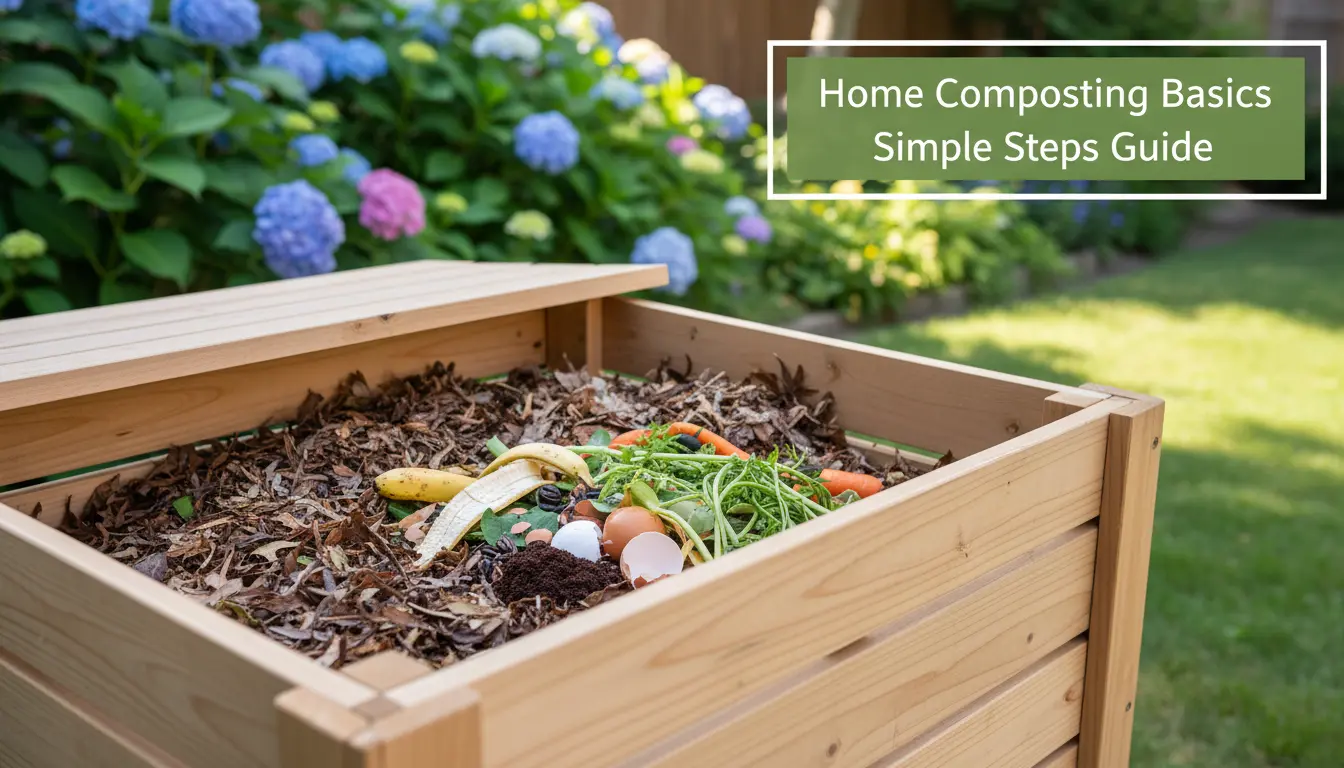
What to compost in your home compost
Understanding greens and browns helps keep a balanced pile. Aim for a mix to keep microbial activity steady.
Green materials
These add nitrogen and moisture. Use kitchen scraps, coffee grounds, fresh grass clippings, and green leaves.
Brown materials
These add carbon and structure. Use dry leaves, straw, shredded paper, cardboard, and small branches.
Step-by-step setup for home composting
Follow these practical steps to get started.
- Pick a spot: partial shade and good drainage are ideal.
- Choose a container: bin, tumbler, or start a pile on bare soil.
- Add a base layer: 10-15 cm of coarse browns like small twigs to aid airflow.
- Build layers: alternate greens and browns in 5-10 cm layers.
- Maintain moisture: the pile should feel like a damp sponge, not dripping wet.
- Turn the pile: aerate weekly or every few weeks. Tumblers simplify this step.
How to maintain a healthy compost pile
Maintenance keeps odor and pests away while speeding decomposition.
- Monitor temperature: active piles feel warm in the center. It indicates microbial activity.
- Keep it moist: add water during dry spells and cover during heavy rain.
- Balance carbon and nitrogen: add more browns if the pile smells like ammonia.
- Chop or shred materials: smaller pieces decompose faster.
Adding a thin layer of finished compost or garden soil can introduce beneficial microbes and jump-start decomposition.
Troubleshooting common home composting problems
Simple fixes will keep the system working efficiently.
Problem: Bad smell
Cause: Too much green or excess moisture. Fix: Add dry browns, turn the pile, and improve drainage.
Problem: Pests
Cause: Food scraps left exposed. Fix: Use a closed bin, bury food under browns, or try Bokashi for meat and dairy.
Problem: Slow decomposition
Cause: Lack of oxygen, large pieces, or low nitrogen. Fix: Turn the pile, shred materials, and add some fresh greens.
How to use finished compost from home composting
Finished compost is dark, crumbly, and smells earthy. Use it to improve garden beds and container soil mixes.
- Mix 1 part compost with 2 parts garden soil for planting beds.
- Top-dress lawns with a thin layer to improve soil health.
- Blend into potting mixes at 10-25% for nutritional boost.
Small real-world example: A household case study
Case: A family of four in a small suburban yard started a 200-liter compost bin. They added kitchen scraps and yard trimmings, aiming for a 3:1 ratio of browns to greens by volume.
After six months of regular turning and occasional dry leaves in winter, they produced enough compost to top-dress vegetable beds and fill several container pots. Their weekly trash volume dropped by roughly 30 percent.
Quick tips for success with home composting
- Keep a small kitchen caddy for scraps to reduce trips outside.
- Shred or chop materials to speed decomposition.
- Layer materials rather than adding large single piles of one type.
- Use a thermometer if you want to monitor activity, but it is not required.
When to expect results from home composting
Time to finished compost varies. A hot, well-managed pile can produce usable compost in 2-4 months. Cold piles may take 6-12 months or longer.
Patience and consistent maintenance are the keys to steady progress.
Final checklist before you begin home composting
- Choose a method that fits your space and effort level.
- Gather a balance of greens and browns.
- Locate the bin in a convenient, well-drained spot.
- Start small and scale up as you get comfortable.
With simple routines and small adjustments, home composting becomes an easy way to reduce waste and enrich your garden soil. Start with the method that matches your lifestyle and refine your process over time.