
Home Composting Basics
Home composting is the process of turning kitchen scraps and yard waste into nutrient-rich soil. It reduces landfill waste and provides free compost for plants.
This guide gives simple, practical steps for beginners so you can start a reliable compost system at home. Follow the steps to avoid common problems and speed up decomposition.
Why Home Composting Matters
Composting reduces greenhouse gas emissions by keeping organic waste out of landfills. It also improves soil structure and water retention in your garden.
For many households, composting lowers trash volume and cuts waste disposal costs. It’s a small routine with lasting environmental and gardening benefits.
How to Start Home Composting
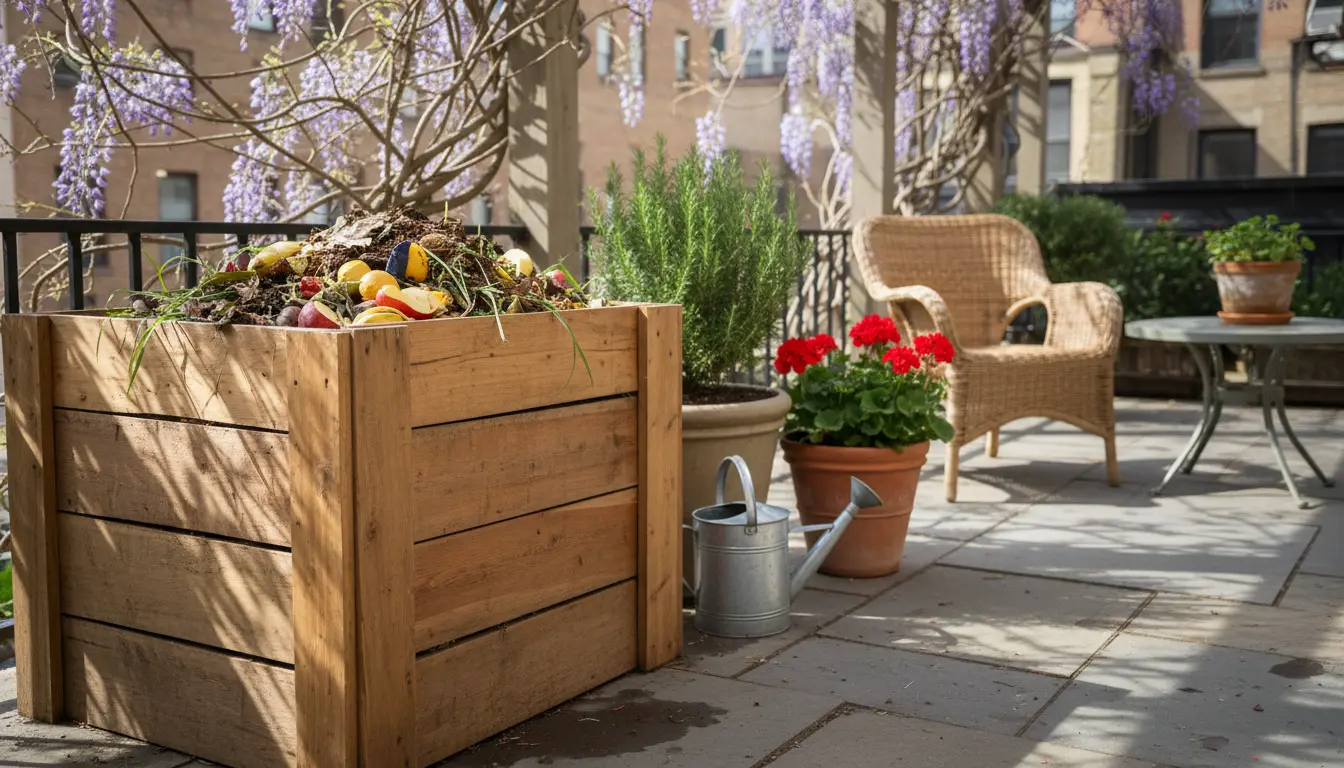
Start by choosing a spot and a container that fits your space and lifestyle. You can compost in a backyard, on a balcony, or in a small kitchen bucket if managed carefully.
Basic tools include a bin or pile, a garden fork or turning tool, and a kitchen collection container for scraps. No special equipment is required to begin.
Choose a Bin Type for Home Composting
Pick a container based on space and convenience. Common options include an open pile, a tumbler, a stationary bin, or a worm bin for indoor use.
- Open pile: Low cost, works in yards with space.
- Tumbler: Easier to turn and speeds up composting.
- Stationary bin: Simple and discrete for small yards.
- Worm bin (vermicompost): Great for apartments and kitchen waste.
Materials to Add to Your Compost
Balance ‘greens’ (nitrogen-rich) and ‘browns’ (carbon-rich) for efficient composting. Aim for roughly a 2:1 or 3:1 ratio of browns to greens by volume.
- Greens: Fruit and vegetable scraps, coffee grounds, fresh grass clippings.
- Browns: Dry leaves, shredded paper, cardboard, straw.
- Avoid: Meat, dairy, oily foods, diseased plants, and pet waste.
Maintaining Your Home Composting System
Good airflow, moisture, and regular turning keep compost active and odor-free. Compost should be moist like a wrung-out sponge, not soggy or dry.
Turn the pile every 1–2 weeks to introduce oxygen and speed decomposition. If using a tumbler, rotate according to manufacturer suggestions.
Simple Maintenance Checklist
- Layer greens and browns to maintain balance.
- Monitor moisture and add water or dry materials as needed.
- Turn the pile to aerate and reduce odor.
- Keep the bin closed or contained to deter pests.
A typical household can divert up to one-third of its waste to compost, saving landfill space and producing great soil for gardens and potted plants.
Troubleshooting Common Home Composting Problems
Problems like bad smells, slow breakdown, or pests are easy to fix with small adjustments. Identify the cause and correct moisture, aeration, or ingredient mix.
Bad Smell
Bad odors usually mean too much moisture or too many greens (nitrogen). Add dry browns like shredded paper or leaves and turn the pile to introduce air.
Slow Decomposition
Slow breakdown often indicates insufficient nitrogen, moisture, or surface area. Chop scraps into smaller pieces, add greens, and ensure the pile is warm and moist.
Pests
To avoid rodents and flies, bury food scraps within the pile and avoid adding meat or oily foods. Use a closed bin or wire mesh if pests are persistent.
Small Real-World Example
Case study: A suburban family of four started a 200-liter stationary bin in spring. They collected kitchen scraps in a sealed container and added yard leaves as browns.
Within six months they produced rich compost used to topdress flower beds and pot tomatoes. Their weekly trash volume decreased by about 30 percent, and plants showed better growth.
Advanced Tips for Faster Home Composting
To speed up composting, shred materials, maintain a roughly 3:1 ratio of browns to greens, and keep the pile warm and moist. Adding finished compost or garden soil introduces helpful microbes.
Consider a compost thermometer to monitor temperature if you aim for hot composting. Temperatures of 55–65°C (130–150°F) accelerate breakdown and kill weed seeds.
When Is Compost Ready?
Ready compost looks dark, crumbly, and earthy-smelling. It no longer resembles original materials and contains few visible scraps.
Use finished compost as a soil amendment, potting mix component, or mulch. It improves nutrient content and soil structure without chemical fertilizers.
Final Practical Checklist
- Choose a bin that fits your space and lifestyle.
- Balance greens and browns and keep materials small when possible.
- Maintain moisture and aeration; turn the pile regularly.
- Monitor for pests and avoid banned items like meat and dairy.
Starting home composting is a low-cost way to reduce waste and grow healthier soil. Follow these practical steps and adjust based on your local conditions and available materials.