
Why Grow Microgreens at Home
Microgreens are young vegetable greens harvested shortly after sprouting. They are nutrient-dense, fast-growing, and take up little space, making them ideal for kitchens and small apartments.
Growing microgreens at home saves money, reduces waste, and delivers fresh flavor for salads, sandwiches, and garnishes. This guide gives practical steps you can use today.
What You Need to Grow Microgreens at Home
Start with basic supplies you probably already have or can buy cheaply. The setup is simple and scalable.
- Seeds: Choose seeds labeled for microgreens (broccoli, radish, sunflower, pea, basil).
- Growing medium: Potting mix, coco coir, or seed-starting mix works well.
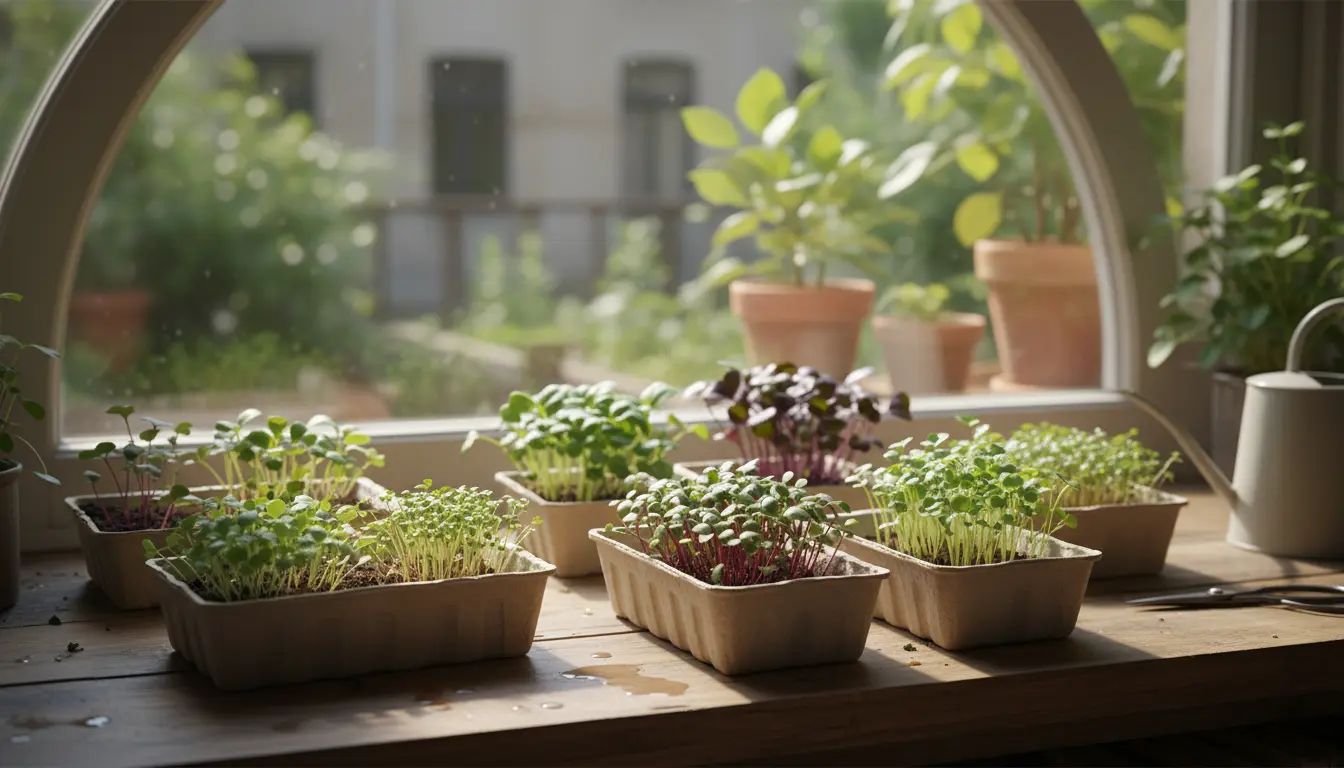
- Shallow trays: 1–2 inch deep trays with drainage or seed trays.
- Light: A sunny windowsill or LED grow light for 10–16 hours per day.
- Water: Spray bottle for gentle watering.
Step-by-Step: How to Grow Microgreens at Home
This step-by-step process covers sowing through harvest. Each step takes only a few minutes of hands-on time.
1. Prepare Trays and Medium
Fill trays with 1–1.5 inches of moistened growing medium. Press lightly to level the surface. The medium should be damp but not dripping.
2. Sow Seeds Evenly
Scatter seeds evenly to form a dense mat but avoid clumping. For small seeds, aim for touch-to-touch spacing; for larger seeds like sunflower or pea, leave tiny gaps so seedlings have room.
3. Cover and Keep Humid
Press seeds gently into the medium. Optionally cover with a thin layer of medium for very small seeds. Cover trays with a lid or another tray for 2–4 days to hold humidity and encourage even germination.
4. Provide Light and Air
Once sprouts appear, remove the cover and place under grow lights or on a bright windowsill. Keep lights about 2–6 inches above the greens. Provide air circulation to prevent mold.
5. Water Carefully
Use a spray bottle to mist the greens once or twice daily. Water from below by adding water to a shallow tray beneath the seed tray for more fragile varieties.
6. Harvest When Ready
Microgreens are usually ready in 7–21 days, depending on the variety. Harvest when the first true leaves appear by cutting stems just above the soil line with scissors.
Troubleshooting and Tips to Grow Microgreens at Home
Some common issues can be corrected quickly. These practical tips help maintain healthy crops.
- Mold: Improve air circulation, reduce humidity, and avoid over-watering.
- Leggy seedlings: Increase light intensity or lower the light closer to the seedlings.
- Poor germination: Check seed freshness and ensure consistent moisture for the first few days.
- Flavor control: Harvest earlier for milder taste and later for stronger flavor.
Best Microgreen Varieties to Grow at Home
Begin with forgiving, fast-growing varieties. These give reliable results for beginners.
- Broccoli – mild, nutrient-rich, quick (6–10 days).
- Radish – peppery, very fast (5–8 days).
- Sunflower – crunchy and full-bodied (8–14 days).
- Pea shoots – sweet and robust (10–14 days).
- Basil – aromatic, needs slightly warmer conditions (10–21 days).
Microgreens can contain up to 40 times more vitamins and nutrients by weight than mature vegetables, depending on the variety. They were first used by chefs in fine dining and are now common in home kitchens.
Case Study: Small Kitchen Success
Emma grows microgreens on a sunny 2-foot windowsill in her apartment. She started with a single 10×20 inch tray of broccoli and radish seeds in recycled seed trays.
Within two weeks she harvested two trays, enough for daily salads and a weekly batch to share with neighbors. Her total upfront cost was under $30, and she now harvests every 10–14 days.
Practical Schedule for Continuous Harvest
For a steady supply, stagger plantings every 3–4 days across multiple trays. This method smooths out labor and ensures fresh greens most days.
- Day 0: Fill Tray A and Tray B with seeds.
- Day 3: Fill Tray C.
- Harvest Tray A when ready (day 7–10).
- Repeat the cycle to maintain a rolling harvest.
Final Tips to Grow Microgreens at Home
Use high-quality seeds meant for microgreens, keep the environment clean, and experiment with flavors by mixing varieties. Small changes to light and water produce big differences in texture and taste.
Microgreens are a low-risk, high-reward crop for beginners and experienced gardeners alike. With minimal space and time, you can add fresh, nutritious greens to your meals year-round.