
Home Composting Basics
Home composting turns kitchen scraps and yard waste into useful soil amendment. It reduces household waste and improves garden soil structure and fertility.
This guide gives clear steps for beginners and practical tips to keep your compost healthy and odor-free.
Setting Up a Home Compost System
Choose a spot for your compost that is level, well-drained and convenient to access. A partly shaded spot near the kitchen or garden often works best.
Decide between a simple pile, a tumbling composter, or a bin. Each option has trade-offs in cost, speed and maintenance.
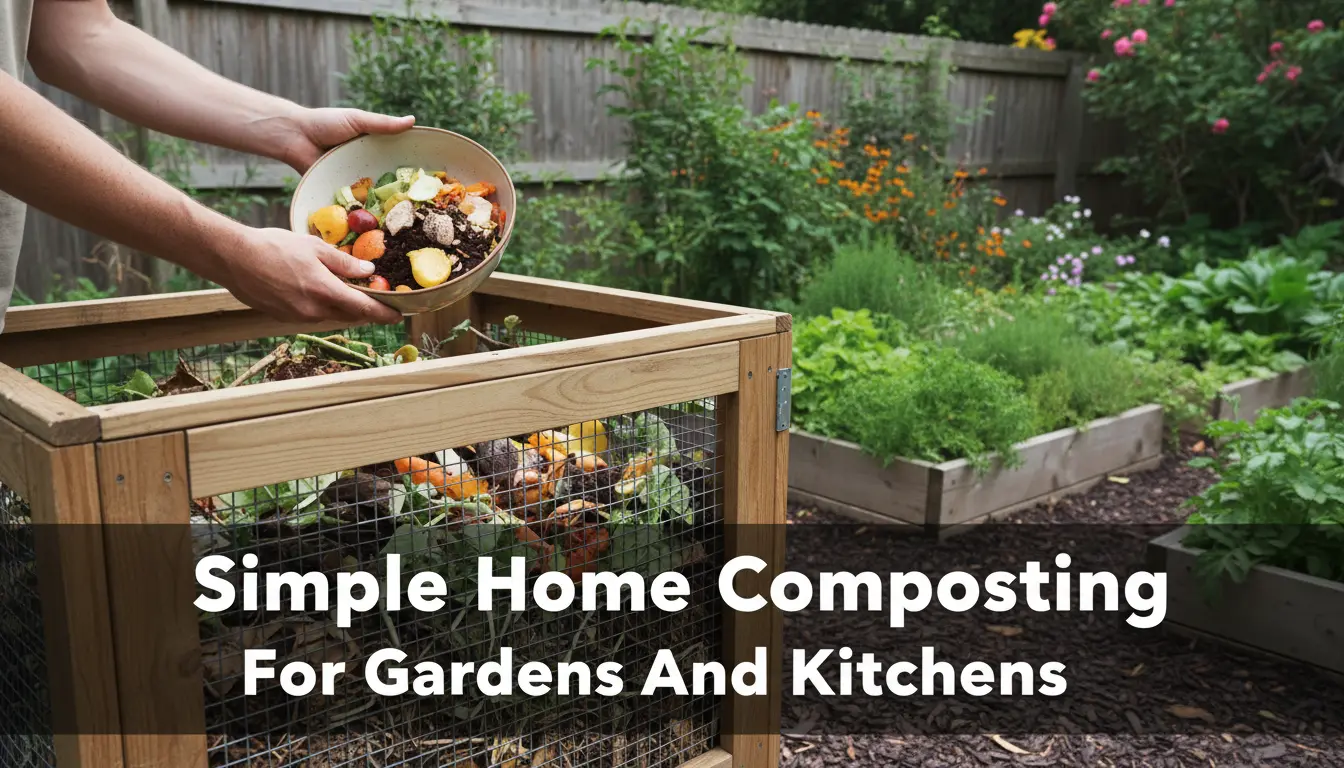
Choosing a Bin for Home Composting
Bins keep pests out and look tidier. Tumblers speed up aeration but hold less volume. Open piles are cheapest and work well for large yards.
Key features to look for: good ventilation, drainage, and access for turning or removing finished compost.
What to Compost at Home
Balance green materials (nitrogen) and brown materials (carbon). Greens include kitchen scraps and fresh grass clippings. Browns include dried leaves, shredded paper, and straw.
- Good greens: fruit and vegetable scraps, coffee grounds, fresh lawn clippings.
- Good browns: dry leaves, shredded cardboard, paper towels, small wood chips.
- Avoid: meat, dairy, oily foods, diseased plants, and pet waste from carnivores.
How to Start Home Composting Step by Step
Starting compost involves layering, moisture management and occasional turning. Follow these simple steps:
- Place a 6-12 inch layer of coarse brown material to help drainage.
- Add a mix of green and brown scraps in alternating layers.
- Keep the pile moist like a wrung-out sponge; water occasionally if dry.
- Turn or mix the pile every 1-2 weeks to introduce oxygen and speed decomposition.
If you prefer low-effort composting, maintain a cold compost pile and add materials without frequent turning; it will take longer but still produces good compost.
Maintaining a Healthy Home Compost
Watch for these common signs to adjust your process. Smells usually mean too much green material or poor aeration. A dry, slow pile means add water and greens.
Temperature indicates activity. A working hot pile reaches 120–160°F (50–70°C) and breaks down materials faster. For small backyard systems, aim for steady activity rather than extreme heat.
Quick Troubleshooting
- Odor: Add more browns, turn pile, and check moisture.
- Slow decomposition: Increase greens, chop materials finer, and turn more often.
- Pests: Avoid meat and oily foods, enclose bin, and bury food scraps inside the pile.
Using Finished Compost
Finished compost is dark, crumbly and earthy-smelling. Sift larger bits and use it as a top dressing, soil amendment, or potting mix ingredient.
Apply 1–3 inches of compost to vegetable beds or mix 10–30% compost into potting soil for containers.
Small Real-World Example: One-Season Case Study
Case: A two-person household started a 40-gallon tumbler in spring. They collected all vegetable scraps and coffee grounds and mixed in shredded paper for browns.
Results: After four months of turning every 1–2 weeks, they produced 15 gallons of finished compost. Kitchen waste sent to compost dropped household trash by roughly 25% and garden yields improved modestly when compost was added to beds.
Practical Tips and Examples
- Chop or blend kitchen scraps to speed decomposition. Small pieces break down faster.
- Use a kitchen caddy with a tight lid and empty to the outdoor bin every 2–3 days to reduce odors.
- Layer thinly on vegetable beds in fall to add organic matter for spring planting.
Quick Checklist to Start Home Composting
- Choose a bin type and location.
- Collect kitchen scraps in a sealed container.
- Balance greens and browns and maintain moisture.
- Turn regularly or accept slower cold composting.
- Use finished compost to improve soil and reduce fertilizer needs.
Home composting is low-cost, flexible and scalable to your space and time. Start small, learn by watching the pile, and adjust with the troubleshooting tips above. The environmental and gardening benefits accumulate over months and years.