
Home Composting Basics
Home composting turns kitchen scraps and yard waste into a useful soil amendment. It reduces waste and improves garden soil without buying commercial products.
This guide explains practical steps for composting at home for beginners, showing the materials you need, how to build and maintain a pile, and common troubleshooting tips.
Why Choose Home Composting
Composting reduces landfill waste and lowers greenhouse gas emissions from organic materials. It also returns nutrients to your garden and improves soil structure.
For many households, a small tumbler or bin is enough to handle typical kitchen and yard waste for a family of two to four.
What You Need for Home Composting
Start with a simple setup. You do not need expensive tools to begin.
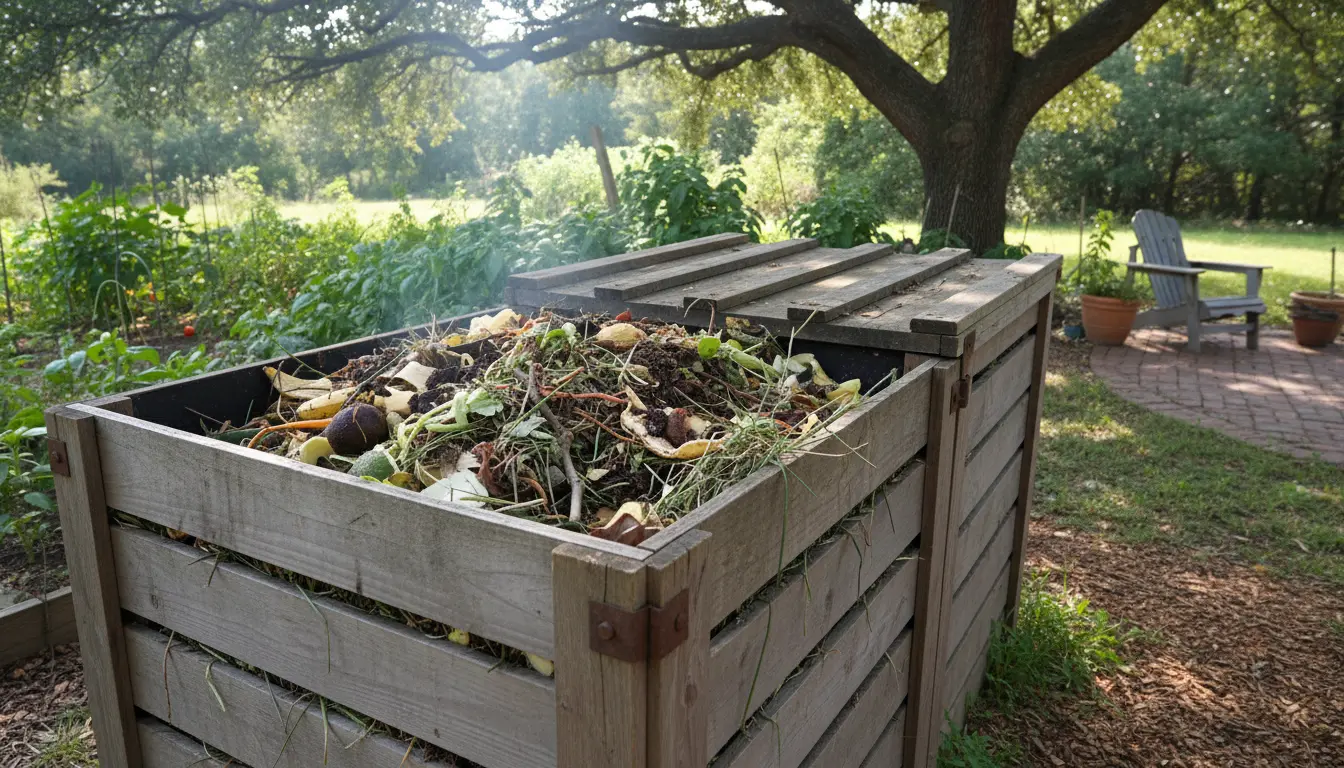
- Compost bin or tumbler, or a designated outdoor pile
- Kitchen container for scraps (with a lid)
- Basic garden tools: pitchfork or shovel
- Optional: thermometer to monitor pile temperature
Materials: Browns and Greens
Composting relies on a balance of carbon-rich materials (browns) and nitrogen-rich materials (greens).
- Browns: Dry leaves, shredded paper, cardboard, straw
- Greens: Fruit and vegetable scraps, coffee grounds, fresh grass clippings
Aiming for roughly a 25–30:1 carbon-to-nitrogen ratio works well for most backyard systems. Practically, add more browns when your pile smells and more greens when decomposition is slow.
How to Start a Compost Bin
Follow these clear steps to launch your home composting system.
- Choose a location: a well-drained, partly shaded spot near your kitchen or garden.
- Prepare a base: a layer of coarse twigs or straw improves airflow at the bottom.
- Layer materials: alternate green and brown materials in 4–6 inch layers.
- Moisture level: keep the pile damp like a wrung-out sponge — not soggy.
- Turn regularly: every 1–2 weeks for faster compost, or less often for slow composting.
Turning and Temperature
Turning aerates the pile and speeds decomposition. When you turn, mix outer material into the center.
Temperature monitoring helps. Active piles can reach 130–150°F (54–66°C). If the pile gets too cool, add greens and turn more often; if too hot, add browns and cool with water if needed.
Maintaining Your Home Compost
Maintenance is simple once you establish a routine. Set a weekly time to add scraps and check moisture.
- Cover fresh material with a brown layer to reduce odors and flies.
- Chop or shred large pieces to speed breakdown.
- Use a kitchen caddy and empty it into the bin every few days.
Troubleshooting Common Problems
Beginner composters often run into a few predictable issues. Here are quick fixes.
- Bad smells: Add more browns, aerate by turning, and check moisture.
- Pile too dry: Add water and more greens, then turn to distribute moisture.
- Pests or fruit flies: Bury kitchen scraps under a brown layer or use a closed tumbler.
- Slow breakdown: Chop materials smaller and ensure a balance of greens and browns.
Using Finished Compost
Compost is ready when it is dark, crumbly, and earthy-smelling. This typically takes 2–6 months depending on method and maintenance.
Apply finished compost as:
- Soil amendment mixed into garden beds
- Top dressing for lawns and potted plants
- Seed-starting mix ingredient (use finely screened compost)
Adding finished compost can reduce the need for chemical fertilizers by supplying multiple nutrients and improving soil water retention.
Real-World Example: Two-Neighbor Case Study
Two neighbors, Anna and Luis, started composting with the same kitchen waste but different systems. Anna used a simple open pile; Luis used a 60-gallon tumbler.
After six months, Luis had usable compost faster because the tumbler improved aeration and he turned it weekly. Anna still produced good compost but it took longer and needed more browns to control odor.
Lesson: a tumbler speeds the process and helps avoid pests, while an open pile is cheapest and still effective with proper maintenance.
Practical Tips for Composting Success
- Keep a small countertop bin with a tight lid to collect scraps.
- Shred or chop larger items to accelerate decomposition.
- Store extra brown materials (shredded cardboard, leaves) nearby for quick access.
- Be patient: composting is an ecological process and varies by season and material.
Quick Starter Checklist
- Select a bin or decide on a pile location
- Collect kitchen scraps and brown materials
- Build layers and maintain moisture
- Turn regularly and monitor progress
Home composting for beginners is accessible and impactful. With a simple bin, the right materials, and occasional turning, you can turn household waste into valuable compost to enrich your garden.