
Why Home Composting Matters
Home composting reduces food waste, improves soil, and cuts down on trash. It returns nutrients to your garden and lowers methane produced in landfills.
This guide explains easy, practical steps to start a compost bin at home and keep it working efficiently.
Choose the Right Composting Method
Choose a method that fits your space and lifestyle. Popular options include outdoor bins, tumblers, and small indoor or countertop systems.
- Outdoor compost bin: Best for yards and larger volumes of waste.
- Compost tumbler: Easier to turn and faster to process, good for small yards.
- Indoor worm bin (vermicomposting): Excellent for apartments and kitchens; produces nutrient-rich worm castings.
- Countertop compost pail: Stores food scraps before transferring to a larger system or municipal program.
Set Up Your Compost Bin
Location and setup affect how quickly compost forms. Place outdoor bins on bare soil to allow organisms to move in. If using a tumbler, set it on level ground with easy access.
For indoor bins, use a well-sealed container for kitchen scraps and a smaller tray for the finished compost.
What to Put in a Compost Bin
Compost needs a balance of carbon-rich “browns” and nitrogen-rich “greens.” Maintaining that mix keeps the pile active and odor-free.
- Greens (nitrogen): fruit and vegetable scraps, coffee grounds, fresh grass clippings.
- Browns (carbon): dry leaves, shredded paper, cardboard, straw.
A simple rule: aim for roughly 2–3 parts browns to 1 part greens by volume.
What to Avoid
- Meat, dairy, and oily foods (attract pests and cause odors).
- Diseased plants or weeds that have gone to seed.
- Pet waste from carnivores like dogs and cats.
Maintain Your Compost Bin
Regular attention keeps compost functioning. Key tasks are turning, monitoring moisture, and chopping large items.
- Turn or aerate: Every 1–2 weeks for active systems; tumblers make this easy.
- Moisture: The pile should feel like a wrung-out sponge. Add water if dry; add browns if too wet.
- Chop or shred: Smaller pieces break down faster and reduce the time to finished compost.
Speeding Up Composting
To accelerate decomposition, maintain a good green-to-brown ratio, keep the pile warm, and increase surface area by chopping scraps.
Adding finished compost or garden soil introduces microbes that help break down new material.
Troubleshooting Common Problems
Problems are usually easy to fix once you know the cause.
- Bad odors: Add more browns and turn the pile to add oxygen.
- Pests: Avoid meat and dairy; use a sealed bin or bury fresh scraps under a layer of browns.
- Slow breakdown: Check moisture and chop materials; add nitrogen-rich greens if pile is too carbon-heavy.
- Flies in indoor systems: Keep the lid closed, add a layer of dry material, and empty the bin regularly.
How to Know When Compost Is Ready
Finished compost is dark, crumbly, and smells earthy. Most outdoor bins take 3–12 months depending on conditions; tumblers and managed piles can finish in 2–3 months.
Use a thermometer for precision: mature compost often stabilizes between 100–140°F (40–60°C) during active stages and cools as it finishes.
Composting one pound of food waste saves roughly one pound of carbon dioxide equivalent from entering the atmosphere compared with landfilling. Turning scraps into compost helps reduce greenhouse gas emissions.
Using Finished Compost
Incorporate finished compost into garden soil, use it as a top dressing for lawns, or mix it into potting mixes. It improves structure, water retention, and nutrient content.
- Vegetable beds: Mix 1–2 inches of compost into the top 6–8 inches of soil before planting.
- Flower beds: Apply a 1-inch mulch of compost around plants in spring and fall.
- Pots: Blend compost with potting mix at a ratio of up to 30% compost for nutrient boost.
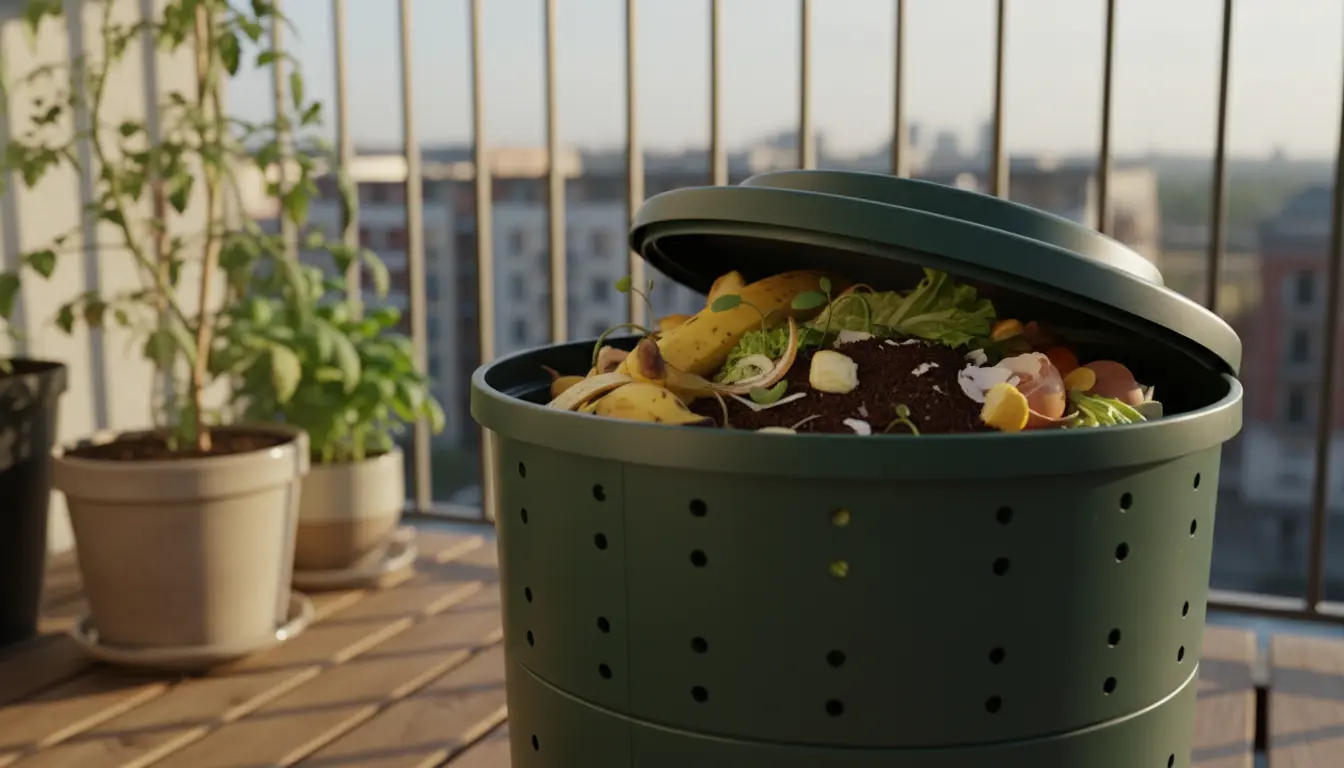
Small Real-World Example: Maria’s Balcony Compost
Maria lives in a second-floor apartment with a small balcony. She started with a 20-liter sealed worm bin and a countertop pail for kitchen scraps.
Within three months she had a steady supply of worm castings. Her balcony herbs and a potted tomato plant showed greener leaves and better growth with a monthly light compost mix.
Her routine: collect scraps daily, add a thin layer of shredded paper, and harvest castings every 8–10 weeks. This reduced her trash output and improved plant health.
Quick Start Checklist for Composting Beginners
- Choose a bin type that fits your space.
- Set up on soil or a stable surface with drainage.
- Collect greens and browns separately to keep balance easy.
- Turn the pile and monitor moisture regularly.
- Harvest and use finished compost in the garden or pots.
Final Tips for Successful Home Composting
Start small and learn as you go. Composting is flexible — adapt your system if pests, smells, or slow breakdown appear.
Join local gardening groups or municipal programs to learn about community composting and share successes. Over time you’ll reduce waste and create a valuable soil amendment for healthier plants.