
Container gardening is a simple, flexible way to grow vegetables, herbs, and flowers in limited space. This guide focuses on straightforward choices and clear steps so beginners can start a productive container garden quickly.
Why Choose Container Gardening for Beginners
Container gardening lets you control soil, drainage, and placement more easily than in-ground beds. It is ideal for balconies, patios, and small yards where traditional gardens are not possible.
Containers reduce weed pressure and make it easier to manage pests and water, which is helpful when you are learning the basics.
Basic Supplies for Container Gardening
Start with a limited set of reliable supplies to avoid overwhelm. Quality matters more than quantity when you are learning.
- Containers with drainage holes — 5–20 gallon sizes for vegetables.
- High-quality potting mix formulated for containers.
- Slow-release fertilizer or liquid feed for regular feeding.
- Hand tools: trowel, watering can, pruning shears.
- Supports like stakes or cages for tall plants.
Choosing Containers for Container Gardening
Choose containers that match plant size and water needs. Larger containers hold soil moisture longer and give roots space to grow.
Materials vary: plastic and resin stay light, clay breathes but dries faster, and fabric grow bags provide good aeration.
Soil and Drainage Tips for Container Gardening
Use a commercial potting mix — not garden soil — to ensure good drainage and aeration. Mix in perlite or coir if the mix seems heavy.
Always check that containers have drainage holes and elevate pots slightly to allow water to escape.
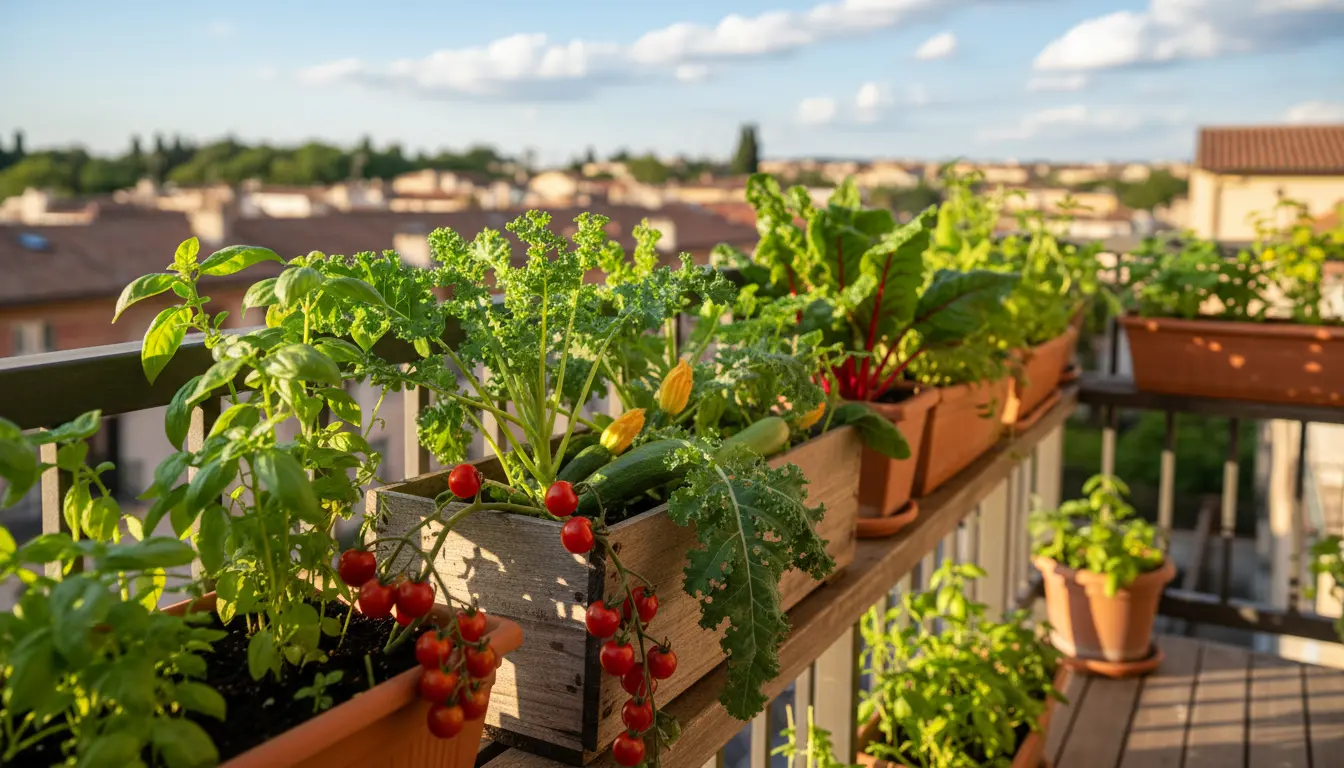
What to Plant in Container Gardening
Beginners should pick low-maintenance, high-reward plants. These provide quick learning success and steady harvests.
- Herbs: basil, parsley, chives, and mint (mint in its own pot).
- Leafy greens: lettuce, spinach, arugula.
- Compact vegetables: cherry tomatoes, peppers, dwarf beans.
- Root crops: radishes, baby carrots in deeper containers.
Step-by-Step Setup for Container Gardening
Follow these steps for a straightforward container garden setup. Each step includes a quick tip for success.
- Choose location: pick a spot with appropriate sun (6+ hours for most vegetables).
- Select containers: match pot size to plant and plan for growth.
- Fill with potting mix: leave 1–2 inches at the rim for watering.
- Plant: transplant seedlings or sow seeds per packet depth instructions.
- Water thoroughly: water until it drains from the bottom; keep consistent soil moisture.
- Feed regularly: follow fertilizer directions; many container plants benefit from light feeding every 2–4 weeks.
Watering and Feeding Basics for Container Gardening
Containers dry out faster than garden beds, so check soil daily in hot weather. Stick your finger 1–2 inches into the soil to test moisture.
Use a balanced liquid feed or slow-release pellets depending on plant needs. Overfeeding can harm plants, so follow product instructions.
Common Problems and Solutions in Container Gardening
Most beginner issues are related to water, light, or pests. Troubleshoot quickly to keep plants productive.
- Wilting: check soil moisture and root health; adjust watering.
- Poor flowering or fruiting: ensure adequate sunlight and fertilization.
- Pests: remove by hand, use insecticidal soap, and encourage beneficial insects.
Container-grown tomatoes can produce fruit up to 4 weeks earlier than in-ground plants if kept warm and well-fed. The controlled soil environment speeds early growth.
Seasonal Care and Rotation for Container Gardening
Rotate crops between seasons to reduce disease buildup and refresh potting mix annually. Replace or refresh the top few inches of soil between crops.
For winter, move frost-tender plants indoors or protect containers with covers if you plan to overwinter them.
Small Real-World Case Study
Case: Anna, a city renter with a 6-foot balcony, started container gardening in spring. She used two 10-gallon pots for cherry tomatoes, three 5-gallon pots for herbs, and a shallow trough for lettuce.
By following a simple schedule—watering each morning, feeding every three weeks, and removing spent leaves—Anna harvested continuous lettuce and two rounds of tomatoes by late summer. Her success came from choosing suitable varieties and consistent watering.
Practical Examples and Quick Planting Guide
Example layouts for a small balcony:
- One large pot: dwarf tomato. Three medium pots: basil, parsley, and peppers.
- Shallow trough: mixed salad greens for frequent harvesting.
- Vertical shelf: stacked herbs and succulents to save floor space.
Final Checklist Before You Start Container Gardening
- Do you have at least 6 hours of sun where you plan to place containers?
- Are your containers sized appropriately with drainage holes?
- Do you have a quality potting mix and basic tools on hand?
Begin with a few pots, learn from a season, and expand as you gain confidence. Container gardening is forgiving and rewarding when approached with simple, repeatable routines.