
Home Composting Basics
Home composting turns kitchen scraps and yard waste into nutrient-rich soil amendment. It reduces household waste and improves garden health without complicated equipment.
This guide gives clear steps to start composting at home, whether you have a backyard or a small balcony.
Why Home Composting Matters
Composting cuts landfill volume and methane emissions. It also returns organic matter to soil, improving structure, water retention, and plant nutrition.
For beginners, the benefits are immediate: less trash, healthier plants, and lower waste disposal costs.
A properly managed compost pile can reduce household kitchen waste by 30 to 50 percent in just a few months.
What You Can Compost at Home
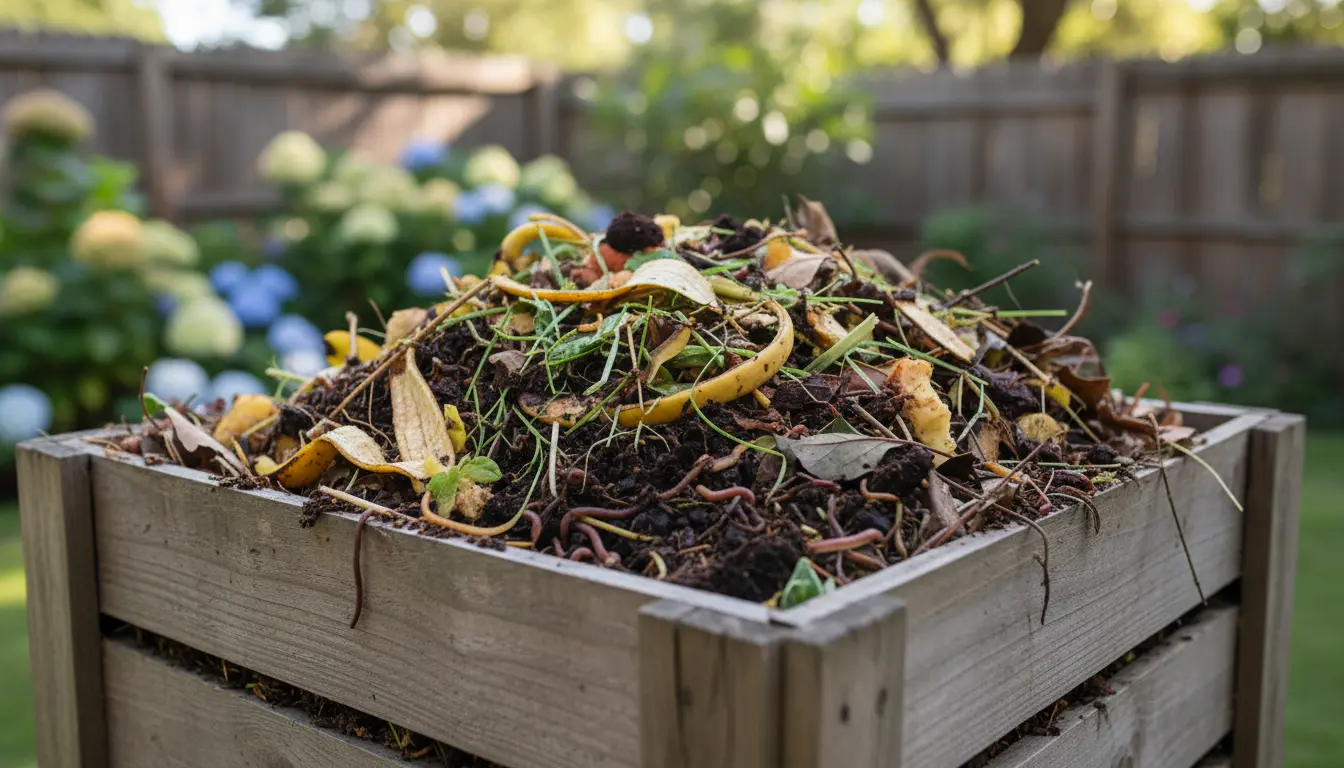
Successful home composting balances carbon-rich “browns” and nitrogen-rich “greens.” Knowing what to include makes the process faster and less smelly.
- Greens (Nitrogen): Vegetable peels, fruit scraps, coffee grounds, tea bags, fresh grass clippings.
- Browns (Carbon): Dry leaves, shredded paper, cardboard, straw, sawdust from untreated wood.
- Avoid: Meat, dairy, oily foods, diseased plants, pet waste from carnivores.
Choosing a Compost System for Home Composting
Pick a system that fits space, budget, and commitment level. Options work for different living situations.
- Open pile: Cheap and simple for large yards but needs turning and space.
- Compost bin: Contained, neater, and suitable for most backyards.
- Tumbler: Faster decomposition with easy turning, good for small yards.
- Worm composting (vermicompost): Ideal for apartments and balconies. Uses worms to process food waste quickly.
Checklist to Choose
- Available space: balcony, small yard, or large yard?
- How much kitchen waste do you produce weekly?
- How much time can you spend maintaining the bin?
- Do you want finished compost quickly?
Starting Your First Compost Pile
Location matters. Choose a level, well-drained spot with partial shade to keep the pile from drying out or becoming waterlogged.
Start with a 6–12 inch layer of coarse material like twigs to help airflow, then add alternating layers of browns and greens.
Layering and Turning
Maintain a rough 3:1 ratio of browns to greens by volume. If the pile smells, add more browns; if it seems dry, add water and greens.
Turn the pile every 1–2 weeks to introduce oxygen. Tumblers make this step easier, while open piles or bins need a garden fork.
Common Problems and Fixes
Beginners often worry about smell, pests, and slow decomposition. Most issues are easy to fix.
- Bad odor: Add dry browns and turn the pile to increase aeration.
- Pests: Avoid meat and dairy. Use a closed bin or fine mesh for small animals.
- Too wet: Mix in dry materials and cover the pile during heavy rain.
- Too dry: Sprinkle water and add greens or fresh kitchen scraps.
How to Tell When Compost Is Ready
Finished compost is dark, crumbly, and smells earthy. It usually takes 2–12 months depending on temperature, materials, and turning frequency.
Use a sieve or screen to separate finished compost from larger, unfinished pieces, which you can return to the pile.
Using Finished Compost
Apply finished compost as a topdressing, mix it into potting soil, or create a compost tea for liquid feeding.
- Vegetable beds: Mix 2–4 inches into the topsoil before planting.
- Lawns: Spread a thin layer and lightly rake it in to improve soil health.
- Container plants: Blend 20–30% compost into potting mixes.
Small Real-World Case Study
Sarah lives in a two-bedroom apartment with a small balcony. She started a worm bin the size of a storage tote and saved a quart-sized jar of food waste per week from the trash.
After three months, Sarah had enough vermicompost to top-dress her balcony planters and noticed healthier herbs and stronger growth. Her weekly trash volume decreased noticeably.
Practical Tips for Busy Beginners
- Keep a sealed kitchen caddy for scraps to make daily collection easy.
- Shred cardboard and paper to speed decomposition.
- Measure progress: track how much waste you divert each month.
- Start small: one bin or a small worm composter reduces overwhelm.
Quick Start Plan for the First Month
- Week 1: Choose system and set it up. Start with a base layer of browns.
- Week 2: Add greens and mix. Monitor moisture and temperature.
- Week 3: Turn the pile or rotate the tumbler once. Add more browns if needed.
- Week 4: Evaluate progress. Adjust layering and continue routine maintenance.
Home composting is a simple, practical way to reduce waste and boost soil health. Start with the methods that fit your space and schedule, and adapt as you learn. Small, consistent steps lead to steady results.