
Composting at home turns food scraps and yard waste into a valuable soil amendment. This guide walks you through practical steps to start and maintain a compost pile or bin with minimal fuss.
Home Composting for Beginners: Getting Started
Decide where to place your compost bin first. Choose a well-drained spot with some shade and easy access for adding materials and turning the pile.
Pick a container or method that fits your space and schedule. Options include simple open piles, wooden bins, plastic tumblers, and worm composting setups.
Essential Materials for Home Composting for Beginners
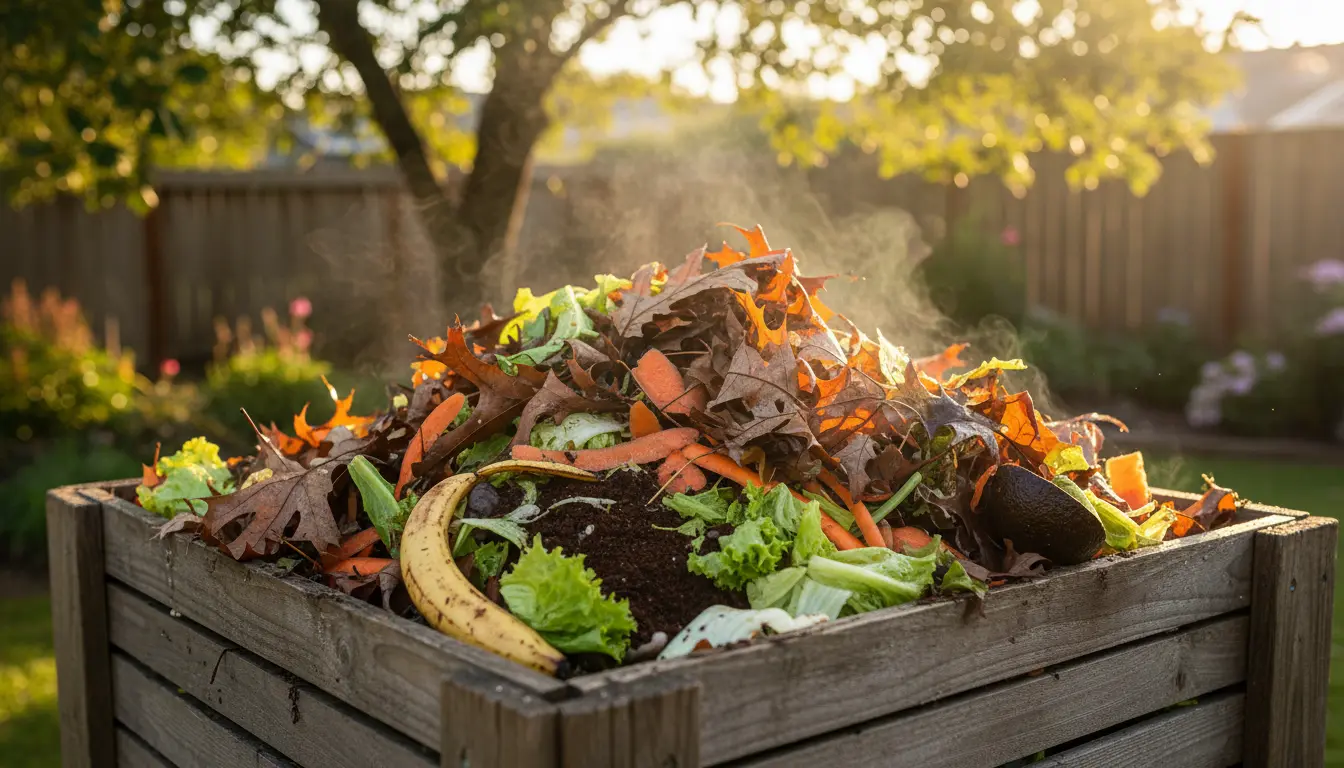
Compost needs a balance of carbon rich materials (brown) and nitrogen rich materials (green). Aim for a mix that helps microbes break down waste efficiently.
- Greens: vegetable scraps, coffee grounds, fresh grass clippings
- Browns: dry leaves, shredded paper, straw, cardboard
- Avoid meat, dairy, oily foods, diseased plants, and pet waste in typical backyard piles
How to Build a Compost Pile
Start with a layer of coarse materials to help airflow. Then alternate thin layers of greens and browns, keeping the pile moist like a wrung-out sponge.
For faster composting, aim for a pile size of at least 3x3x3 feet. Smaller piles work but will take longer to heat and break down.
Simple Step-by-Step Process
- Layer a 4–6 inch base of twigs or coarse material.
- Add a 2–3 inch layer of greens (kitchen scraps).
- Add a 2–3 inch layer of browns (dry leaves, shredded paper).
- Keep the pile moist and turn every 1–2 weeks for aerobic breakdown.
Tools and Containers
You don’t need fancy equipment. A pitchfork, garden gloves, and a thermometer can help, but many gardeners succeed with just a bin and a turning tool.
- Open bin: simple and low cost
- Tumbler: easier to turn, contained smell
- Worm bin (vermicompost): ideal for indoor use and kitchen scraps
Common Problems and Solutions
Smells, pests, and slow decomposition are typical issues for beginners. The fix is usually adjusting balance, moisture, or containment.
- Bad odor: add more browns and turn the pile to add air.
- Pests: bury food scraps, use a closed bin, or add a wire mesh base.
- Pile not heating: add more greens and increase size or turn to introduce oxygen.
Composting can reduce household waste by up to 30 percent. Finished compost improves soil structure, water retention, and nutrient content for plants.
How Long Does Composting Take?
Times vary by method. Hot composting with frequent turning can yield finished compost in 2–3 months. Cold composting may take 6–12 months.
Finished compost looks dark, crumbly, and smells earthy. Large, unbroken materials should no longer be visible.
Using Finished Compost
Apply finished compost as a top dressing, mix it into potting mixes, or work it into garden beds before planting. Use a thin layer around plants for slow nutrient release.
- Vegetable beds: 1–2 inches mixed into soil
- Flower beds: top-dress or mix in during planting
- Potted plants: replace 25% of potting mix with compost
Small Case Study: A Suburban Apartment Balcony
Sarah, a renter with a small balcony, started a worm bin using kitchen scraps and shredded cardboard. She added a single tray of castings to her container herbs after three months.
Results: her basil and tomatoes grew more vigorously, and she cut household organic waste by about 20 percent in six months. The worm bin fit her space and required 10 minutes weekly maintenance.
Tips for Success
Consistency matters: add a variety of materials and keep the pile moist. Turning regularly speeds up decomposition and reduces odor risk.
- Chop or shred larger items to speed breakdown
- Keep a small kitchen caddy for scraps to avoid temptation to throw food in the trash
- Record additions and turning dates to track progress
Home composting is a low-cost way to reduce waste and build healthier soil. Start small, learn by doing, and adapt your approach to the space and time you have.