
Start Composting at Home: A Practical Guide
Home composting turns kitchen scraps and yard waste into rich soil without complex tools. This guide explains clear steps to set up, maintain, and use compost in small spaces.
Why Home Composting Works
Composting is a natural decomposition process where microbes break down organic material into humus. It reduces household waste, improves soil structure, and recycles nutrients for plants.
Compost also stores water in soil and reduces the need for chemical fertilizers. For many households, it cuts garbage volume and lowers waste disposal costs.
How to Start Home Composting
Starting is simple: pick a method, collect materials, and manage moisture and air. Choose a system that fits your space and lifestyle.
Choose a Composting Method
- Bin composting: Good for yards and small gardens; contains material and looks tidy.
- Tumbler composting: Speeds up mixing and can be easier to manage for faster results.
- Vermicomposting: Uses worms to compost indoors or on a balcony; best for small kitchens and apartment dwellers.
Pick a Spot and Container
Place your bin on soil where possible to allow beneficial organisms to access it. If using a container, ensure drainage and some airflow.

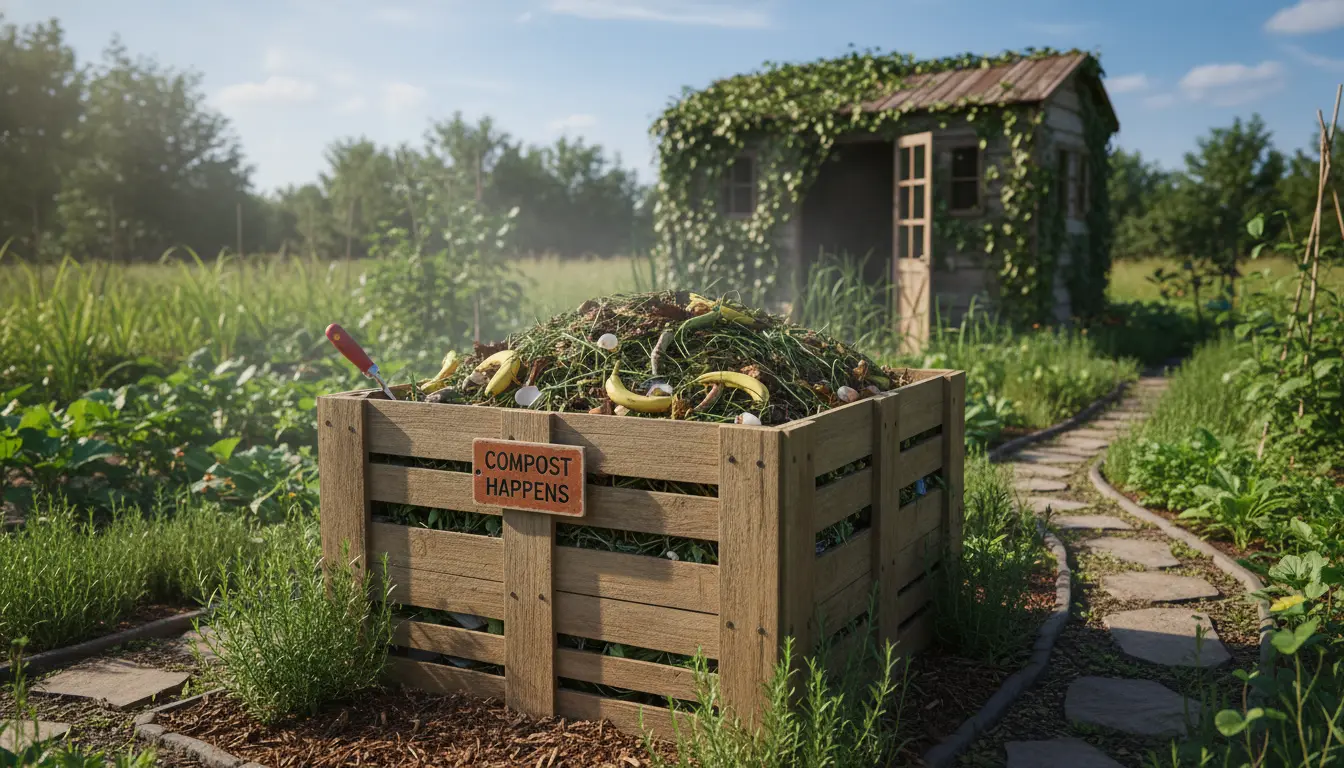
Options include plastic bins with holes, wooden pallets formed into a box, or commercial tumblers. Size depends on how much organic waste your household produces.
What to Put in a Home Compost Bin
Balance ‘greens’ (nitrogen-rich) and ‘browns’ (carbon-rich) to promote healthy decomposition. Aim for roughly a 2:1 or 3:1 ratio of browns to greens by volume.
- Greens: vegetable scraps, fruit peels, coffee grounds, fresh grass clippings.
- Browns: dry leaves, straw, shredded newspaper, wood chips.
- Avoid: meat, dairy, oily foods, diseased plants, and pet waste from carnivores.
Maintaining Your Compost
Simple maintenance keeps compost active: turn occasionally, monitor moisture, and add the right mix of materials.
Turning and Aeration
Turning introduces oxygen that helps aerobic microbes break down material faster. Turn a bin every 1–2 weeks for active systems, or less for slow composting.
Moisture and Temperature
Compost should feel like a damp sponge. Add water if it dries out, or add browns if it becomes soggy. A hot compost pile (120–150°F or 50–65°C) cooks faster and can kill seeds and pathogens.
Common Problems and Fixes
- Bad smell: Add more browns and turn the pile to add air.
- Slow decomposition: Chop materials into smaller pieces and check moisture.
- Pests: Avoid meat and large food scraps; use a closed bin or secure lid.
Adding crushed eggshells improves calcium in compost, which helps prevent blossom end rot in tomatoes and peppers.
How to Know When Compost Is Ready
Finished compost is dark, crumbly, and has an earthy smell. Most home systems produce usable compost in 2–12 months depending on method and maintenance.
Screen or sift compost to remove large pieces and return them to the bin for further breakdown.
Using Finished Compost
Finished compost improves garden soil, potting mixes, and lawn top-dressing. Use a 1–3 inch layer as mulch or mix 10–30% compost into planting beds.
Practical Uses
- Vegetable beds: Mix 2–3 inches into the top 6–8 inches of soil before planting.
- Container plants: Blend 20% compost with potting mix for added nutrients.
- Lawn care: Spread a thin layer after aeration to boost organic matter.
Small Real-World Case Study
Case: A three-person household in a suburban yard added a 50-gallon tumbler and started composting. They combined kitchen scraps with shredded leaves and turned the tumbler weekly.
Within four months they produced enough compost to enrich two raised beds, doubled their tomato yield, and reduced weekly trash by one kitchen bag. Simple maintenance and the tumbler’s design prevented pests and odors.
Tips for Success with Home Composting
- Start small and be consistent with adding diverse materials.
- Chop or shred larger items to speed decomposition.
- Keep a balance of greens and browns and monitor moisture regularly.
- Use a lid or secure container if wildlife is a concern.
- Try vermicomposting if space is limited or you want faster kitchen-scrap processing.
Quick Checklist to Begin
- Choose a bin or method that fits your space.
- Gather browns and greens before starting.
- Layer materials and maintain moisture like a damp sponge.
- Turn or aerate periodically and monitor for pests or smells.
- Harvest finished compost and use it in your garden.
Home composting is a low-cost way to reduce waste and create valuable soil amendment. With a little setup and regular attention, almost any household can recycle organic waste into a garden resource.