
Why Choose Home Composting for Beginners
Home composting reduces household waste and creates nutrient-rich soil for plants. It is a simple, low-cost way to lower your carbon footprint and improve garden health.
This guide focuses on practical actions for people new to the process. Follow these steps to start composting without specialized equipment.
Materials You Need for Home Composting
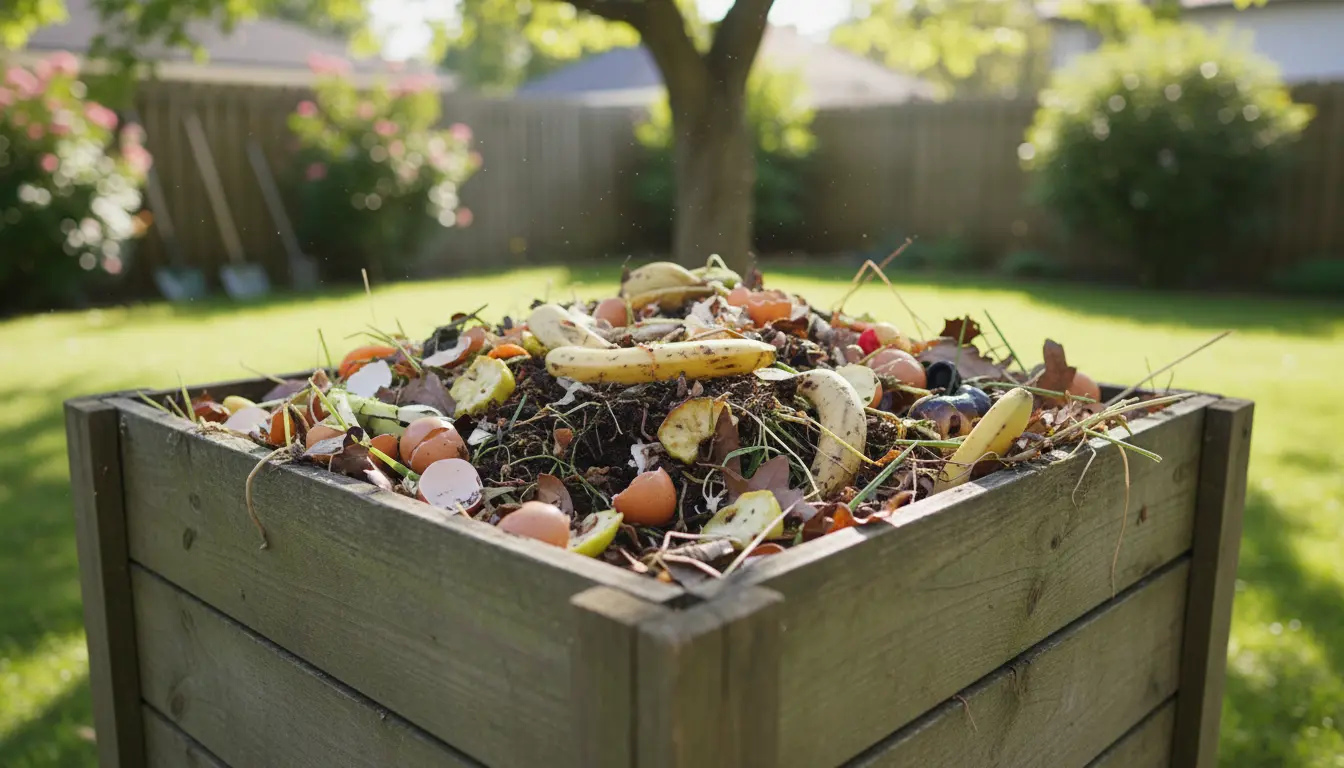
Basic supplies for home composting for beginners
You do not need fancy gear. Start with these essentials and upgrade later if needed.
- Compost bin or a simple container with drainage
- Kitchen scraps (fruit and vegetable peels, coffee grounds)
- Dry brown materials (leaves, shredded paper, cardboard)
- Garden waste (grass clippings, small twigs)
- Garden fork or small pitchfork for turning
How to Start Home Composting for Beginners
Choose a location that is convenient and has some shade. A spot near your kitchen makes adding scraps easier and encourages consistent use.
Step-by-step setup
- Prepare the bin: Use a purpose-built bin or repurpose a plastic tote with holes for airflow. Ensure there is some drainage at the bottom.
- Create a base layer: Start with 2–4 inches of coarse brown material like twigs or straw to help airflow.
- Add green and brown layers: Alternate moist ‘greens’ (kitchen scraps, grass clippings) with dry ‘browns’ (leaves, shredded paper) in roughly a 1:2 ratio of green to brown by volume.
- Maintain moisture: The pile should be damp like a wrung-out sponge. Add water if too dry, or add dry browns if too wet.
- Turn occasionally: Every 1–2 weeks, mix the pile to introduce oxygen and speed decomposition.
Maintaining Your Compost
Consistent, simple care keeps the compost active and odor-free. Focus on balance and airflow.
Key maintenance tasks
- Monitor moisture: Add water or dry materials to keep the texture right.
- Turn the pile: Use a fork to mix contents and prevent compacting.
- Add varied inputs: Chop larger scraps to speed breakdown and keep a mix of greens and browns.
- Cover the bin: A lid or breathable cover retains moisture and deters pests.
Common Problems and Solutions
Beginners often face small, fixable issues. Use the checklist below to diagnose common problems quickly.
- Bad smell: Usually from excess moisture or too many greens. Add dry browns and turn the pile.
- Pests: Avoid meat, dairy, and oily foods. Bury scraps and secure the bin.
- Slow decomposition: Increase surface area by chopping materials, add nitrogen-rich greens, and turn more often.
- Too dry: Add water and some green material; mixing helps distribute moisture.
When Is Compost Ready?
Finished compost is dark, crumbly, and smells earthy. Depending on conditions, this can take 2–6 months.
Use finished compost as a soil amendment, mulch, or potting mix component to improve structure and nutrient content.
Composting one family’s kitchen and yard waste can divert hundreds of pounds of material from landfill each year and significantly reduce methane emissions.
Small Real-World Example: Case Study
Case Study: Sarah, an apartment dweller, started a small bokashi system and a balcony worm bin. She collected kitchen scraps for six months and added finished bokashi to her worm bin.
Results: After six months she harvested about 15 liters of compost and saw improved growth in her potted herbs. The system fit her space, prevented odors, and cut her weekly trash volume by half.
Practical Tips and Examples
Here are quick tips to make composting easier and more reliable.
- Keep a small countertop container with a lid for daily scraps to reduce trips outside.
- Shred cardboard and egg cartons to speed breakdown and add valuable carbon.
- Use a compost thermometer if you want to track temperature; 130–160°F indicates active decomposition for hot composting.
- Rotate accessible materials: save a bin for finished compost while you fill another.
Starter Checklist for Home Composting for Beginners
- Pick a bin and location
- Gather greens and browns
- Layer and monitor moisture
- Turn regularly and troubleshoot as needed
- Harvest when dark and crumbly
Home composting is an easy, effective practice that benefits gardens and reduces waste. Start small, be consistent, and adjust based on your space and materials.