
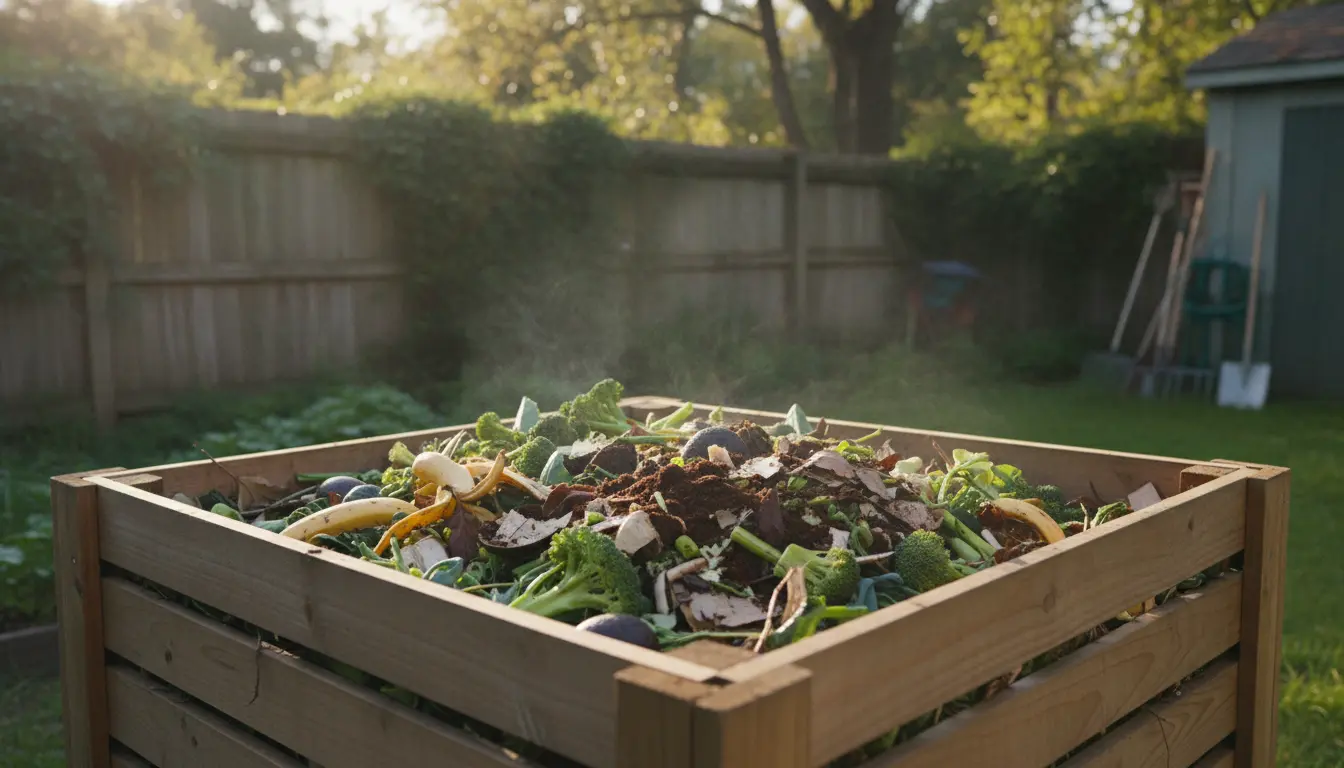
Home Composting Basics
Home composting turns kitchen scraps and yard waste into nutrient-rich soil. It reduces trash and improves garden health with minimal tools and effort.
This guide shows practical steps to start and maintain a compost bin. Follow the simple routine and troubleshoot common issues as they arise.
Why Choose Home Composting
Composting lowers household waste and provides free fertilizer for plants. It also supports soil structure, moisture retention, and beneficial microorganisms.
Even small apartments can compost with a countertop bin or worm composter. The key is regular attention and correct balance of materials.
Choose the Right Compost System
Pick a system that fits your space and routine. The three common options are backyard bins, tumblers, and vermicomposters.
- Backyard bin: Good for yards. Affordable and simple to manage.
- Tumbler: Easier turning and faster decomposition. Ideal for moderate volume.
- Vermicomposter: Uses worms for indoor or balcony composting. Best for small kitchens.
Placement and Setup
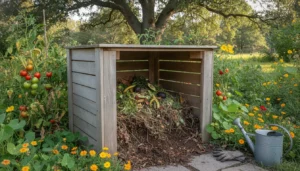
Place the bin on soil or a well-drained surface to allow microbes and worms to access the pile. Avoid direct sun in very hot climates to prevent drying.
Start with a 3–6 inch layer of coarse material like twigs to help airflow. This base reduces odor and improves drainage.
What To Compost at Home
Balance green and brown materials. Greens are high in nitrogen; browns are high in carbon. Aim for roughly a 1:3 ratio by volume.
- Greens: vegetable scraps, fruit peels, coffee grounds, fresh grass clippings.
- Browns: dry leaves, shredded paper, cardboard, straw, wood chips.
Do not compost meat, dairy, oily foods, or pet waste in an open bin. These items attract pests and slow decomposition.
Practical Layering Method
Layering helps maintain balance and airflow. Add thin layers of greens followed by thicker layers of browns.
- Start with coarse browns for drainage.
- Add a layer of greens about 2 inches thick.
- Cover with a thicker brown layer to reduce odor.
- Repeat until the bin is full.
Microorganisms and worms generate most of the heat in a compost pile. Proper moisture and aeration keep them active and speed up decomposition.
Maintain Your Compost
Regular turning and moisture checks keep the pile active. A well-managed pile reaches hot temperatures and breaks down food waste in weeks to months.
Turning and Aeration
Turn a backyard pile every 1–2 weeks for faster composting. For a tumbler, rotate several times per week. Vermicomposters do not require frequent turning.
Turning introduces oxygen needed by aerobic microbes and prevents odors from anaerobic conditions.
Moisture and Temperature
Compost should feel like a damp sponge. Add water during dry spells and add dry browns if the pile gets soggy.
Ideal temperatures for rapid composting are 120–160°F (50–70°C) in the core. Smaller or shaded piles will be cooler and decompose more slowly.
Troubleshooting Common Problems
Most issues come from imbalance, insufficient air, or improper materials. Here are quick fixes.
- Bad smell: Add more brown materials and turn the pile to introduce air.
- Pests: Avoid meat and dairy, use a closed bin, or bury food scraps in the center of the pile.
- Slow breakdown: Chop materials smaller, increase greens, and maintain moisture and heat.
When Is Compost Ready
Finished compost is dark, crumbly, and smells earthy. Most backyard systems produce usable compost in 2–6 months depending on care and materials.
Sift out larger pieces and return them to the new pile to continue decomposing.
Using Finished Compost
Use finished compost as a soil amendment, mulch, or potting mix ingredient. It improves nutrient content and water retention in soil.
Apply a 1–2 inch layer of compost around plants or mix into garden beds at planting time.
Small Real-World Example
Case Study: A two-person urban household started a 50-liter tumbler on a balcony. They collected kitchen scraps and mixed them with shredded cardboard and dry leaves.
After rotating the tumbler three times per week and keeping moisture consistent, they had usable compost in about four months. The compost helped their container tomatoes produce more fruit the following season.
Starter Checklist for Home Composting
- Choose a bin style that fits your space.
- Gather brown materials: dry leaves, shredded paper.
- Gather green materials: vegetable scraps, coffee grounds.
- Turn regularly and monitor moisture.
- Use finished compost on plants and in garden beds.
Home composting is flexible and scalable. Start small, adjust your routine, and expand as you learn what works for your household.
With steady care, you can cut waste and improve your garden’s soil in a few months.