
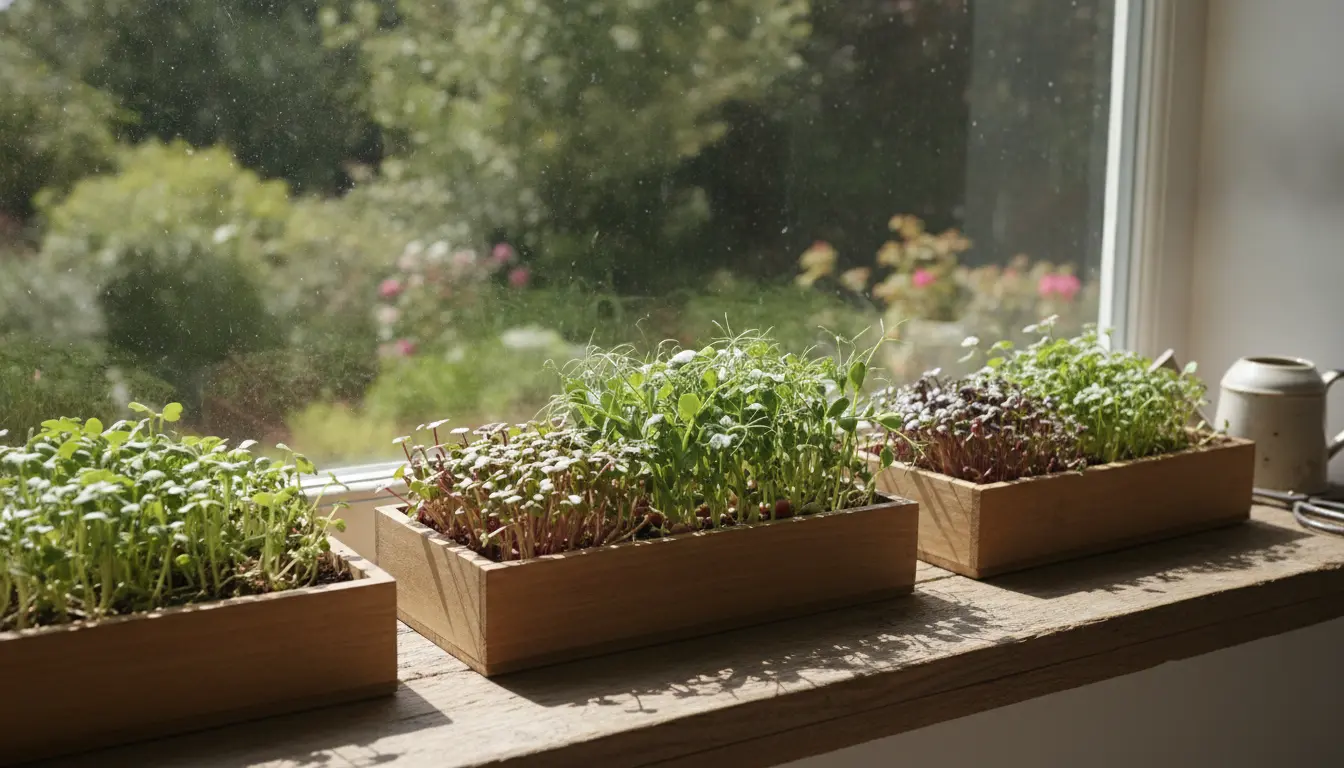
Growing microgreens indoors is a low-cost, fast way to produce nutrient-dense greens year-round. This guide covers the tools, steps, and troubleshooting you need to start and maintain a small indoor microgreens setup.
Why growing microgreens indoors works
Microgreens mature quickly—typically 7 to 21 days—so you get frequent harvests from a small space. They require minimal equipment and can be grown on a windowsill, shelf, or dedicated rack.

Indoor growing reduces pests and weather risk, making microgreens ideal for beginners and small-scale sellers. Consistent light and simple routines produce reliable results.
Essential supplies for growing microgreens indoors
Gather basic items before sowing. You can scale these from a single tray to dozens once you master the process.
- Shallow trays with drainage (10 x 20 inch hobby trays are common)
- Growing medium: seed-starting mix, coconut coir, or hydro mat
- High-quality microgreen seeds (radish, sunflower, pea, basil, beet)
- Lighting: full-spectrum LED grow light or a bright south-facing window
- Spray bottle for misting and a watering tray
- pH-neutral water and a small fan for air circulation
Step-by-step process for growing microgreens indoors
Follow these stages to set up and manage your microgreens crop. Each step is short but important for success.
1. Prepare trays and medium
Fill trays with a 1 to 1.5 inch layer of your chosen growing medium. Smooth the surface so seeds sit evenly.
Lightly moisten the medium before sowing. It should be damp but not saturated.
2. Sow seeds for growing microgreens indoors
Broadcast seeds evenly across the tray surface. For small seeds (e.g., basil), sow thinly. For larger seeds (e.g., sunflower), sow more densely but avoid clumping.
Press seeds gently into the medium so they contact the soil, then cover with a thin layer of medium or leave uncovered depending on seed type.
3. Cover and germinate
Place a light block or another tray on top to create humidity and encourage uniform germination. Keep the covered trays in darkness or low light for 2–4 days, depending on seed type.
Check daily and mist if the medium dries. Remove the cover when most seeds have sprouted.
4. Provide light and airflow
Move trays under a full-spectrum LED or to a bright window. Microgreens need about 12–16 hours of light per day for compact growth.
Use a small fan on a low setting to improve air circulation and reduce damping-off disease risk.
5. Watering and feeding
Water from the bottom by placing trays in a shallow water bath for a few minutes, then let drain. This reduces mold on leaves. Alternatively, mist lightly from above once a day.
Microgreens usually do not require fertilizer in short cycles; a weak seaweed or fish emulsion can be used for longer-grown varieties.
6. Harvesting your microgreens
Harvest when true leaves appear and stems are sturdy—typically 7–21 days. Use sharp scissors and cut just above the soil line.
Harvest by tray into a clean container. Rinse only if you plan to store them; otherwise, dry harvest is fine for immediate use.
Troubleshooting common issues when growing microgreens indoors
- Leggy growth: Increase light intensity or decrease distance between light and seedlings.
- Mold or fungal growth: Improve airflow, avoid overwatering, and reduce humidity under covers.
- Poor germination: Check seed viability and sowing depth; some seeds prefer surface sowing.
- Bitter taste: Overmaturity or heat stress can increase bitterness—harvest earlier or lower temperatures slightly.
Practical tips to improve yields and quality
- Rotate varieties: Alternate fast crops (radish) with slower ones (pea) to maintain a steady harvest schedule.
- Sanitize trays between crops to prevent disease buildup.
- Label trays with seed type and sow date for consistent record-keeping.
- Test small batches of new seed suppliers before buying in bulk.
Microgreens can contain up to 40 times higher nutrient levels per weight than their mature counterparts for certain vitamins and antioxidants.
Case study: Small-scale indoor microgreens success
Maria, a home cook, started with two trays on her kitchen shelf. She chose radish and sunflower seeds because they germinate quickly and sell well at local markets.
After two months of weekly sowing cycles, Maria averaged three trays harvested per week. Her costs were under $15 per month for seeds and soil, and she sold 4-ounce clamshells for $4 each at a neighborhood market.
The clear routines—consistent light schedule, bottom watering, and tray sanitation—improved her yields and reduced spoilage to under 10% per batch.
Final checklist for growing microgreens indoors
- Gather trays, medium, seeds, and lights.
- Sow evenly and maintain steady moisture during germination.
- Provide 12–16 hours of light and gentle airflow.
- Harvest at the right stage and sanitize between crops.
With simple supplies and a short learning curve, growing microgreens indoors can be both a rewarding hobby and a small income source. Start small, keep records, and scale when you have consistent results.