
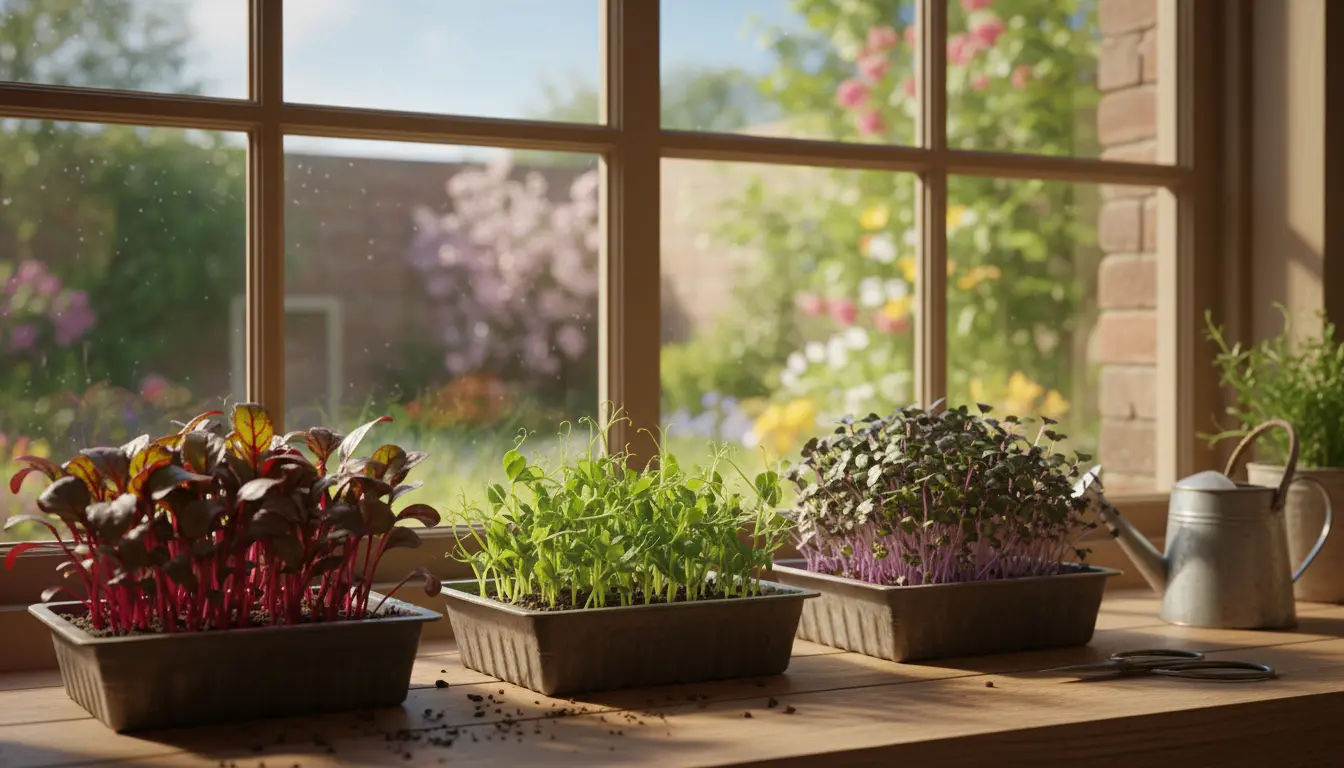
Why Grow Microgreens at Home?
Microgreens are young vegetable greens harvested just after the cotyledon leaves form. They pack concentrated flavor and nutrients and can be grown year-round on a windowsill.
Growing microgreens at home is fast, low-cost, and great for people with limited space. You get fresh greens in 7 to 21 days depending on the crop.
Benefits of Growing Microgreens at Home
- Quick harvest cycles and rapid turnover
- Minimal space and equipment needs
- Higher nutrient density per weight than mature greens
- Reduced food miles and waste
Basic Supplies to Grow Microgreens at Home
Start with a short shopping list. Most items are inexpensive and reusable.
- Shallow trays with drainage or seedling flats
- Quality potting mix or coconut coir
- Microgreen seeds (pea, radish, broccoli, basil, sunflower)
- Spray bottle for misting
- Simple grow light or a sunny south/east-facing window
Step-by-Step: How to Grow Microgreens at Home
This practical sequence covers sowing through harvest. Keep each step short and consistent for best results.
- Prepare trays: Fill trays 1 to 1.5 inches deep with moistened potting mix. Level the surface.
- Sow seeds: Spread seeds evenly. For dense microgreens like broccoli, sow thickly. For larger seeds like peas, space them slightly apart.
- Press seeds: Lightly press seeds into the soil so they touch the surface. Do not bury most microgreen seeds deeply.
- Cover and dark period: Cover with another tray or damp paper towel for 2–3 days to encourage uniform germination.
- Light and water: Move to bright light after the dark period. Mist once or twice daily to keep soil moist but not waterlogged.
- Harvest: Use scissors to cut microgreens just above the soil line when the first true leaves appear. Typical time 7–21 days.
Best Microgreens to Start With
- Radish: Fast, spicy, 5–7 days
- Broccoli: Mild, nutritious, 8–12 days
- Pea shoots: Sweet, crunchy, 10–14 days
- Basil or cilantro: Aromatic, slightly slower, 12–21 days
Troubleshooting Growing Microgreens at Home
Common problems are easy to fix with small adjustments. Keep records of what you change between batches.
- Leggy stems: Increase light intensity or move trays closer to the light source.
- Mold or damping off: Lower humidity, improve air circulation, avoid overwatering, and use clean trays.
- Poor germination: Check seed freshness and increase the dark period for slow-germinating seeds.
Watering and Light Tips to Grow Microgreens at Home
Correct water and light are the two most important factors for success. Aim for consistent conditions rather than extremes.
- Watering: Keep soil moist but not saturated. Bottom watering can reduce mold risk.
- Light: Provide 12–16 hours of light per day using a fluorescent or LED grow light if natural light is limited.
Microgreens often contain higher concentrations of vitamins and antioxidants than their mature counterparts. In some studies, vitamin levels were 4–40 times higher in microgreens.
Harvesting, Storage, and Uses
Harvest when you see the first true leaves for the best balance of flavor and tenderness. Use clean scissors and cut above the soil line.
Store harvested microgreens in a breathable container or paper towel-lined bag in the refrigerator. Use within 5–7 days for peak freshness.
- Use them raw on salads, sandwiches, or bowls.
- Add at the end of cooking to preserve flavor and nutrients.
Case Study: Small Apartment Success
Anna lives in a two-bedroom city apartment with a small east-facing window. She wanted fresh greens year-round without a garden.
She used a single 10×20 tray, coconut coir, and broccoli seeds. After a 2-day dark period and 12 days under a compact LED light, she harvested 200 grams of microgreens enough for weekly salads.
Her costs: under $20 initial setup and about $2 per crop in seeds and mix. This is a practical example of how easy it is to grow microgreens at home with limited time and space.
Small Scale Tips to Scale Up
If you want to expand production, keep these simple strategies in mind. Scaling should focus on consistency more than complexity.
- Stagger sowing dates to have continuous harvests.
- Label trays with sow and expected harvest dates.
- Use shelving and LED strips to multiply growing area without using more floor space.
Final Checklist to Grow Microgreens at Home
- Choose 1–3 easy seed varieties to start
- Gather trays, soil, spray bottle, and light
- Follow the sowing, dark period, then light routine
- Monitor daily for moisture and pests
Growing microgreens at home is a high-reward, low-effort activity that suits beginners and busy households. Start simple, keep records, and refine your routine as you learn what works in your space.