
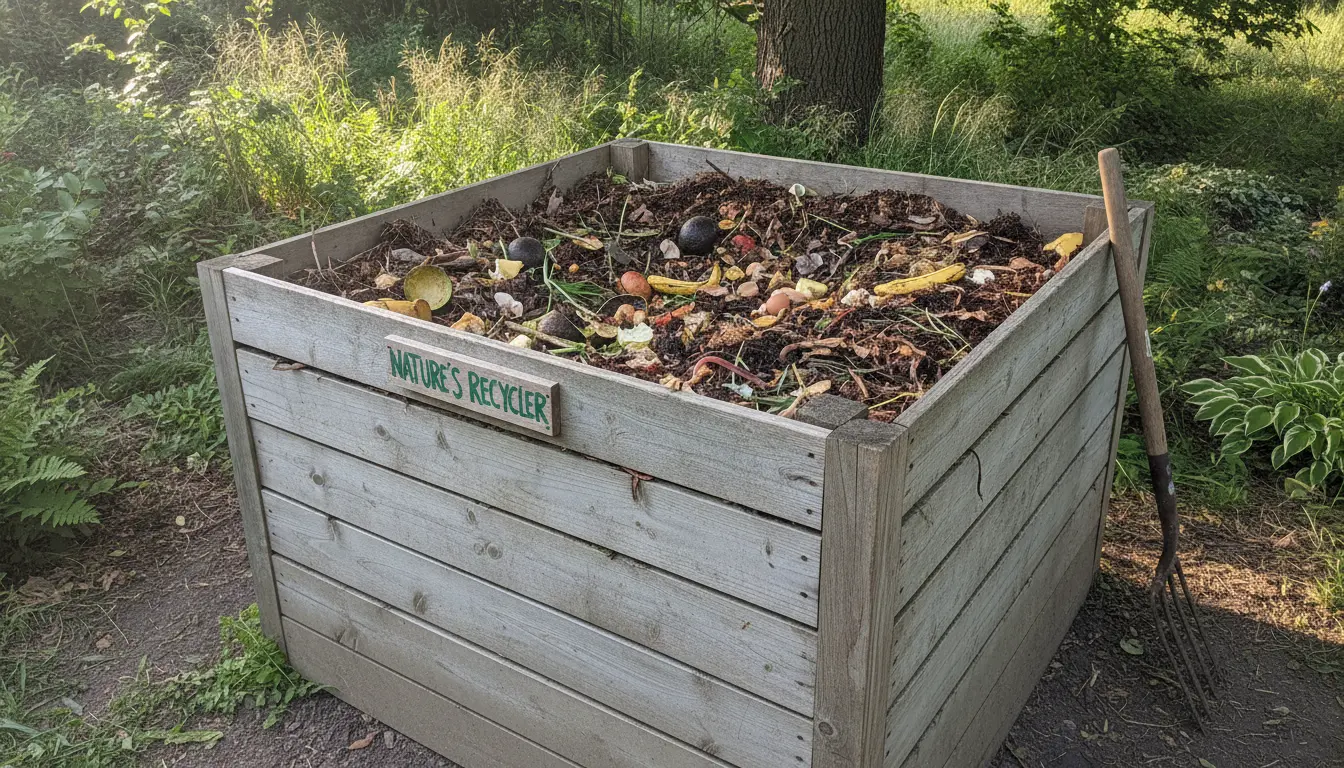
Start Home Composting Today
Home composting turns kitchen scraps and yard waste into rich soil that feeds plants. This guide explains simple, step-by-step methods you can use in small spaces or a backyard bin.
Why Home Composting Matters
Composting reduces household waste and returns nutrients to the soil. It lowers methane emissions from landfills and can reduce the need for chemical fertilizers.
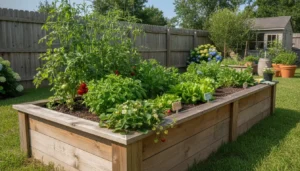
With a small effort, you can improve garden health and cut waste pickup volume.
How to Start Home Composting
Follow these core steps to begin a basic home compost system. Each step is practical and needs minimal tools.
1. Choose a Compost System
Select a method that fits your space and schedule. Common options include a rotating tumbler, a stationary bin, or a simple pile.
- Rotating tumbler: Faster, neater, good for small yards.
- Stationary bin: Affordable and low maintenance.
- Open pile: Works for larger yards where aesthetics are less important.
2. Gather Materials for Home Composting
Balance ‘greens’ and ‘browns’ to create healthy decomposition. Aim for roughly a 2:1 or 3:1 ratio of browns to greens by volume.
- Greens (nitrogen): vegetable and fruit scraps, coffee grounds, fresh grass clippings.
- Browns (carbon): dry leaves, shredded paper, straw, small wood chips.
- Water: the pile should feel like a wrung-out sponge, not dripping wet.
3. Build and Maintain Your Pile
Layer materials: a base layer of coarse browns, then alternate greens and browns. Add water as needed and mix every 1–2 weeks to aerate.
- Turn the pile to supply oxygen and speed up decomposition.
- Chop or shred large items to reduce time to finished compost.
- Keep pile size around 3x3x3 feet for best heat retention.
Home Composting Troubleshooting
Common issues are easy to fix with small adjustments. Use this checklist to diagnose problems quickly.
Bad Odor
If the pile smells sour or rotten, it is too wet or has too many greens. Add dry browns and turn the pile to introduce air.
Slow Decomposition
Slow breakdown usually means the pile is too dry, too small, or lacks nitrogen. Add moist greens, increase pile size, and mix to raise temperature.
Pests
Avoid attracting rodents by burying food scraps under browns and using a closed bin or secure tumbler. Do not compost meat, dairy, or oily foods if pests are a problem.
What Not to Compost
Protect your compost from contaminants and pests by avoiding these items:
- Meat, fish, bones, and dairy
- Oily foods and greasy paper
- Diseased plants and invasive weeds with seeds
- Pet waste from carnivores
Speeding Up Home Composting
If you want finished compost faster, try these techniques to increase microbial activity and heat.
- Shred materials so microbes can process them faster.
- Maintain proper moisture and aeration by turning frequently.
- Add finished compost or garden soil as an inoculant to introduce microbes.
Simple Case Study: A Small Urban Success
Maria lives in a small city lot and started composting in a 50-liter tumbler. She collected kitchen scraps and mixed them with dry leaves from neighbors during fall.
After six months of weekly turning and balancing greens and browns, she produced nutrient-rich compost. Her potted vegetables grew better and she reduced trash output by about half.
Using Finished Compost
Finished compost is dark, crumbly, and smells earthy. Use it as a top dressing, potting mix amendment, or to improve lawn and garden beds.
- Top dress garden beds with 1–2 inches of compost in spring or fall.
- Mix compost into potting soil at 10–30 percent for containers.
Final Tips for Home Composting
Start small and learn by doing. Keep a small indoor container with a tight lid for scraps and empty it into the outdoor bin regularly.
Track what you add and adjust ratios if the pile smells or slows. Composting is flexible and adapts to your schedule and space.
With basic tools, regular mixing, and the right balance of materials, home composting becomes a reliable way to reduce waste and build healthier soil.