
Why start home composting
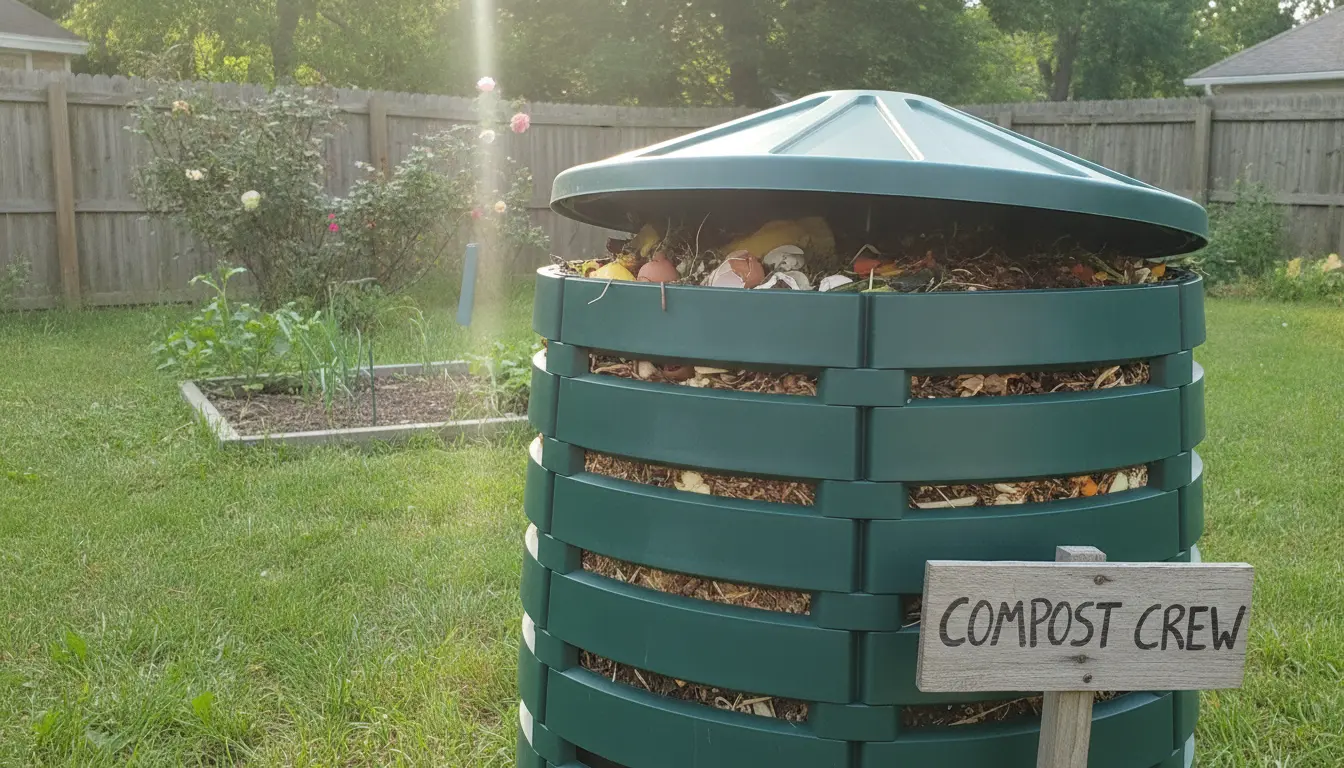
Home composting turns food scraps and yard waste into a useful soil amendment. It reduces household waste and improves garden soil health without chemicals.
This guide gives practical steps you can follow today, whether you have a backyard, balcony, or just a small indoor space.
Home Composting Basics
Composting is the controlled breakdown of organic material by microbes. You need the right balance of carbon and nitrogen, air, moisture, and time.
Keep things simple to start: mix greens (nitrogen) and browns (carbon), maintain aeration, and monitor moisture like a wrung-out sponge.
What to compost
- Vegetable and fruit scraps
- Coffee grounds and filters
- Tea bags (remove staples)
- Eggshells, crushed
- Grass clippings and small yard trimmings
- Shredded paper, cardboard, and dry leaves
What not to compost
- Meat, dairy, grease, and bones (can attract pests)
- Diseased plants or invasive weeds with seeds
- Pet waste from carnivores
- Large woody branches (use a chipper or let them dry first)
How to Start Home Composting
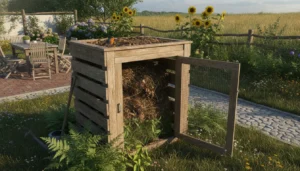
Choose a method that fits your space and time. Options include a backyard bin, tumbler, vermicompost (worms), or a small indoor Bokashi system.
Choosing a composting method
- Backyard bin: Good for yards, low cost, higher capacity.
- Tumbler: Faster turning and less physical work, good for moderate volumes.
- Vermicomposting: Uses red worms, ideal for kitchens and apartments with limited space.
- Bokashi: Fermentation system, works indoors and accepts meat/dairy when followed by soil burial.
Step-by-step backyard composting
- Pick a location with partial shade and good drainage.
- Start with a 4–6 inch layer of coarse material (twigs) for aeration.
- Add a mix of greens and browns in roughly 1:3 weight ratio—more browns if wet.
- Moisten materials so they feel like a damp sponge.
- Turn the pile every 1–2 weeks to add oxygen and speed decomposition.
- After 2–6 months, finished compost will be dark, crumbly, and smell earthy.
Troubleshooting Home Composting
Problems are usually easy to fix. Observe the pile and adjust one variable at a time.
Common issues and fixes
- Bad odor: Add more dry browns and turn the pile to add air.
- Pile too dry: Add water and more green materials or kitchen scraps.
- Pile too wet and compacted: Mix in dry materials like shredded cardboard and turn often.
- Slow decomposition: Chop materials smaller, increase surface area, or check moisture and aeration.
- Pests: Avoid adding meat/dairy, bury food scraps, and use a closed bin or tumbler.
Small Real-World Case Study: Apartment Balcony Composting
Maria lives in a two-bedroom apartment and started vermicomposting in a 20-liter bin. She added kitchen scraps and shredded paper, fed the worms small amounts twice weekly, and maintained moisture like a damp sponge.
After three months she harvested 5 liters of worm castings. She mixed the castings into potted herbs and saw faster growth and greener leaves within six weeks.
Key takeaways: consistent small feedings, avoiding citrus and onion overload, and maintaining moderate moisture kept the system odor-free and productive.
Using Finished Compost
Finished compost improves soil structure, water retention, and nutrient availability. Use it as a top dressing, mix into potting soil, or work into garden beds.
Application tips
- Top-dress potted plants with a thin layer (1/2 inch) and gently scratch it in.
- Mix 1 part compost to 3 parts native soil when amending garden beds.
- Use compost tea or diluted compost extracts for a mild liquid feed.
Quick Checklist to Start Home Composting
- Select a method: bin, tumbler, worm bin, or Bokashi.
- Gather materials: greens, browns, a container, and a small shovel or aerator.
- Start small: build a modest pile or bin and add scraps regularly.
- Monitor moisture and aeration weekly.
- Harvest finished compost when dark and crumbly.
Home composting is a practical way to reduce waste and enrich soil. Start with one manageable method, learn by doing, and adapt your system to your space and lifestyle.