
Why choose growing microgreens at home
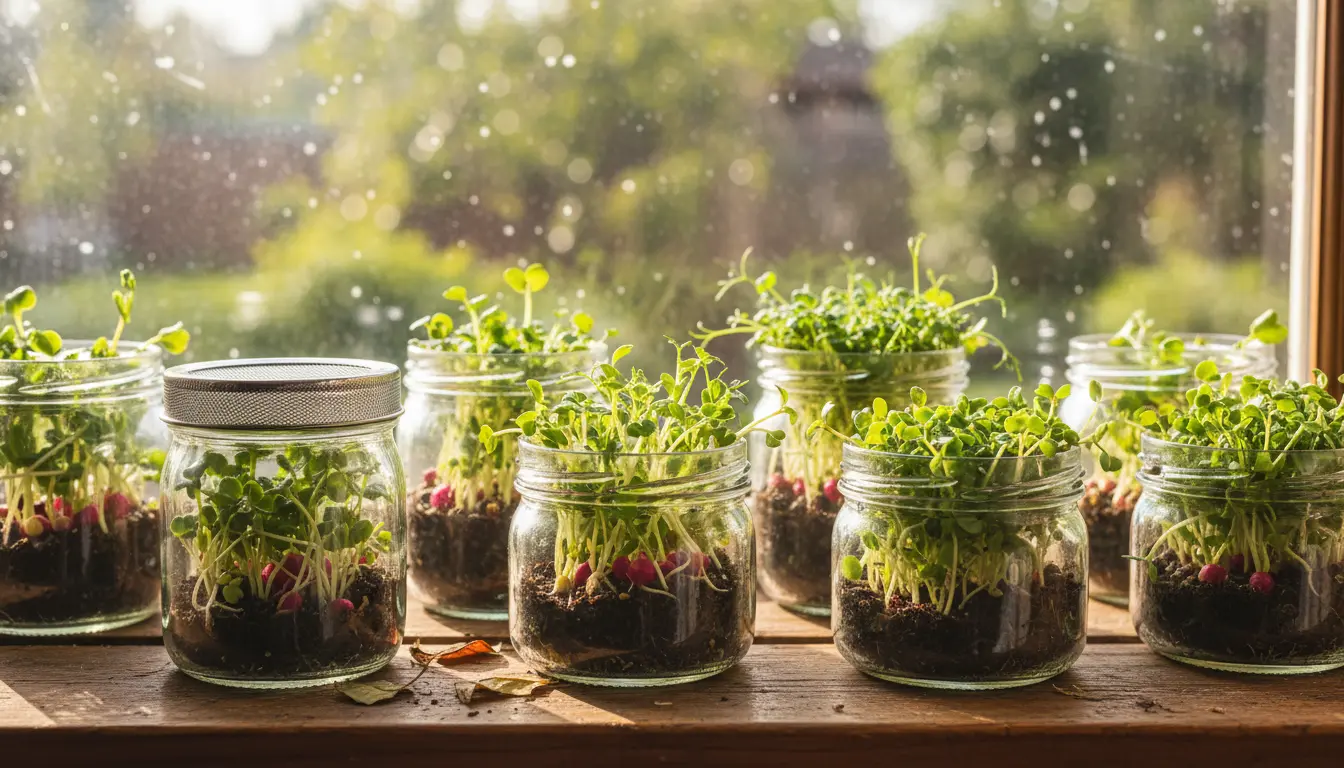
Growing microgreens at home is a fast, space-efficient way to add fresh greens to meals. They mature in 7–21 days and fit on a windowsill or countertop.
Microgreens are nutrient-dense and work well for beginners. This guide gives simple, practical steps to get consistent results.
What you need for growing microgreens at home
Gather basic supplies before you start. You do not need specialized equipment; many items are common household or garden shop purchases.
Essential supplies for growing microgreens at home
- Shallow trays or seed flats with drainage
- Quality potting mix or seed-starting mix
- Seeds labeled for microgreens (e.g., radish, broccoli, basil)
- Spray bottle for watering
- Light source: sunny window or LED grow light
- Scissors for harvesting
Step-by-step growing microgreens at home
Follow these steps for a reliable microgreen harvest. Keep each step short and consistent for best results.
1. Prepare the tray and soil
Fill your tray with 1–1.5 inches of moistened potting mix. Press lightly to create a firm, even surface that helps even germination.
2. Sow the seeds
Broadcast seeds evenly across the soil surface. For dense microgreens like radish or broccoli, aim for full coverage. For herbs like basil, leave a little more space between seeds.
3. Cover and germinate
Lightly mist seeds with a spray bottle. Cover the tray with a second inverted tray or a humidity dome for 2–4 days to maintain humidity during germination.
4. Provide light and air
Once seeds sprout, remove the cover and move the tray to bright indirect light or under a grow light. Keep the temperature between 65–75°F (18–24°C).
5. Watering routine
Water from the sides or mist the leaves to avoid disrupting stems. Maintain even moisture but avoid waterlogged soil that causes mold.
6. Harvesting your microgreens
Harvest when the first true leaves appear and stems are 1–3 inches tall. Use clean scissors to cut above the soil line and rinse gently before use.
Light, water, and common issues when growing microgreens at home
Understanding light and water needs prevents common problems like legginess and mold. Adjust conditions instead of changing seeds or trays immediately.
Light tips for growing microgreens at home
- 6–12 hours of bright light daily prevents legginess.
- Use a cool white LED grow light if windowsill light is insufficient.
- Place lights 6–12 inches above trays and raise as plants grow.
Water and humidity control
- Mist twice daily or water from the tray edge to keep soil moist.
- Good airflow reduces mold; use a small fan if needed.
- Reduce humidity as seedlings mature to strengthen stems.
Troubleshooting common problems when growing microgreens at home
Quick fixes help maintain healthy crops. Diagnose issues before they spread to other trays.
- Mold or damping-off: Improve air circulation, reduce humidity, and avoid overwatering.
- Leggy seedlings: Increase light intensity or move trays closer to the light source.
- Pale leaves: Ensure adequate light and check for nutrient-poor soil; a light liquid feed can help.
A two-week tray of some microgreens can contain higher vitamin and antioxidant levels per gram than mature leaves of the same plants.
Storage and using your microgreens
Store harvested microgreens dry and cool for best shelf life. Wrap loosely in a paper towel and keep in an airtight container in the fridge for 3–7 days.
Use microgreens as garnish, in salads, sandwiches, or blended into pesto for a flavor and nutrient boost.
Small real-world example: A simple microgreens case study
Sarah, an apartment cook, used two 10×20 trays on a sunny windowsill to grow basil and radish microgreens. She used a seed-starting mix, sowed seeds densely for radish and more sparsely for basil, and used an LED light on cloudy days.
Result: radish microgreens were ready in 10 days and yielded about 4 cups per tray. Basil took 14 days and produced 3 cups per tray. Regular misting and improved airflow prevented mold and gave consistent harvests for 6 weeks.
Quick tips summary for successful growing microgreens at home
- Start with easy seeds: radish, broccoli, sunflower, and basil.
- Keep soil consistently moist but not waterlogged.
- Provide 6–12 hours of bright light daily.
- Harvest at the first true leaves for best flavor and nutrition.
Growing microgreens at home is low-cost, fast, and rewarding. Follow these practical steps and you can have fresh greens on your plate within two weeks.