
Why Start a Compost Bin at Home
Composting turns kitchen and yard waste into rich soil that improves garden health. It reduces landfill waste and lowers household greenhouse gas emissions.
Starting a compost bin is simple and cost-effective. This guide explains materials, setup, maintenance, and troubleshooting so you can begin composting in weeks.
Choosing the Right Location for Your Compost Bin
Pick a level spot with partial shade to keep the pile moist but not waterlogged. Proximity to the kitchen makes adding food scraps easier.
Ensure good drainage and easy access for turning the pile. Avoid areas that flood or are too exposed to strong sun or wind.
Types of Compost Bins
Select a bin that fits your space and budget. Each type affects airflow and maintenance frequency.
- Open pile: Free and flexible, but needs more attention to pests and rain.
- Plastic tumblers: Easy to turn and faster composting, good for small yards.
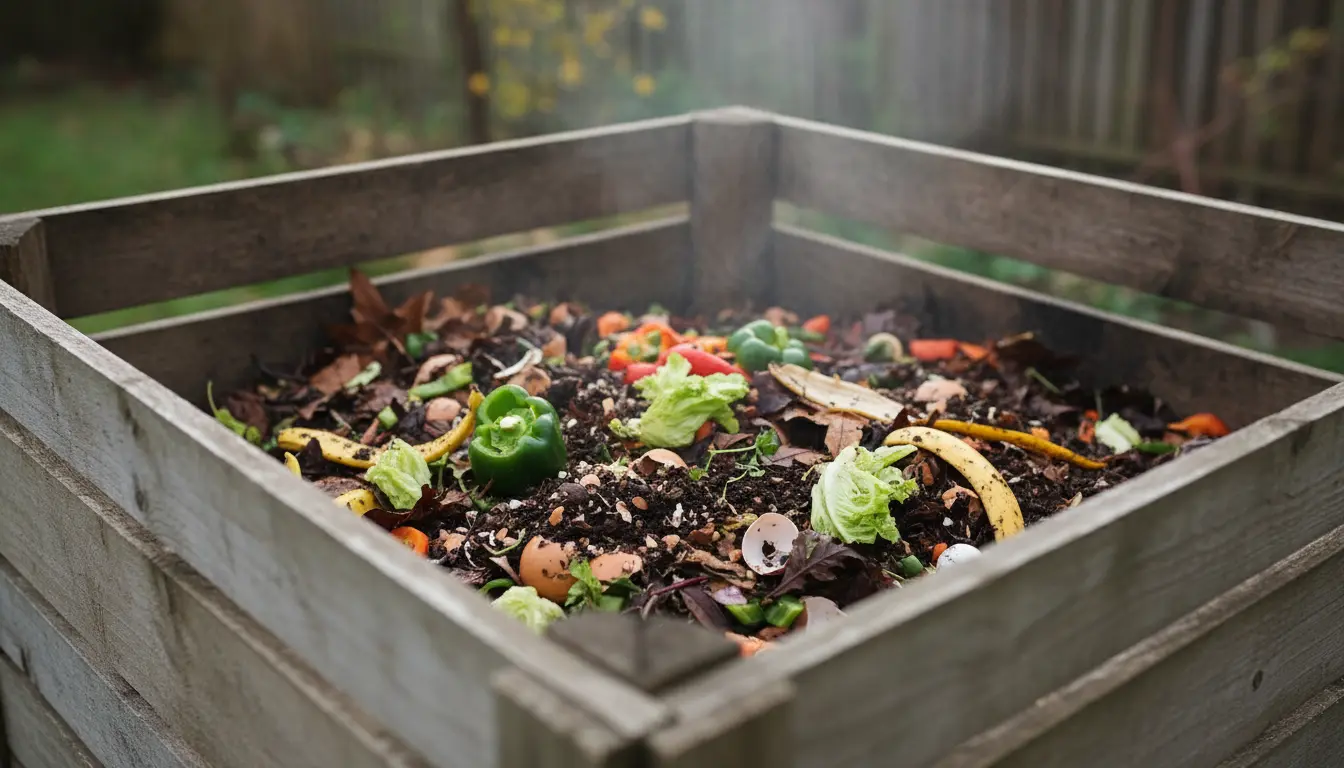
- Wooden bins: Natural look and breathable, require construction or purchase.
- Worm bins (vermicompost): Ideal for kitchens and apartments; produce fast, nutrient-rich castings.
How to Start a Compost Bin: Step-by-Step
Follow these steps to establish a balanced compost bin that breaks down efficiently.
1. Gather Materials
Balance green (nitrogen) and brown (carbon) materials to maintain microbial activity and avoid odors.
- Green materials: vegetable scraps, coffee grounds, fresh grass clippings.
- Brown materials: dry leaves, straw, shredded paper, cardboard.
- Optional: finished compost or garden soil to introduce microbes.
2. Create the Base Layer
Start with coarse brown material, like small twigs or straw, to promote airflow at the bottom. This helps drainage and reduces compaction.
3. Build Layers
Alternate thin layers of greens and browns. Aim for roughly 2 parts brown to 1 part green by volume.
Small pieces break down faster, so chop or shred large items before adding them.
4. Monitor Moisture and Aeration
Your compost should feel like a wrung-out sponge: moist but not dripping. Add water in dry spells and cover if heavy rain is expected.
Turn the pile every 1–2 weeks to introduce oxygen and speed decomposition. Tumblers simplify this step.
5. Know When It’s Ready
Compost is ready when material is dark, crumbly, and earthy-smelling. This usually takes 2–6 months depending on materials and care.
What to Put In and What to Avoid
Use typical kitchen and yard waste, but avoid items that attract pests or slow decomposition.
- Acceptable: fruit and vegetable scraps, coffee grounds, eggshells, tea bags, yard trimmings, shredded paper.
- Avoid: meat, dairy, bones, oily foods, diseased plants, pet waste, large woody branches.
Troubleshooting Common Problems
Small issues are normal and solvable with simple adjustments.
- Bad smell: Add more brown materials and turn the pile to aerate.
- Pests: Remove meat/dairy, cover food scraps with brown layers, or use a closed bin.
- Too dry: Water gently and cover to retain moisture.
- Slow decomposition: Chop materials, increase green materials, and turn more often.
Composting reduces household waste by up to 30% and can cut methane emissions from landfills. Even small-scale composting has measurable climate benefits.
Using Finished Compost
Blend finished compost into garden beds, use as a top dressing, or mix into potting soil. It improves soil structure, water retention, and nutrient content.
Apply a 1–2 inch layer around plants or mix 10–20% compost into garden soil for planting.
Small Real-World Case Study
Example: Sarah, a 3rd-floor apartment gardener, started a small worm bin on her balcony. She added coffee grounds and vegetable peels and harvested worm castings after three months.
Results: She reduced her kitchen waste by 40% and reported healthier potted herbs with a small scoop of castings each month. The bin required weekly maintenance and produced no odors when balanced correctly.
Quick Checklist to Start Today
- Choose a bin type and location.
- Collect brown and green materials.
- Layer materials, keep moist, and turn regularly.
- Monitor smell and moisture, adjust as needed.
- Harvest finished compost and use in your garden.
Final Tips for Success
Be patient—composting is a natural process that varies with seasons and materials. Small adjustments yield big improvements.
Start small, learn what works in your climate, and scale up as you gain confidence.
With consistent care, you can turn everyday waste into a valuable soil amendment that supports healthier plants and a greener household.