
Home Composting for Beginners: Why Start Composting
Composting at home turns food scraps and yard waste into a useful soil amendment. It reduces household waste and improves garden soil structure and fertility.
This guide offers clear, practical steps to set up and manage a home compost system. No prior experience is required.
Choose a Compost Method
Choose a method that fits your space and lifestyle. Small urban homes might prefer a countertop collection and a compact tumbler. Larger yards can use a simple pile or a three-bin system.
Popular home composting methods
- Tumbler: Fast turning, contained, good for small yards.
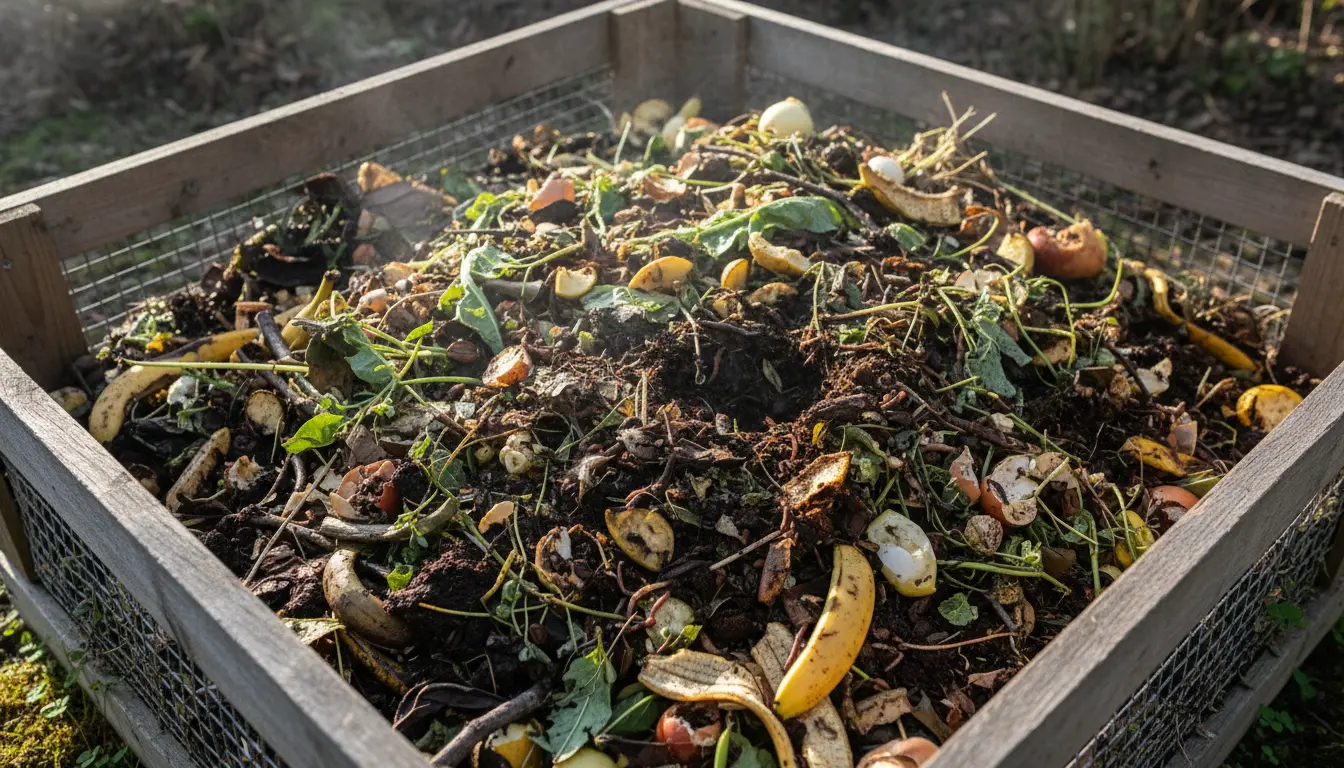
- Open pile or bin: Low cost, scalable for gardens.
- Vermicomposting: Uses worms, ideal for apartments and kitchen scraps.
- Bokashi: Anaerobic pre-composting, good for meat and dairy that other methods avoid.
What to Compost: Greens and Browns
Effective compost mixes balance nitrogen-rich “greens” with carbon-rich “browns.” A roughly 2:1 or 3:1 ratio of browns to greens by volume is a good starting point for many systems.
Common greens and browns
- Greens: vegetable scraps, fruit peels, coffee grounds, fresh grass clippings.
- Browns: dry leaves, shredded paper, cardboard, straw, wood chips.
How to Start Home Composting
Start by preparing the site and materials. If using a bin, place it on bare soil to allow worms and microbes to move in. For tumblers, ensure it rotates freely.
Follow these steps for the first batch:
- Layer about 4–6 inches of browns to form the base.
- Add a 2–3 inch layer of greens on top of the browns.
- Moisten each layer so it feels like a wrung-out sponge.
- Repeat layering to fill the bin, finishing with a brown layer to reduce odors and flies.
- Turn or mix weekly for faster decomposition; for tumblers rotate 4–8 times per week.
Temperature and Moisture Management
Compost microbes work best in a moist, aerated environment. Aim for a moisture level similar to a damp sponge and keep the pile between 40–60% moisture.
Temperature indicates activity. Hot piles (above 120°F/49°C) break down material quickly and kill many pathogens and weed seeds. Smaller or shaded piles will stay cooler and decompose more slowly.
Simple checks and fixes
- Too dry: add water and more greens.
- Too wet and smelly: add browns and turn to aerate.
- Slow decomposition: chop materials smaller and increase turning.
A properly managed compost pile can capture nutrients that would otherwise go to landfill and reduce household waste by up to 30 percent.
Troubleshooting Common Problems
Most issues are easy to fix with small adjustments. Odors usually mean lack of oxygen or too many greens. Pests indicate exposed food or an improperly sealed bin.
Quick fixes
- Smell: Add dry browns, mix, and check moisture.
- Fruit flies: Bury food scraps under a brown layer and use a closed bin.
- Slow breakdown: Increase surface area by shredding, and turn more often.
When Is Compost Ready?
Finished compost looks dark, crumbly, and smells earthy. Depending on method and management, it can take 2 months to a year to finish.
Screen compost through a mesh to remove large pieces and return those scraps to a new pile for further decomposition.
Using Compost in the Garden
Use finished compost as a soil amendment, top dressing, or in potting mixes. Apply a 1–3 inch layer around plants and lightly mix into the topsoil for best results.
Benefits of home compost
- Improves soil structure and water retention.
- Supplies slow-release nutrients for plants.
- Reduces need for chemical fertilizers and lowers waste fees.
Real-World Example: Balcony Vermicompost Case Study
Maria, an apartment dweller, started vermicomposting in a 10-liter bin using red wiggler worms. She collected kitchen scraps in a small counter caddy and added shredded cardboard as bedding.
Within three months she harvested dark worm castings and reduced her weekly trash by nearly half. She used the castings to fertilize potted herbs with noticeable growth improvement.
Simple Checklist for New Composters
- Choose a method that suits your space (tumbler, bin, vermi, or bokashi).
- Balance greens and browns; keep materials chopped where possible.
- Maintain moisture like a wrung-out sponge and aerate regularly.
- Monitor temperature and odors; adjust with browns or turning.
- Use finished compost to improve garden soil or potted plants.
Home composting is practical and scalable. Start small, observe results, and adapt the system to your living situation. With a few simple habits, you can turn waste into a valuable resource.