
Start Here: What Is Home Composting
Home composting turns kitchen scraps and yard waste into usable soil amendment. It reduces garbage, cuts methane emissions from landfills, and feeds your garden with nutrients.
This guide gives clear, practical steps for beginners so you can begin composting with confidence.
Why Home Composting Matters
Composting keeps organic materials out of the trash and returns them to the soil. This improves water retention, soil structure, and plant health without chemical fertilizers.
Even small households can compost successfully and cut municipal waste by a significant amount.
Getting Started with Home Composting
Start by choosing a compost method that fits your space, time, and local rules. Typical options include bins, tumblers, and simple pits.
Key factors to consider are odor control, ease of turning, and pest prevention.
Choosing a Compost System for Home Composting
Select based on space and effort. A backyard bin suits yards; a tumbler speeds up decomposition and reduces manual turning.
For apartments, try a small indoor worm bin or bokashi system to handle food scraps without outdoor space.
- Backyard bin: Low cost, holds large volume, needs periodic turning.
- Tumbler: Faster results, easy to turn, slightly higher cost.
- Worm composting (vermicomposting): Great for small spaces and kitchen scraps, produces rich castings.
- Bokashi: Ferments food waste including meat and dairy, needs a burial or compost step afterward.
What to Compost and What to Avoid
Good materials include fruit and vegetable peels, coffee grounds, eggshells, grass clippings, leaves, and small yard trimmings. These provide balanced nutrients.
Avoid large bones, greasy or oily foods, diseased plant material, and pet waste. These items attract pests or disrupt microbial balance.
How to Layer and Build a Compost Pile
Use a simple mix of ‘greens’ (nitrogen-rich) and ‘browns’ (carbon-rich). Aim for roughly 1 part greens to 3 parts browns by volume.
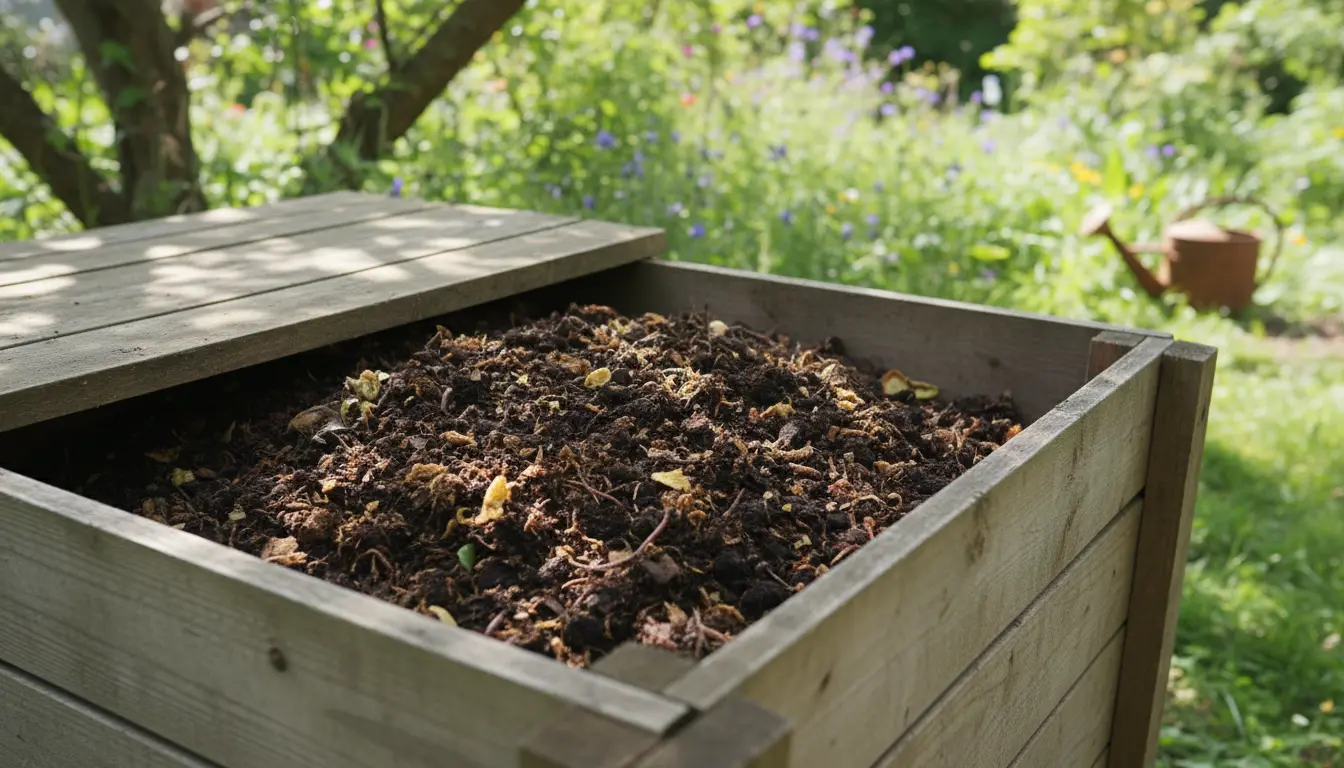
Start with a layer of coarse browns to improve airflow, then alternate moist green layers with dry browns. Keep the pile moist like a wrung-out sponge.
- Greens: kitchen scraps, fresh grass clippings, coffee grounds
- Browns: dry leaves, straw, shredded paper, cardboard
- Optional additives: small amounts of garden soil or finished compost to introduce microbes
Maintaining Your Home Composting System
Turn or mix the materials every 1–2 weeks to supply oxygen and speed decomposition. If using a tumbler, rotate per manufacturer instructions.
Monitor moisture and temperature. A well-managed pile will heat to 120–150°F (50–65°C) for several days, killing most weed seeds and pathogens.
Troubleshooting Common Problems in Home Composting
If the pile smells sour or ammonia-like, add more browns and turn the compost. Odors usually signal too much nitrogen or poor aeration.
If decomposition is slow, check moisture and particle size. Chop or shred larger pieces and add water if dry.
- Smelly pile: More browns, turn, and aerate.
- Pests: Use a closed bin, bury food scraps, avoid meat and oily foods.
- Too dry: Add water and greens; cover to retain moisture.
Composting one ton of organic waste can prevent roughly 0.5 to 1 ton of carbon dioxide equivalent from entering the atmosphere compared with landfill disposal.
How Long Until Compost Is Ready
Time depends on method and management. Hot piles can produce finished compost in 2–3 months. Cold piles may take 6–12 months.
Finished compost looks dark, crumbly, and earthy-smelling, with no recognizable food or leaves.
Small Real-World Case Study: A Two-Person Household
Background: A two-person household in a suburban home started a 55-gallon tumbler with a mix of kitchen scraps and yard waste. They turned it twice weekly and balanced greens and browns.
Outcome: After four months they had about 30 gallons of finished compost. They used it to top-dress potted herbs and add to vegetable beds, reducing grocery waste by 40% and saving on store-bought soil amendments.
Using Finished Compost in the Garden
Apply finished compost as a mulch, soil amendment, or in potting mixes. Typical application rates are 1–2 inches as mulch or 10–25% mixed into potting soil.
Compost improves nutrient availability, water retention, and microbial diversity in garden soil.
Tips for Long-Term Success with Home Composting
Keep a small countertop bucket or compost caddy to collect scraps daily and transfer them to the main system. This reduces odor and makes composting a habit.
Record what you add and how often you turn the pile for better results over time.
- Use a lid or cover to control moisture and pests.
- Shred or chop materials to speed breakdown.
- Rotate compost locations in your yard to avoid localized nutrient buildup.
Final Thoughts on Home Composting
Home composting is a low-cost, practical way to reduce waste and improve your garden. Choose a method that fits your lifestyle and start with small, steady steps.
With basic attention to balance, moisture, and aeration, almost anyone can turn kitchen and yard waste into valuable compost.