
Composting at home turns kitchen scraps and yard waste into a valuable soil amendment. This guide gives clear, practical steps to set up a simple system, keep it working, and fix common issues.
Why composting at home matters
Composting reduces household waste and lowers landfill methane emissions. It also improves soil structure, water retention, and plant health when used in gardens or containers.
Environmental and practical benefits
- Diverts organic waste from landfills.
- Reduces the need for chemical fertilizers.
- Improves soil fertility and plant growth.
- Saves money by producing free soil amendment.
What you need to start composting at home
You do not need special equipment to compost, but choosing the right setup helps success. Select a container, a location, and basic tools before you begin.
Choose a compost bin and location
- Types of bins: tumblers, stationary bins, open piles, or DIY barrels. Tumblers speed turning; stationary bins are low-cost and low-maintenance.
- Location: pick a well-drained spot with some shade to keep moisture balanced. Close enough to the kitchen for convenience.
- Size: a 3x3x3 foot pile works well for heat-based composting. Smaller bins are fine for slow composting.
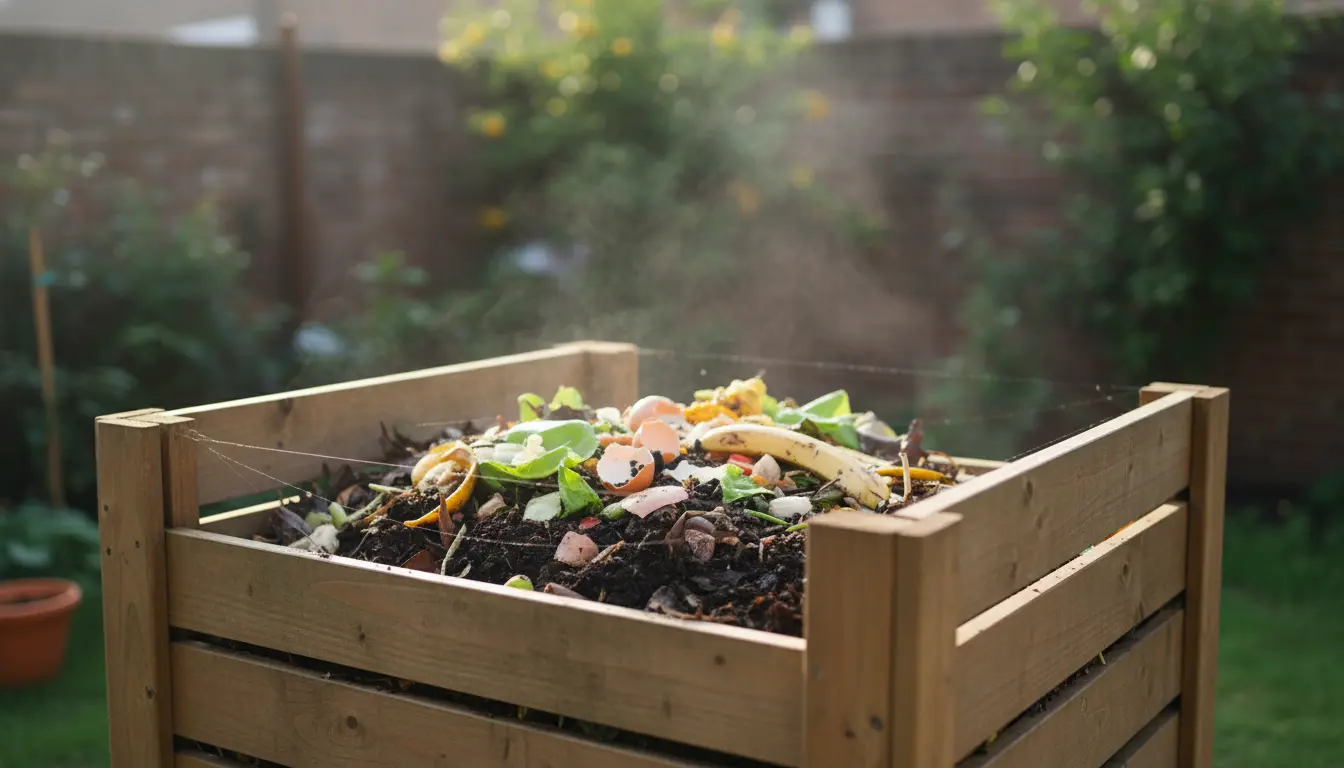
Materials: greens, browns, and extras
Compost needs a mix of nitrogen-rich “greens” and carbon-rich “browns.”
- Greens: fruit and vegetable scraps, coffee grounds, fresh grass clippings.
- Browns: dried leaves, shredded cardboard, straw, paper towels.
- Extras: small amounts of soil or finished compost help introduce microbes; water to maintain moisture.
Step-by-step: How to start composting at home
Follow these steps to build and maintain your compost pile or bin. Keep each step simple to avoid common mistakes.
-
Prepare the base.
Start with a layer of coarse browns like twigs or straw to promote airflow at the bottom of the bin. This helps drainage and prevents compaction.
-
Add materials in layers.
Alternate thin layers of greens and browns. Aim for roughly a 1:2 ratio of greens to browns by volume. Avoid thick single-material layers.
-
Maintain moisture.
Compost should feel like a wrung-out sponge. Add water if it is dry, or add more browns if it becomes soggy.
-
Turn periodically.
Turning mixes oxygen into the pile and speeds decomposition. Turn a backyard pile every 1–2 weeks. Tumblers may be rotated weekly.
-
Monitor temperature and time.
A hot pile (120–160°F / 50–71°C) decomposes quickly and kills most seeds and pathogens. Cold composting takes months but still produces good material.
-
Harvest finished compost.
Compost is ready when it is dark, crumbly, and earthy-smelling. Sift and use in potting mixes, garden beds, or as a top dressing.
Practical tips for beginners
- Chop or shred large items to speed decomposition.
- Keep a small countertop caddy for scraps to make collection easier.
- Avoid meat, dairy, and oily foods unless using a sealed system or hot composting method.
Adding a handful of garden soil to new compost layers introduces microbes that speed up decomposition.
Common problems and how to fix them
New composters often face simple issues. Addressing them early keeps the system healthy.
- Bad smell: Usually too wet or too much green material. Add browns, mix, and allow aeration.
- Pests: Avoid open food scraps and use closed bins. Bury scraps under browns to deter animals.
- Slow decomposition: Check particle size, moisture, and turning frequency. Smaller pieces and regular turning help.
- Pile too dry: Add water and greens. Cover to retain moisture during dry spells.
What to avoid
- Do not add diseased plants or persistent weeds with mature seeds to an unheated pile.
- Avoid ash in large amounts and pet waste from carnivores unless using high-heat systems.
Real-world example: A small urban family
A family of four in a city apartment used a compact tumbling bin on their balcony for 12 months. They collected kitchen scraps in a countertop pail and added shredded cardboard from delivery boxes as browns.
By turning the tumbler weekly and keeping the mix moist, they produced a bucket of finished compost every two months. They mixed the compost into potted herbs and peppers, and reported healthier plants and reduced grocery bag waste by about 30%.
Final checklist before you start composting at home
- Choose a bin type and place it in a convenient spot.
- Collect a balance of greens and browns.
- Keep tools handy: pitchfork or compost aerator, water source, and a thermometer if using hot composting.
- Set a simple schedule for turning and checking moisture.
Composting at home is a low-cost, high-impact practice you can start with minimal time and space. Start small, learn by doing, and adjust based on what works in your home and climate.