
What is Home Composting and Why Start
Home composting is the controlled decomposition of organic waste into a nutrient-rich soil amendment. It reduces household waste, saves money on fertilizers, and improves garden soil structure.
Composting is practical for apartments and houses with yards. A basic system can convert kitchen scraps and yard clippings into usable compost within months.
Basics of Home Composting
Successful home composting balances carbon-rich materials (browns) and nitrogen-rich materials (greens). Proper moisture, air, and particle size speed the process and prevent odors.
A typical ratio is about three parts browns to one part greens by volume. Adjust based on smell and decomposition speed.
What to Compost
Know what feeds the pile and what harms it. Fresh plant material decomposes well, while some items can attract pests or slow breakdown.
- Greens (nitrogen): fruit and vegetable scraps, coffee grounds, fresh grass clippings.
- Browns (carbon): dry leaves, cardboard, shredded paper, straw.
- Avoid: meat, dairy, oils, diseased plants, pet waste.
Choosing a Compost System
Choose a system that fits space and effort. Options include open piles, tumblers, bins, and worm composting (vermicomposting).
- Open pile: cheapest, needs space and regular turning.
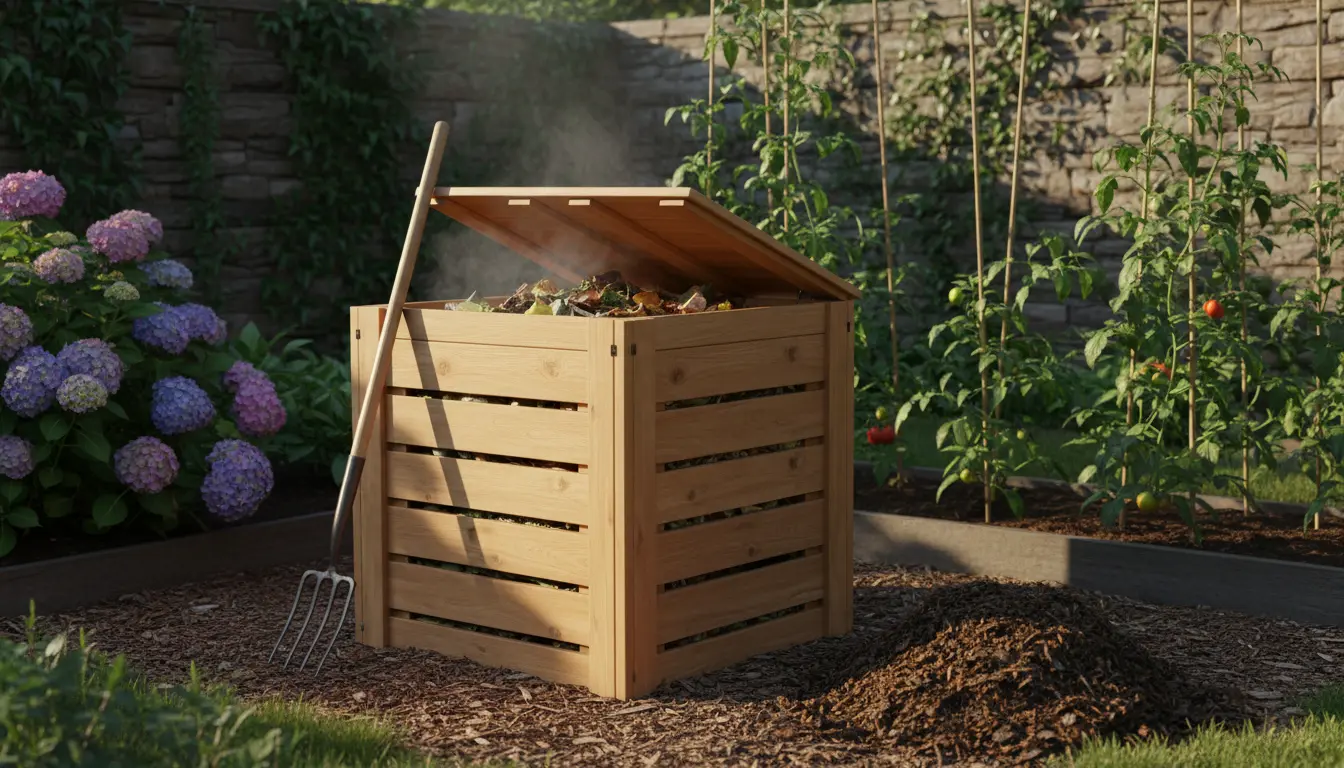
- Bin: keeps pests out and looks tidy, good for yards.
- Tumbler: easy turning, faster results, more expensive.
- Worm bin: great indoors or small spaces, produces liquid fertilizer and castings.
Step-by-Step Home Composting Setup
Setting up a compost system follows a few clear steps. These help you start without needing specialized tools.
1. Select Location
Place your bin on bare soil to allow organisms to move in. Choose a level spot with some shade to keep moisture steady.
Avoid full sun if you live in a very hot, dry climate to prevent drying out.
2. Build Layers
Start with a coarse base such as twigs to improve air circulation. Alternate layers of greens and browns in roughly 3:1 ratio of browns to greens.
Chop or shred large pieces to speed decomposition and reduce turning effort.
3. Maintain Moisture and Air
Compost should be as damp as a wrung-out sponge. Add water during dry spells and cover during heavy rains if using an open pile.
Turn the pile every 1–2 weeks to aerate and mix materials. Tumblers simplify this step by making turning easy.
4. Monitor and Troubleshoot
Use simple checks: smell, temperature, appearance. A healthy compost smells earthy; a foul odor indicates too much green or lack of air.
If the pile is slow, add more browns and turn. If it is dry, add water and greens.
Troubleshooting Common Issues in Home Composting
Problems are often simple to fix. Regular inspection prevents small issues from becoming larger ones.
- Bad smell: Add browns and turn the pile to increase oxygen.
- Slow decomposition: Chop materials smaller, maintain moisture, and ensure adequate greens.
- Pests: Avoid meat and dairy, use a closed bin, and bury food scraps under browns.
Household composting can divert up to 30% of municipal waste from landfills when applied consistently. Compost also increases soil water retention, reducing irrigation needs.
Using Finished Compost
Finished compost is dark, crumbly, and smells earthy. Use it as a soil amendment, top dressing, or in potting mixes to add nutrients and improve structure.
Incorporate compost into garden beds at a rate of 1–2 inches and mix into the topsoil. For potted plants, replace up to 25% of potting mix with compost.
Small Real-World Example
Case Study: A two-person household in Seattle started a 3-bin system. They used kitchen scraps and yard waste, turned weekly, and maintained moisture.
After six months they produced about 120 liters of compost, cut their trash volume by half, and applied compost to raised beds to improve vegetable yields by noticeable margins.
Tips for Busy Beginners
Make composting easy with small daily habits. Keep a countertop container for scraps and empty it into the bin every couple of days.
- Freeze scraps if collection trips are infrequent to avoid smells.
- Shred cardboard or leaves in a yard chipper or with scissors to speed breakdown.
- Use a compost thermometer for larger piles to track activity, aiming for 130–150°F for fast decomposition.
Final Checklist for Successful Home Composting
Follow this short checklist to stay on track. Simple actions prevent common setbacks and keep the system productive.
- Balance greens and browns (3:1 by volume).
- Maintain moisture like a wrung-out sponge.
- Turn the pile every 1–2 weeks for aeration.
- Avoid adding meat, dairy, and pet waste.
- Use finished compost to enrich soil and reduce fertilizer use.
Home composting is a practical, low-cost practice that reduces waste and benefits gardens. Start small, monitor basic conditions, and adjust as you learn what works for your space.