
Composting at home turns kitchen scraps and yard waste into rich soil, reduces trash, and supports healthier plants. This guide shows practical steps to begin home composting with low fuss and reliable results.
What Is Home Composting?
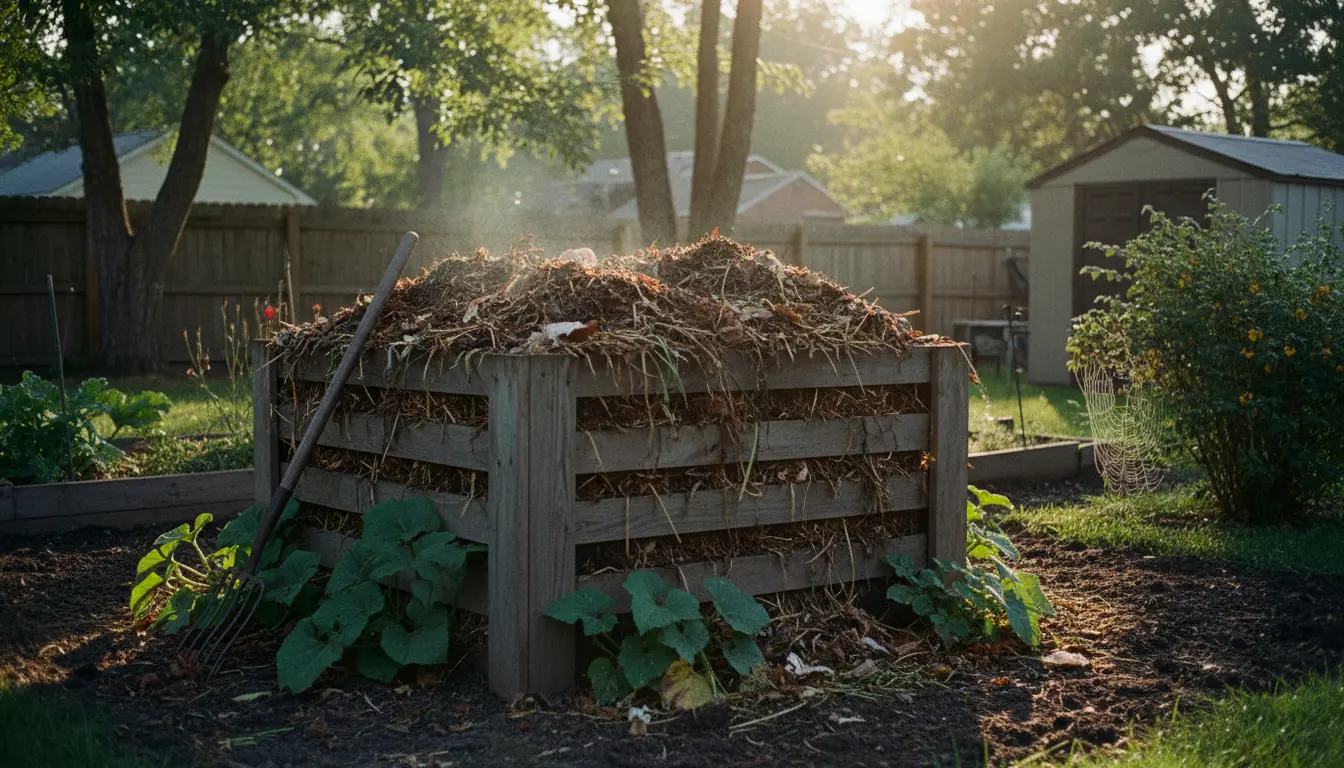
Home composting is the natural breakdown of organic material into humus using microbes, worms, and time. It can happen in a backyard pile, a bin, a tumbler, or a small indoor worm system.
Benefits of Home Composting
Composting reduces what you send to landfill and returns nutrients to your soil. It improves soil structure, water retention, and overall plant health while cutting household waste disposal costs.
How to Start Home Composting
Starting is mostly about picking a method and maintaining the right balance of materials. Follow these practical steps to set a reliable system in place.
Step 1 Choose a Composting Method
Pick a method that suits your space and lifestyle. Backyard bins and tumblers suit yards, while worm bins are better for apartments.
- Open pile: Low cost, needs space and turning.
- Stationary bin: Neat and low maintenance.
- Compost tumbler: Faster processing, easier turning.
- Vermicomposting (worm bin): Works indoors, ideal for small kitchens.
Step 2 Locate and Set Up
Choose a level, shaded spot with good drainage for outdoor systems. For indoor worm bins, place on a tray or surface that can handle slight moisture.
Set up a bin with ventilation and a base that allows drainage or contact with soil for microbes to access the pile.
Step 3 Balance Greens and Browns
Compost needs a mix of green (nitrogen-rich) and brown (carbon-rich) materials. A good target is roughly 2 parts brown to 1 part green by volume.
- Greens: fruit and vegetable scraps, coffee grounds, fresh grass clippings.
- Browns: dry leaves, paper, cardboard, straw, shredded twigs.
Too many greens cause odors; too many browns slow decomposition.
Materials to Compost and What to Avoid
Most kitchen and garden waste is appropriate, but some items should be excluded to prevent pests or slow processing.
- Good: vegetable peels, coffee grounds, eggshells, yard trimmings.
- Avoid or limit: meat, dairy, cooked oils, diseased plants, pet waste.
- Cardboard and paper are fine when shredded and mixed with moist greens.
Moisture and Aeration
Keep the pile as damp as a wrung-out sponge. If it’s too dry, add water and green material. If it’s soggy, add browns and increase airflow.
Turn the pile or tumble regularly to introduce oxygen. Aeration speeds up decomposition and prevents bad smells.
Choosing a Composting Method That Fits Your Home
Match method to space, time, and how quickly you want compost. Each method has trade-offs in odor control, maintenance, and speed.
Small Space Options
Vermicomposting is efficient for apartments and produces nutrient-rich worm castings. Bokashi is another indoor option that ferments food waste before burying it in soil.
Large Space Options
Multiple bins or a hot compost system suits larger yards and gardeners who want faster results. Hot composting reaches higher temperatures and can break down materials in a few months when managed properly.
Proper home composting can divert up to 30% of household waste by weight from landfill, reducing methane emissions and providing free, valuable soil amendment.
Common Problems and Troubleshooting
Most issues are easy to fix by adjusting moisture, air, or material balance. Identifying the symptom points you to the solution quickly.
- Foul odor: Add dry browns and turn the pile to increase air.
- Slow breakdown: Chop materials smaller, increase greens, and keep it moist.
- Pests: Bury food scraps, avoid meat and dairy, use a closed bin if needed.
When to Use Finished Compost
Compost is ready when dark, crumbly, and earthy-smelling, usually after 3–12 months depending on the method. Use it as a soil top-dress, mix into potting soil, or add to garden beds.
Real-World Example: Small Urban Worm Bin Case Study
Emma, a renter in a city apartment, started a 40-liter worm bin under her kitchen counter. She used shredded cardboard for bedding and added fruit and vegetable scraps three times a week.
Within six months she collected about 40 liters of worm castings and reduced her weekly trash by nearly 50%. She used the castings to grow herbs in balcony planters and noticed improved plant vigor and fewer watering needs.
Final Checklist to Start Home Composting
- Choose a method that fits your space and schedule.
- Set up a bin or pile in a suitable location.
- Gather a balance of greens and browns.
- Monitor moisture and aerate regularly.
- Troubleshoot odors, pests, or slow decomposition promptly.
Home composting is a small habit with big returns: less waste, better soil, and healthier plants. Start with simple steps, adjust as you learn, and scale your system to match your goals.