
Home composting turns kitchen scraps and yard waste into nutrient-rich soil amendment. This guide gives clear steps, simple rules, and quick fixes so you can build compost that improves your garden and reduces waste.
Why choose home composting
Home composting reduces what you send to the landfill and creates a free, natural fertilizer. It saves money, improves soil structure, and supports healthy plants.
Getting started requires basic tools, an understanding of materials, and regular but light maintenance. The learning curve is small and the rewards are long term.
How home composting works
Composting is a controlled breakdown of organic matter by microbes. Heat, air, moisture, and the right mix of materials encourage rapid decomposition.
The right balance of greens and browns
Greens provide nitrogen and moisture; browns provide carbon and structure. A good starting ratio is about 2 parts browns to 1 part greens by volume.
- Greens: kitchen scraps, coffee grounds, fresh grass clippings.
- Browns: dry leaves, shredded paper, straw, cardboard.
Moisture, air, and temperature
Compost should feel like a damp sponge. Too dry slows decomposition; too wet causes odors. Turn the pile every 1–2 weeks to add air and distribute moisture.
Temperatures between 104–140°F (40–60°C) speed up breakdown and kill weed seeds, but cold composting works slowly and still produces usable compost over time.
Step by step home composting setup
Follow these practical steps to set up a basic bin at home. No fancy equipment required.
- Choose a location: level ground with partial sun and good drainage.
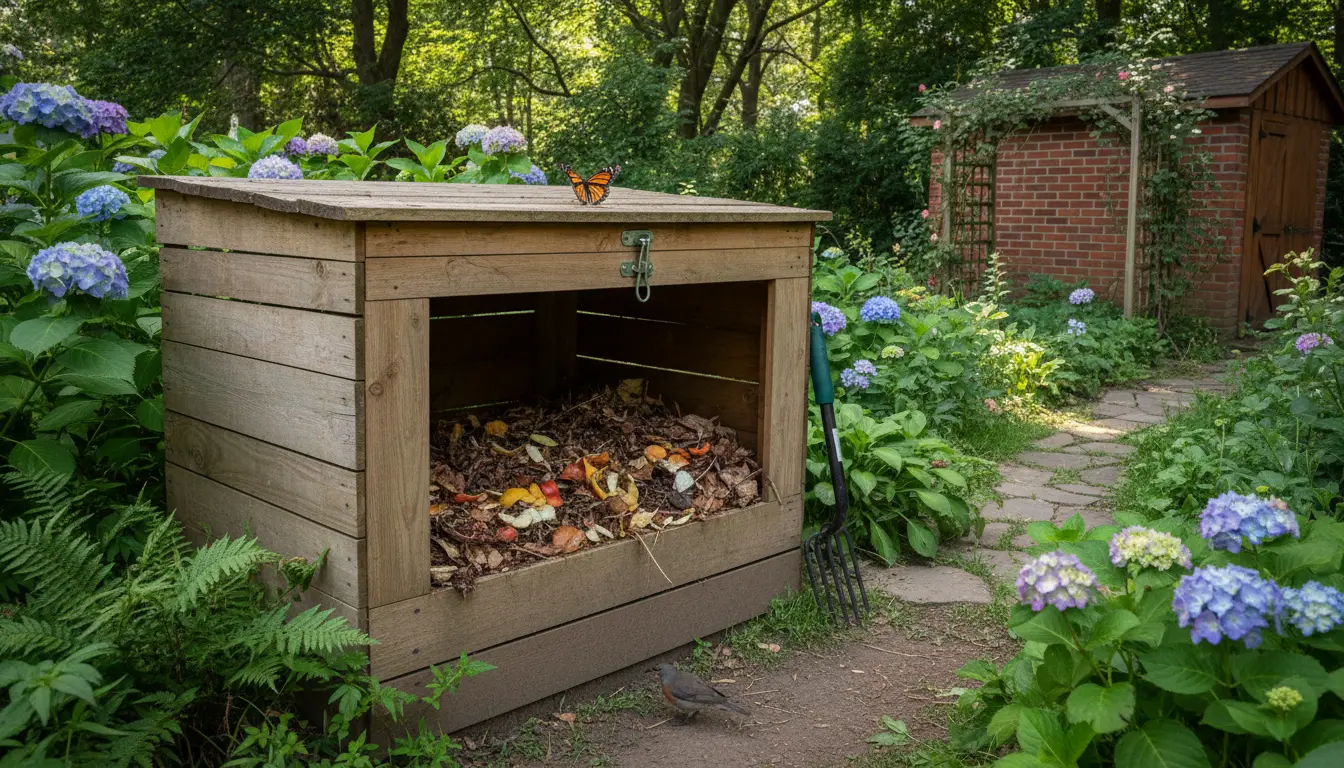
- Select a container: tumblers, wire bins, or simple piles all work.
- Start with a base layer: 4–6 inches of coarse browns to aid airflow.
- Add materials in layers: alternate greens and browns to keep balance.
- Maintain moisture and turn the pile regularly for aeration.
- Monitor and harvest: when material is dark and crumbly, sift and use in the garden.
Container options:
- Tumbler: faster, easier to turn, good for small yards.
- Wire or wooden bin: inexpensive and scalable.
- Compost trench or pit: simple for gardeners who dig and bury scraps directly.
Common problems and quick fixes
New composters often face a few predictable issues. Most are easy to solve.
- Bad smell: add more browns and turn the pile to introduce air.
- Fruit flies: bury fresh fruit scraps under browns or use a closed bin.
- Pile too dry: add water and greens, then mix thoroughly.
- Pile too wet and compacted: add dry browns and turn to increase airflow.
When is home composting finished
Compost is ready when it looks and smells like dark, crumbly soil and you can no longer identify the original materials. This often takes 2–6 months with active management.
Finished compost will improve soil tilth, retain moisture, and supply slow-release nutrients. Use it as a top dressing, potting mix ingredient, or garden soil amendment.
A compost pile can reach temperatures high enough to kill most weed seeds and plant pathogens if the right balance and turning schedule are maintained.
Small real-world example
Case study: A two-person household started a 60-gallon tumbler. They collected kitchen scraps in a countertop pail and added shredded cardboard from online deliveries.
Within three months they had dark crumbly compost. They used it to top-dress vegetable beds and reported healthier tomatoes and less need for commercial fertilizer.
Practical tips to succeed with home composting
- Keep a small food scrap bucket in the kitchen to reduce trips and discourage waste.
- Shred or chop large items to speed decomposition.
- Store a supply of dry browns nearby for easy balancing.
- Use finished compost sparingly at first to observe plant response.
Home composting is a low-effort, high-impact way to manage organic waste and build healthier soil. Start small, learn by doing, and adjust your process based on simple observations of smell, moisture, and texture.