
Home composting for beginners can turn kitchen scraps and yard waste into rich soil for gardens. This guide gives clear, practical steps to set up a compost system, maintain it, and troubleshoot common issues.
Why choose home composting for beginners
Composting reduces household waste, improves soil structure, and supplies free nutrients for plants. For beginners, it is affordable and scalable—from a small countertop bin to a backyard pile.
Types of compost systems for homes
Pick a system that fits your space and time. Each option has pros and cons, so choose based on convenience and how fast you want compost.
- Plastic or metal tumblers – Good for small yards, speed up decomposition with turning.
- Open backyard pile – Low cost and flexible for large volumes, needs turning and space.
- Stationary bins – Contained and tidy, slower than tumblers but low maintenance.
- Bokashi or worm bins – Indoor-friendly systems for apartments and kitchen scraps.
Basic materials: Browns and greens
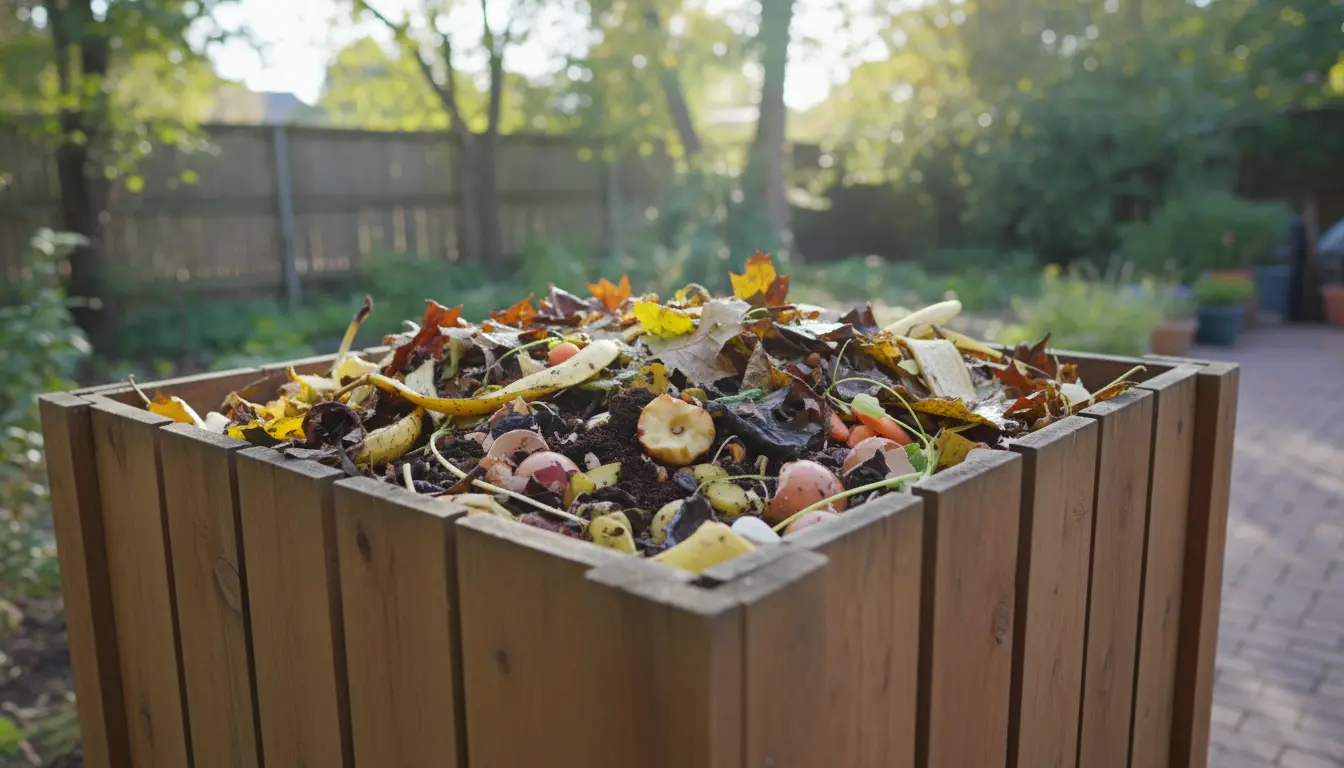
Compost needs a balance of carbon-rich “browns” and nitrogen-rich “greens.” Keeping this balance helps decomposition and prevents odors.
- Browns (carbon): dry leaves, shredded paper, cardboard, straw.
- Greens (nitrogen): vegetable scraps, fresh grass clippings, coffee grounds.
Ratio guideline
A good starting ratio is roughly 3 parts browns to 1 part greens by volume. Adjust as you learn how your pile behaves.
Step-by-step setup for home composting for beginners
Follow these steps to start a basic backyard bin. Each step is short and actionable so beginners can follow easily.
1. Choose the location
Pick a level, partially shaded spot with good drainage. Close to the kitchen is convenient for adding scraps.
2. Build or buy a bin
Use a ready-made bin, repurposed pallet enclosure, or a simple plastic tumbler. Ensure airflow and drainage holes are present.
3. Add a base layer
Start with coarse browns like small branches or straw to improve drainage and aeration. This base helps beneficial organisms move through the pile.
4. Add materials in layers
Alternate thin layers of greens and browns. Chop larger items so they break down quicker. Aim for the 3:1 browns-to-greens guideline.
5. Maintain moisture and aeration
The pile should feel like a damp sponge: moist but not dripping. Turn the pile every 1–2 weeks to add oxygen, which speeds decomposition.
Troubleshooting common problems
Beginners often face a few recurring issues. These fixes are simple and restore balance fast.
- Bad smells: Add more browns, mix, and ensure the pile is not waterlogged.
- Slow decomposition: Chop materials finer, increase greens slightly, and turn the pile.
- Pests (rats, flies): Bury food scraps under browns, use a closed bin, and avoid large meat or dairy items.
- Too dry: Add water while turning or add more greens and fresh scraps.
Compost can reduce household waste by up to 30 percent and improve soil water retention by 20 percent or more, helping plants survive dry spells.
How to know when compost is ready
Finished compost is dark, crumbly, and smells earthy. Most backyard piles take 3–12 months depending on materials, temperature, and how often you turn them.
Simple readiness checks
- Texture: crumbly and soil-like with few recognizable food pieces.
- Smell: fresh earthy scent, not sour or ammonia-like.
- Temperature: cooled to ambient; active decomposition has slowed.
Using finished compost
Mix compost into garden beds, use as a top dressing for lawns, or blend into potting mixes. Start by applying 1–2 inches on beds and work it into the topsoil.
Small real-world case study
Case: A suburban family of four started a 60-gallon tumbler in spring. They collected kitchen scraps and yard waste and followed a 3:1 brown-to-green ratio. They turned the tumbler weekly.
Result: By late fall they produced enough compost to top-dress their vegetable beds, reduced trash volume by one bag per week, and reported healthier tomato yields the next season.
Tips for long-term success with home composting for beginners
- Keep a small countertop caddy for scraps to make adding materials simple.
- Shred or chop larger items to speed the process.
- Record what you add and how the pile behaves to learn your local rhythm.
- Consider a worm bin or Bokashi for apartment-friendly composting.
Home composting for beginners is a practical step toward waste reduction and healthier soil. Start small, observe the pile, and adjust as you go. With a little patience, composting becomes a routine that pays off in better plants and less waste.