
Start Home Composting with Simple Steps
Home composting turns kitchen and yard waste into nutrient-rich soil. This guide offers clear, practical instructions to begin composting at home.
Why Choose Home Composting
Home composting reduces household waste and improves garden soil without chemical fertilizers. It also lowers greenhouse gas emissions by diverting organic waste from landfills.
Compost improves water retention, supports beneficial microbes, and can save money on soil amendments. These benefits make home composting a useful skill for homeowners and renters alike.
How to Start Home Composting
Start by choosing a method that fits your space and schedule. You’ll need a container, a balanced mix of materials, and basic maintenance habits.
Choose the Right Bin for Home Composting
Select a compost bin based on available space and budget. Options include open piles, tumblers, and stationary bins.
- Open pile: Good for large yards, low cost, requires turning.
- Tumbler: Faster decomposition, keeps pests out, ideal for small yards.
- Stationary bin: Simple and low-maintenance, can be made from pallets or plastic.
What to Compost at Home
Balance ‘greens’ (nitrogen) and ‘browns’ (carbon) to keep the pile active. Aim for roughly 2 parts brown to 1 part green by volume.
- Greens: Fruit and vegetable scraps, coffee grounds, fresh grass clippings.
- Browns: Dry leaves, shredded cardboard, straw, paper (non-glossy).
- Do not compost: Meat, dairy, oils, diseased plants, and pet waste from carnivores.
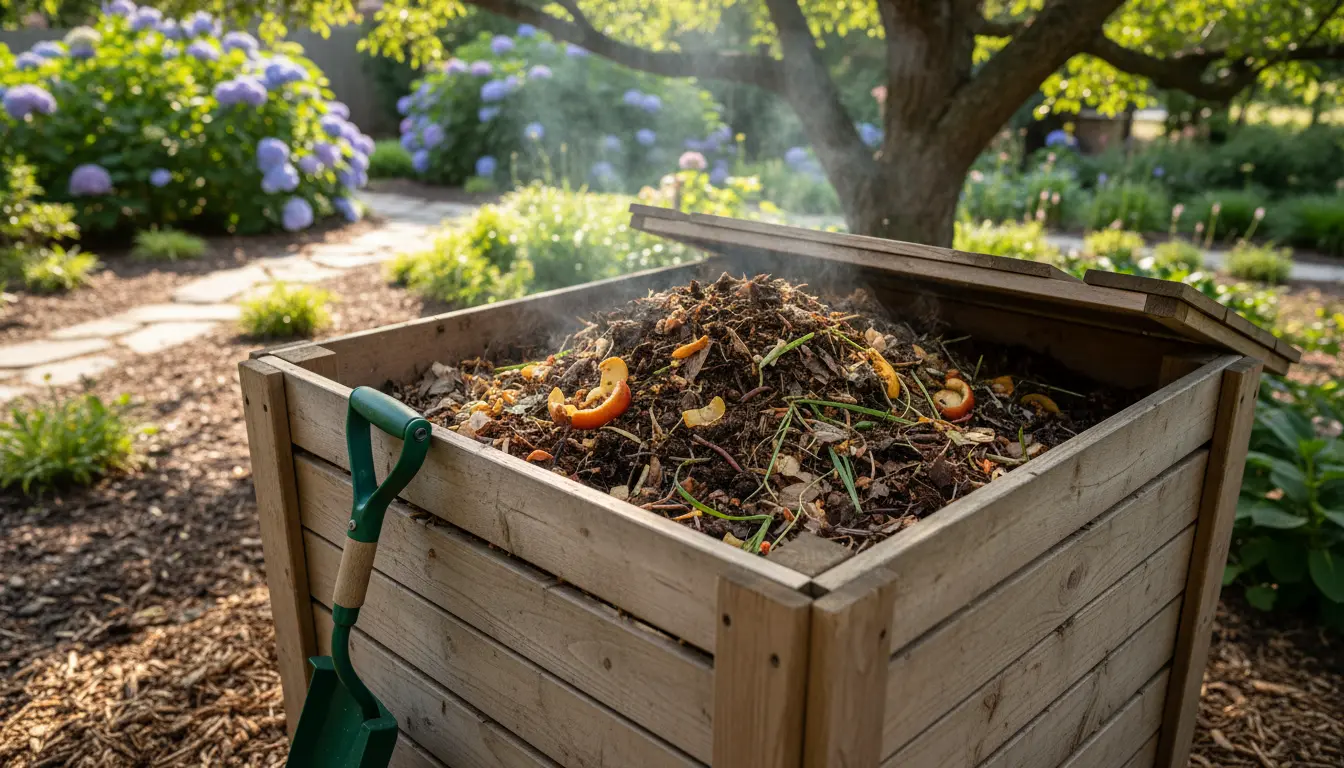
Simple Steps to Build a Compost Pile
Follow these steps to establish an effective home composting system:
- Choose a shady, well-drained spot for the bin.
- Start with a layer of coarse browns for airflow.
- Add alternating layers of greens and browns, keeping the pile moist.
- Turn or aerate the pile every 1–2 weeks to speed decomposition.
- Harvest finished compost when it is dark, crumbly, and earthy-smelling.
Properly managed compost piles can reach temperatures above 130°F (54°C) and kill many weed seeds and pathogens. Hot composting achieves faster, safer results than passive piles.
Maintaining Your Home Composting System
Regular maintenance keeps the pile healthy and odor-free. Monitor moisture, aeration, and the ratio of greens to browns.
Water until the pile feels like a wrung-out sponge. If it is too wet, add more browns. If too dry, add water and more greens.
Troubleshooting Common Problems in Home Composting
Address common issues quickly to keep the compost process on track.
- Bad odors: Add brown materials and turn the pile to introduce oxygen.
- Slow breakdown: Chop materials smaller and ensure proper moisture and aeration.
- Pests: Avoid adding meat or oily foods and secure the bin with a lid or mesh.
- Fruit flies: Bury fresh food scraps under a brown layer or use a closed container for kitchen scraps.
Real-World Example: Small Home Composting Case Study
Case Study: Sarah, a renter in Portland, set up a 55-gallon tumbler on her balcony. She collected kitchen scraps in a sealed bucket and added shredded paper from office recycling.
Within 10 weeks, her tumbler produced usable compost. She used the finished compost in container vegetables and herbs, reporting healthier plants and a 40% reduction in weekly trash volume.
Quick Checklist for Home Composting Success
Use this checklist to launch or improve your home composting routine.
- Choose the right bin for your space (tumbler, stationary bin, or pile).
- Collect greens and browns separately for easy layering.
- Turn the pile regularly and keep it moist but not soggy.
- Monitor temperature if aiming for hot composting.
- Harvest when compost is dark, crumbly, and odor-free.
Final Tips for Effective Home Composting
Start small and learn by doing. Composting is flexible and can adapt to your space and waste volume.
Connect with local gardening groups or municipal composting programs for tips and free materials like wood chips or finished compost. With steady care, home composting becomes an easy routine that benefits your garden and the environment.