
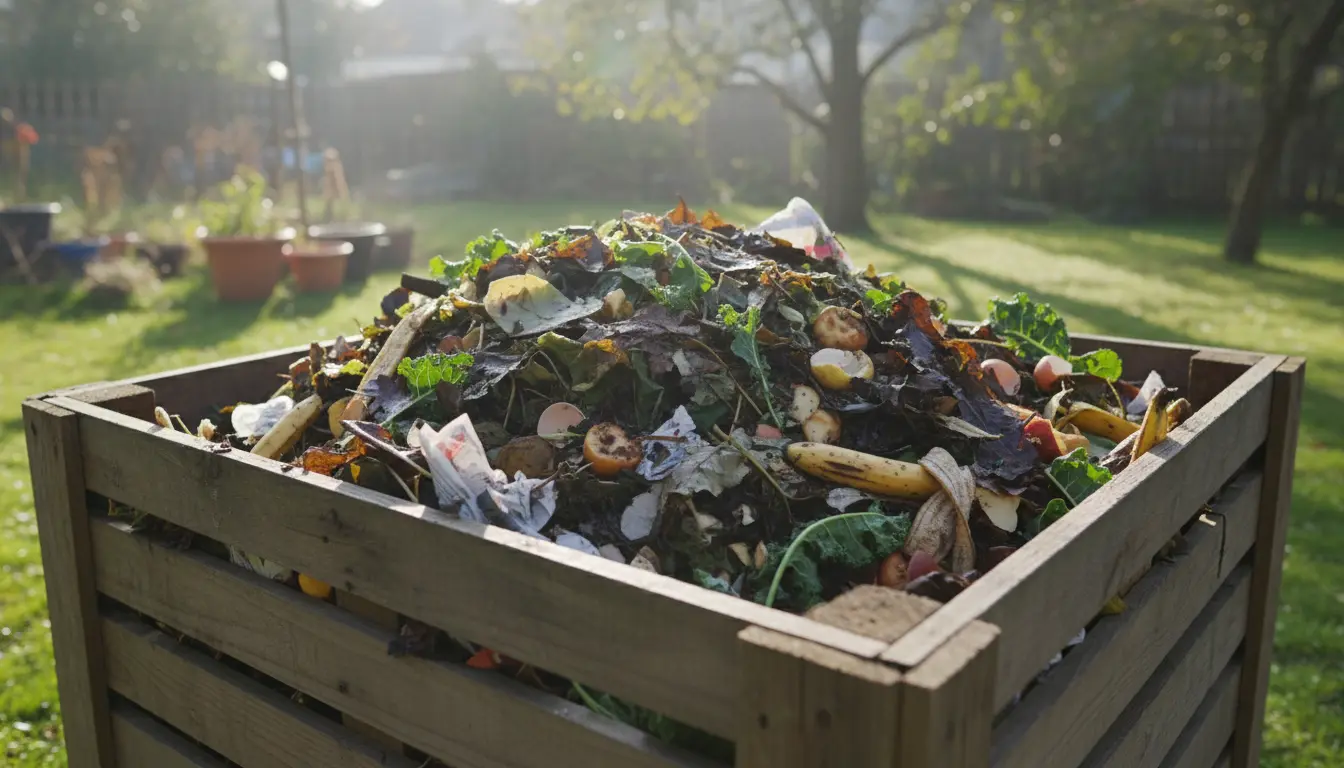
Why Start a Home Compost Bin
Starting a home compost bin reduces kitchen and yard waste while creating nutrient-rich soil for plants. It cuts trash volume and supports a healthier garden without chemical fertilizers.
This guide covers the basic setup, daily care, and common problems so beginners can start composting with confidence.
Tools and Materials for a Home Compost Bin
You do not need expensive gear to build a compost bin. Basic materials and a few simple tools are enough to get started.
- Bin options: plastic tumblers, wooden boxes, wire mesh, or a purchased bin.
- Tools: garden fork or pitchfork, watering can or hose, garden thermometer (optional).
- Materials: brown materials (dry leaves, shredded paper), green materials (kitchen scraps, grass clippings), and water.
How to Set Up a Home Compost Bin
Follow these practical steps to set up a home compost bin. Each step keeps the process simple and manageable.
1. Choose a Location for the Compost Bin
Select a well-drained spot that is convenient and partially shaded. Good airflow and easy access make regular turning and feeding easier.
Place the bin near your garden or kitchen for quick transfer of materials.
2. Assemble the Bin
If using a purchased bin, follow the manufacturer instructions. For DIY bins, a simple wooden frame or wire ring will work.
Ensure the bin has some ventilation and a way to turn or remove material. A lid or cover helps control moisture and pests.
3. Layer Materials Correctly
Start with a coarse layer of twigs or straw to improve drainage and airflow. Alternate brown and green layers to balance carbon and nitrogen.
- Brown examples: dry leaves, straw, shredded cardboard.
- Green examples: fruit and vegetable scraps, coffee grounds, fresh grass clippings.
Aim for a ratio near 3 parts brown to 1 part green by volume for steady decomposition.
4. Manage Moisture and Aeration
Compost should feel like a wrung-out sponge: moist but not soggy. Water dry piles occasionally and cover overly wet material to let it dry.
Turn the pile every 1–2 weeks to add oxygen and accelerate decomposition. Use a fork or tumbler to mix materials thoroughly.
5. Maintain the Bin and Harvest Compost
Monitor temperature and moisture. A hot pile (120–160°F or 49–71°C) breaks down material faster. Cooler piles still work but take longer.
When material looks dark, crumbly, and earthy, it is ready to use. Sift out large undecomposed pieces and return them to the bin.
Troubleshooting Common Home Compost Bin Problems
Some common issues are easy to fix with small adjustments. Address problems early to keep composting on track.
- Bad smell: usually due to too much green or lack of air. Add brown materials and turn the pile.
- Too dry: moisten the pile gradually and add green materials to increase activity.
- Slow decomposition: increase surface area by chopping materials and turn more often.
- Pests: secure the bin, avoid adding meat or oily foods, and bury food scraps under browns.
Small Case Study: Neighborhood Compost Success
A small community garden in Seattle started a shared home compost bin using three stacked wooden pallets. Neighbors contributed kitchen scraps and yard waste on alternating days.
Within six months they produced enough compost to cover 10 raised beds. The shared system reduced local food waste pickup by one weekly bin per household for several members.
Key practices that led to success included regular turning, a strict no-meat rule, and a simple sign showing what could be added to the bin.
Tips for Different Living Situations
Composting is possible whether you live in a house or an apartment. Choose a method that fits your space and needs.
- Small yards: use a compact tumbler or a bin with a lid to keep pests away.
- Apartments: try a worm bin (vermicompost) or use a countertop collector and a community compost drop-off.
- Cold climates: insulate the bin with straw or leave the pile larger to retain heat through winter.
Practical Checklist for Your First Month
- Week 1: Assemble bin, make bottom layer, start adding alternating brown and green layers.
- Week 2: Check moisture, add water if dry, and turn the pile once.
- Weeks 3–4: Continue adding materials, turn every 1–2 weeks, and watch for odors or pests.
Final Notes on Starting a Home Compost Bin
Starting a home compost bin is low-cost and offers big returns for your garden and the environment. Keep routines simple and adjust as you learn what works for your climate and materials.
With steady attention to layers, moisture, and aeration, a home compost bin will convert leftovers into valuable compost within a few months to a year.