
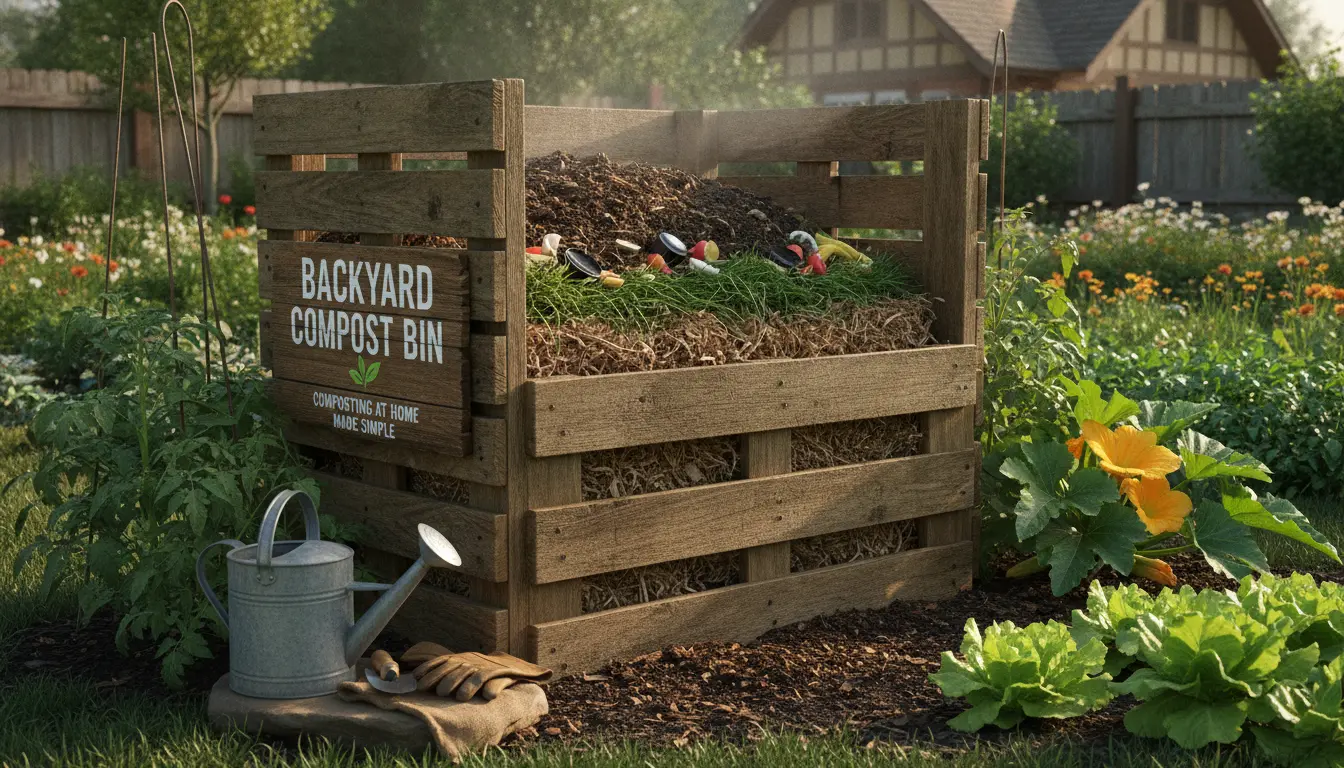
Why Home Composting Matters
Composting at home turns kitchen and yard waste into a useful soil amendment. It reduces landfill waste, lowers methane emissions, and improves garden health.
Starting composting at home is straightforward and works whether you have a backyard or a small balcony. This guide gives practical steps you can follow this week.
Choose a Method for Home Composting
Selecting the right system depends on space, time, and the amount of waste you generate. Popular methods include bins, tumblers, and vermicomposting with worms.
- Compost bin: Good for yards; holds heat and decomposes faster.
- Tumbler: Easier to turn and faster to mature; ideal for small yards.
- Vermicompost: Uses worms indoors or in a sheltered area; great for apartments.
Where to Place Your Compost
Place a bin on soil or a permeable surface so drainage and beneficial organisms can access the pile. Avoid direct sun for worm bins and keep tumblers where you can reach them easily.
What to Compost at Home
Balance ‘greens’ (nitrogen) and ‘browns’ (carbon). A good mix speeds decomposition and limits odors.
- Greens: vegetable scraps, fruit peels, coffee grounds, grass clippings.
- Browns: dry leaves, shredded paper, cardboard, straw.
- Avoid: meat, dairy, oily foods, and diseased plants.
How to Start Composting at Home: Step-by-Step
- Prepare the base: Add 10–15 cm of coarse browns (twigs or straw) to improve airflow.
- Add layers: Alternate greens and browns in 5–10 cm layers. Aim for roughly 2:1 browns to greens by volume.
- Moisture control: Keep the pile as damp as a wrung-out sponge. Add water in dry weather and more browns if too wet.
- Turn or aerate: Turn the pile every 1–2 weeks for faster compost or use a tumbler with weekly turning.
- Wait and cure: Compost can be ready in 2–6 months depending on temperature and maintenance. Let mature compost cure for a few weeks before using.
Tips for Faster Composting at Home
- Chop or shred materials to increase surface area.
- Maintain an active balance of greens and browns.
- Use a compost thermometer to keep the pile between 50–65°C for hot composting.
- Add a handful of garden soil to introduce microbes if starting fresh.
Troubleshooting Common Problems in Home Composting
Smells, pests, and slow decomposition are common issues. They usually have simple fixes.
- Bad odor: Add more browns and turn the pile to add oxygen.
- Pests: Bury food scraps beneath a layer of browns or use a closed bin or tumbler.
- Slow breakdown: Chop scraps finer, increase moisture slightly, and turn more often.
Using Finished Compost at Home
Finished compost is dark, crumbly, and earthy-smelling. Use it as a top dressing for beds, mixed into potting soil, or as a lawn amendment.
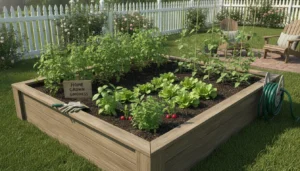
Apply 1–3 cm of compost around plants or mix 10–30% compost into potting mixes for containers.
Small Real-World Case Study: Apartment Balcony Composting
Maria, a city apartment resident, started a 40-liter worm bin on her balcony. She saved kitchen scraps in a small counter caddy and added them to the bin twice a week.
After six months, Maria produced about 35 liters of vermicompost and reduced her kitchen waste by roughly 60 percent. Her balcony herbs thrived after adding a 20 percent mix of vermicompost to potting soil.
Quick Checklist to Start Composting at Home
- Choose a bin type that fits your space.
- Gather browns and greens before starting.
- Layer and maintain moisture and aeration.
- Turn regularly and monitor progress.
- Use finished compost in your garden or containers.
Final Notes on Composting at Home
Composting at home is a low-cost way to improve soil and cut waste. Start small and adjust your system based on space and the amount of organic waste you produce.
With a little attention to balance and moisture, most households can convert kitchen and yard scraps into valuable compost within months.