
Why Start Composting at Home
Composting turns kitchen scraps and yard waste into nutrient-rich soil. It reduces landfill waste and improves garden health.
This guide explains simple steps to start composting at home, what materials to use, and how to maintain a healthy compost pile.
Choose the Right Composting Method

Select a method that matches your space, time, and effort level. Common options are backyard piles, tumblers, and worm bins.
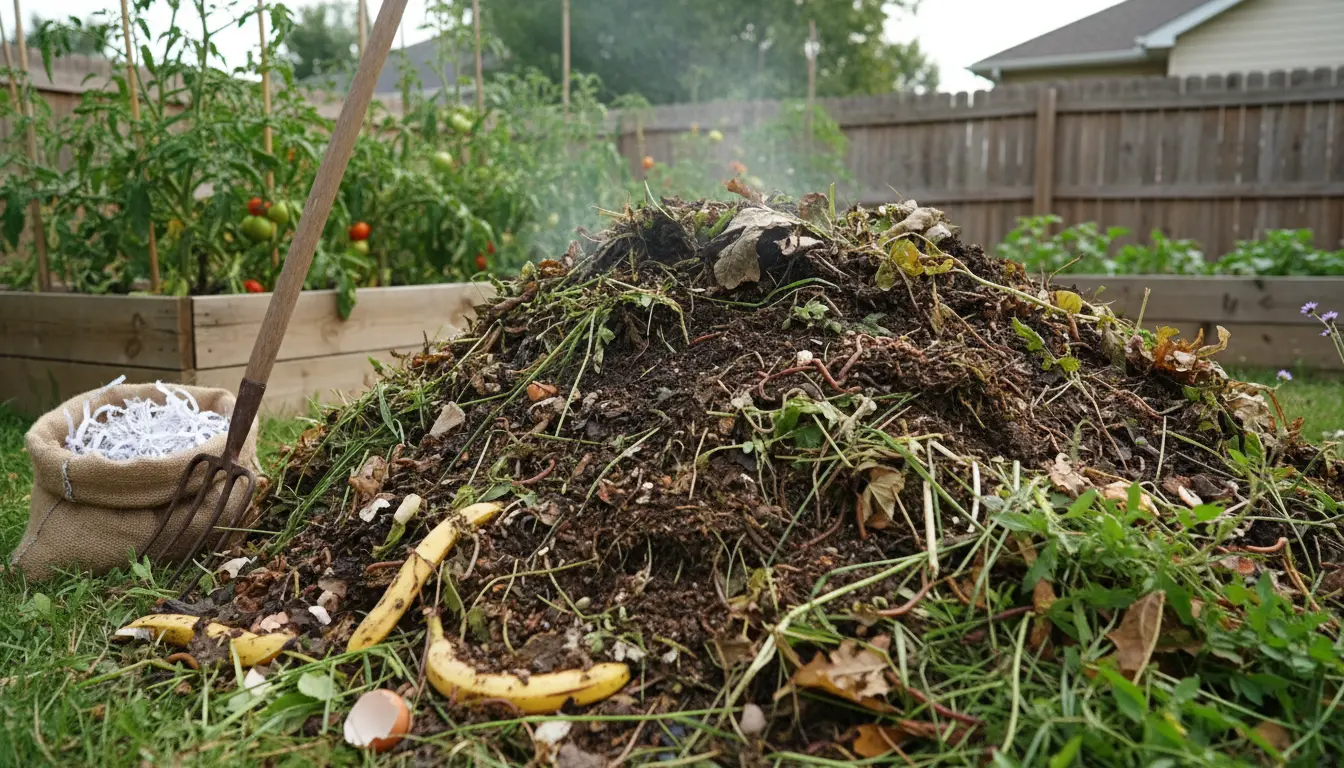
Backyard Compost Pile
A basic pile needs space and occasional turning. It’s low-cost and good for large volumes of yard waste.
Compost Tumblers
Tumblers speed up decomposition and reduce pests. They are more expensive but easier for small spaces.
Vermicomposting (Worm Bins)

Worm bins are ideal for apartment dwellers and produce fast, high-quality compost. They require care for the worms and a balanced diet of food scraps.
Gather Materials: Browns and Greens
Compost needs a balance of carbon-rich “browns” and nitrogen-rich “greens”. Aim for roughly a 30:1 carbon to nitrogen ratio in total mass.
- Browns: dry leaves, straw, shredded paper, cardboard
- Greens: fruit and vegetable scraps, coffee grounds, grass clippings
- Avoid meat, dairy, oily foods, and diseased plants that attract pests or cause odors
Set Up Your Compost Area
Pick a level, well-drained spot with partial shade if possible. If using a bin or tumbler, assemble it following the manufacturer’s instructions.

For a pile, start with a layer of coarse browns to encourage airflow, then alternate greens and browns in 4–6 inch layers.
How to Start Composting at Home: Step-by-Step
- Collect materials in a kitchen pail or compost caddy to reduce trips to the bin.
- Layer materials in the bin: browns, then greens, then a light cover of soil to add microbes.
- Keep the pile moist—like a wrung-out sponge. Water or turn it if it dries out.
- Turn the pile every 1–2 weeks to add oxygen and speed decomposition.
- Monitor temperature. Active piles heat to 120–160°F (49–71°C). Cooling indicates slower decomposition.
Maintenance Tips
Regular turning prevents bad smells and keeps materials breaking down. If you smell ammonia, add more browns. If the pile is dry, add water and greens.
Troubleshooting Common Problems
- Bad Odor: Usually from too many greens or poor aeration. Turn the pile and add dry browns.
- Pests: Avoid meat, dairy, and oily foods. Use a closed bin or bury scraps under a thick layer of browns.
- Slow Decomposition: Increase surface area by shredding or chopping materials and ensure proper moisture and aeration.
How Long Until Compost Is Ready
Time varies by method: a hot, well-managed pile can be ready in 2–3 months. Tumblers often yield compost in 6–8 weeks. Worm bins typically take 2–6 months.
Finished compost is dark, crumbly, and earthy-smelling. Large pieces should be mostly broken down before use.
How to Use Finished Compost
Mix compost into garden soil to improve structure and nutrient content. Use as a top dressing for lawns or potting mix for container plants.
Compost helps retain moisture, supports beneficial microbes, and reduces the need for chemical fertilizers.
Small Real-World Example
Case Study: A suburban family of four started a 3×3-foot backyard compost bin. They added kitchen scraps and shredded leaves, turning weekly. In six months they produced enough compost to top-dress two vegetable beds, which increased tomato yields the following season.
Composting can reduce household waste by up to 30 percent and lower methane emissions from landfills.
Quick Checklist to Start Composting at Home
- Choose a method: pile, tumbler, or worm bin
- Gather browns and greens and a small kitchen caddy
- Keep the pile moist and turn regularly
- Monitor for pests and odors and adjust materials as needed
- Use finished compost in the garden or containers
Final Tips
Start small and be consistent. Composting becomes easier as you learn what balance and rhythm work for your household.
Join local gardening groups or community compost programs if you need advice or want to scale up. A few simple habits can turn waste into a valuable resource for your garden.