
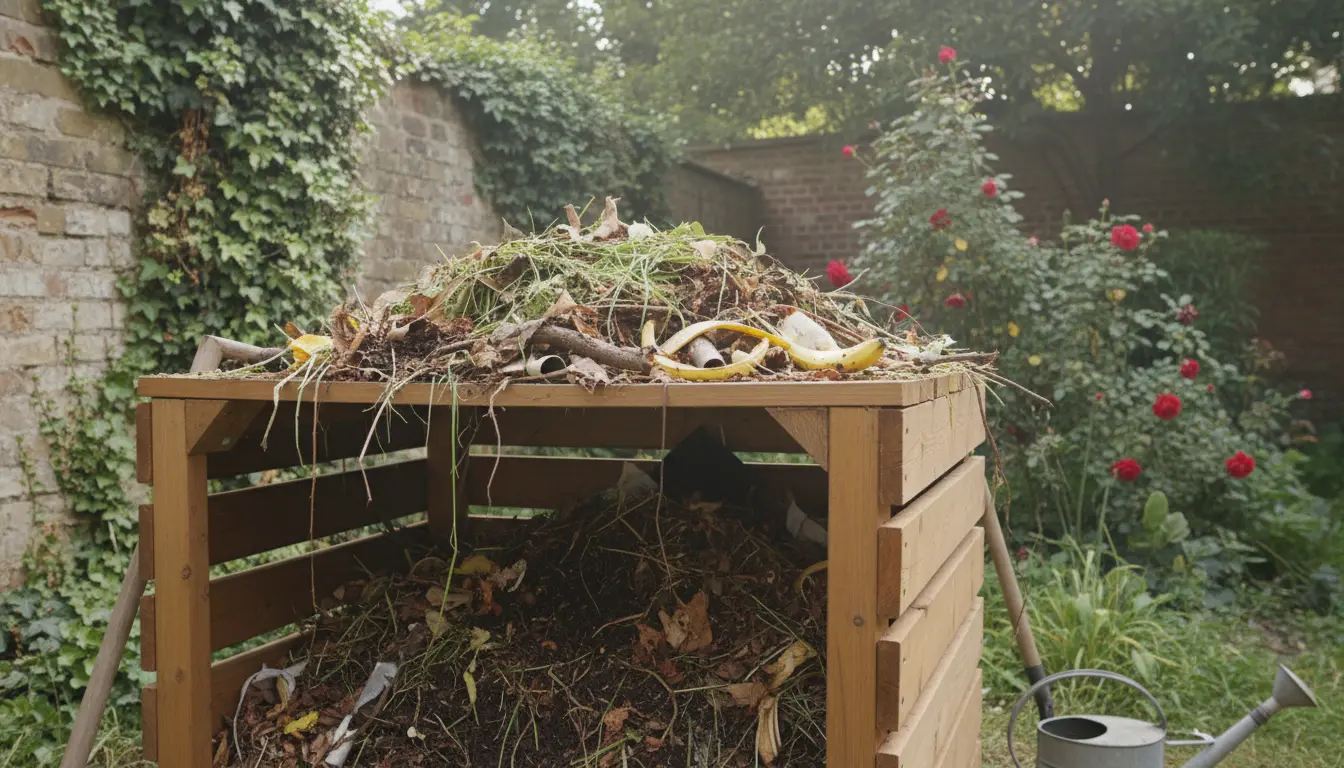
Introduction to home composting
Home composting turns kitchen scraps and yard waste into a valuable soil amendment. It reduces waste, saves money, and improves garden health in a natural way.
This guide explains how to start a compost bin at home with clear, practical steps you can follow today.
Why home composting matters
Composting diverts organic waste from landfills and reduces methane emissions. It also returns nutrients to soil, improving structure and water retention.
For many households, a small compost bin provides enough material to support a garden or potted plants through the year.
Choosing a compost bin for home composting
Picking the right bin depends on space, budget, and how fast you want compost. Options range from simple tumblers to stationary bins and DIY piles.
Types of compost bins
- Tumbler: Easy to turn and relatively neat; best for small spaces and faster results.
- Stationary bin: Simple and inexpensive; good for larger volumes but needs manual turning with a pitchfork.
- Open pile: Low cost and flexible; requires space and more management to avoid pests.
- Worm bin (vermicompost): Great for indoor or balcony use; ideal for kitchen scraps and produces nutrient-rich castings.
What to compost for home composting
Understanding green and brown materials helps keep your compost healthy. Aim for a mix of both to maintain good airflow and moisture.
Green vs brown materials
- Greens: Vegetable scraps, fruit peels, coffee grounds, fresh grass clippings. These add nitrogen.
- Browns: Dry leaves, shredded paper, cardboard, straw. These add carbon and structure.
A simple rule: try to keep a rough carbon to nitrogen ratio close to 30:1. Practically, add about 2–3 parts browns to 1 part greens by volume.
How to start a compost bin step-by-step
Follow these steps to get your first compost pile active. Each step is practical and uses common household materials.
- Choose the bin location: Pick a shady, well-drained spot near water and your garden for easy use.
- Prepare a base: Add a 4–6 inch layer of coarse brown material like twigs or straw to help airflow.
- Add materials in layers: Alternate thin layers of greens and browns. Avoid large continuous layers of one type.
- Keep it moist: Aim for damp sponge consistency. Water occasionally during dry spells but avoid waterlogging.
- Turn regularly: Aerate the pile every 1–2 weeks to speed decomposition. Tumblers make this easier.
- Monitor temperature: A healthy pile heats to 120–140°F (50–60°C) in the center. If it cools, turn and add greens to reactivate.
- Harvest finished compost: After a few months to a year, compost will be dark, crumbly, and smell earthy. Use it in beds, pots, or as mulch.
Common problems and fixes for home composting
Compost can stall or smell if not balanced. Most issues are easy to correct with simple adjustments.
- Bad odor: Add browns and turn the pile. Odors usually mean too much moisture or nitrogen.
- Pests: Avoid adding meat, dairy, or oily foods. Use a closed bin or bury kitchen scraps in the center of the pile.
- Slow breakdown: Chop materials smaller, add water if dry, and turn to add oxygen.
- Pile too dry: Water and add some greens to reintroduce moisture and microbes.
Tips to speed up home composting
Small changes can significantly reduce compost time. Focus on surface area, moisture, and aeration.
- Chop or shred materials before adding them.
- Keep layers thin so microbes can access materials evenly.
- Use a compost activator like finished compost or garden soil to introduce microbes.
- Turn more frequently during warmer months to maintain heat and oxygen.
Adding coffee grounds to your compost can improve nitrogen levels and help balance high-carbon materials like dry leaves and straw.
Small real-world example
Case study: A two-person household in a suburban rowhouse started a 50-gallon tumbler. They collected kitchen scraps in a counter pail and added shredded cardboard from packages as browns.
By turning the tumbler twice a week and keeping moisture steady, they produced usable compost in about four months. The compost reduced the need for purchased potting mix and improved the vegetable bed yield the next season.
Practical checklist for starting your home composting
- Choose a bin type and spot
- Gather basic tools: garden fork, watering can, a shredder or pruners
- Collect browns and greens separately
- Start with a base layer for airflow
- Monitor moisture and turn regularly
Final thoughts on home composting
Home composting is low-cost and adaptable to many living situations. With simple maintenance, most households can turn everyday scraps into a useful soil amendment.
Start small, observe the process, and adjust layers and turning frequency for the best results. Composting is a hands-on way to reduce waste and support a healthier garden.