
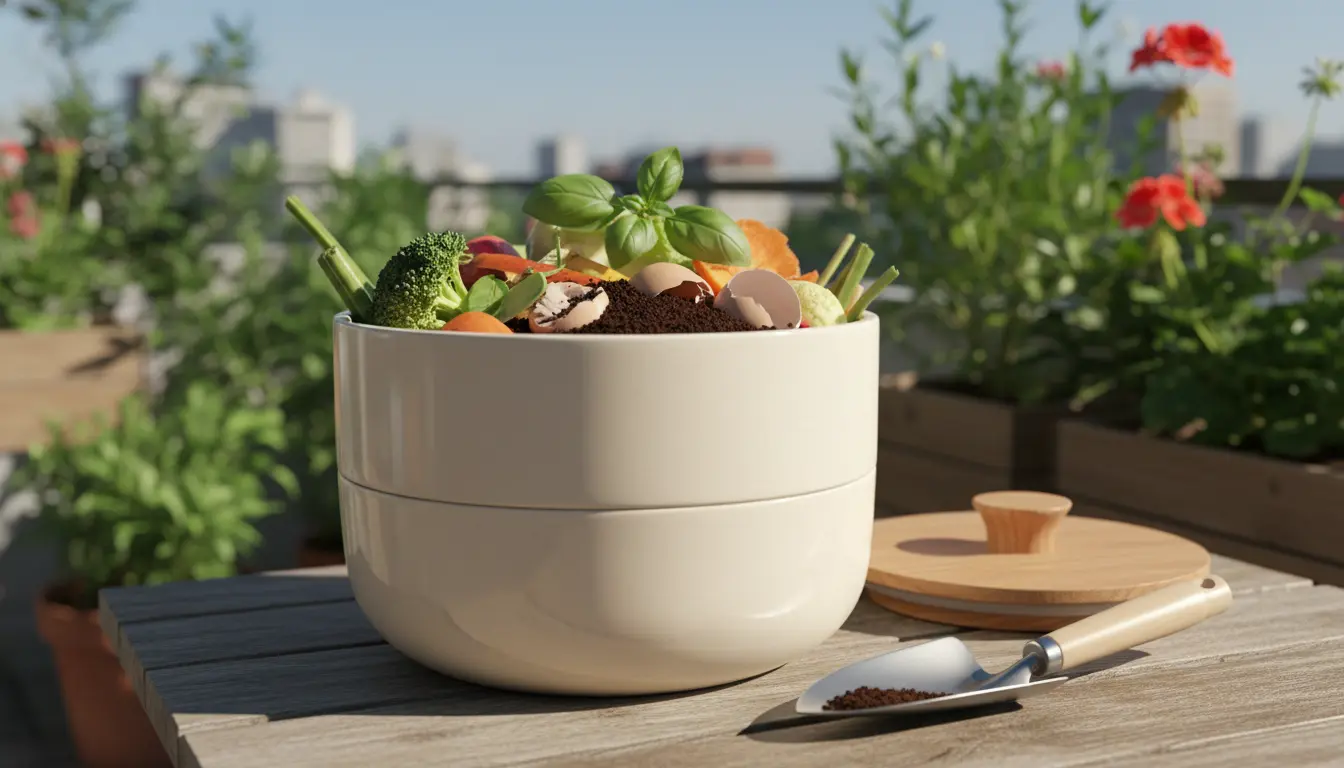
Why Home Composting Matters
Home composting turns kitchen and yard waste into a useful soil amendment. Compost reduces landfill waste and improves soil structure, water retention, and plant health.
Composting is practical for homeowners and apartment dwellers. A simple system can produce nutrient-rich compost in months, not years.
How to Start Home Composting
Starting home composting requires a bin, the right mix of materials, and basic maintenance. Follow the steps below to set up an efficient system.
1. Choose a Compost Bin
Select a bin that fits your space and volume of waste. Options include tumblers, stationary bins, and homemade wire or wooden enclosures.
- Tumbler: Faster turning, good for small yards.
- Stationary bin: Low cost and low maintenance.
- Indoor bokashi or worm bin: Best for apartments and kitchens.
2. Gather the Right Materials (Home Composting Basics)
Balance “greens” (nitrogen) and “browns” (carbon) for effective decomposition. Aim for a rough 1:2 or 1:3 ratio by volume of greens to browns.
- Greens: Vegetable scraps, coffee grounds, fresh grass clippings.
- Browns: Dry leaves, shredded paper, cardboard, straw.
- Avoid: Meat, dairy, oils, diseased plants, and pet waste from carnivores.
3. Layering and Moisture
Start with a layer of coarse browns for air flow, then alternate greens and browns. Keep the pile as damp as a wrung-out sponge.
Turn or aerate the pile every 1–2 weeks to speed decomposition and prevent odors.
Managing Your Compost Pile
Monitoring temperature, moisture, and texture helps you know how the compost is progressing. Active piles heat up; slow piles stay cool.
Temperature and Turning
For hot composting, internal temperatures reach 130–150°F (55–65°C). Turn frequently to maintain heat and oxygen. For cold composting, turn less often but expect a longer timeline.
Troubleshooting Common Problems
- Bad smell: Add more browns and increase turning.
- Pile too dry: Add water and fresh greens.
- Pile too wet and compacted: Add coarse browns and aerate.
- Pests: Avoid meat and oily foods. Use enclosed bins or secure lids.
Composting one household can return 200–400 pounds of compostable material to the soil each year, cutting landfill waste and feeding gardens naturally.
Special Techniques for Small Spaces
Apartment dwellers can compost successfully with compact systems. Bokashi bins ferment scraps anaerobically, while worm bins (vermicompost) use worms to convert waste quickly.
Place small bins under the sink or on a balcony. Rotate batches so there is always an active container and a curing pile.
Vermicomposting Tips
- Use red wigglers (Eisenia fetida) for best results.
- Keep bedding moist and add small amounts of food to avoid odors.
- Harvest worm castings every 2–3 months for potting mixes.
Using Finished Compost
Finished compost is dark, crumbly, and earthy smelling. Use it as a top dressing, soil amendment, or mix it into potting soil.
- Garden beds: Mix 1–3 inches into topsoil.
- Lawns: Spread a thin layer and water lightly.
- Container plants: Blend 20–30% compost into potting mix.
Real-World Example: A Small Balcony Case Study
Maria, a city apartment resident, started vermicomposting in a 10-liter bin on her balcony. She collected kitchen scraps and shredded paper, feeding the bin twice weekly.
After four months, Maria produced enough castings to refresh her container tomato plants. She reduced her weekly trash by nearly half and improved her balcony soil structure.
Quick Checklist to Begin Home Composting
- Choose a bin type that fits your space.
- Collect greens and browns; avoid banned items.
- Maintain moisture and turn regularly.
- Monitor for pests and odors and adjust accordingly.
- Harvest and use finished compost in your garden or containers.
Final Tips for Successful Home Composting
Start small and expand as you learn. Keep notes on what works for your climate and materials.
Composting is a low-cost, high-impact practice anyone can adopt. With basic care, your home composting system will produce valuable soil amendment and reduce household waste.