
Home composting turns kitchen scraps and yard waste into a nutrient-rich soil amendment. This guide explains practical steps to start, maintain, and use compost at home with minimal equipment.
What Is Home Composting and Why It Matters
Home composting is the controlled decomposition of organic materials where you live. It reduces waste, lowers landfill methane, and improves soil health for gardens and potted plants.
Compost returns nutrients to the soil, retains moisture, and supports beneficial microbes and earthworms. Anyone with a backyard, balcony, or even a small kitchen can compost if they choose the right method.
Benefits of Home Composting
- Less household waste and lower trash costs.
- Improved soil structure and plant growth.
- Reduced need for chemical fertilizers.
- Better moisture retention in garden beds.
How to Start Home Composting
Starting home composting begins with selecting a spot and choosing a container. Even small spaces can host a compost system suited to your needs.
Basic Supplies for Home Composting
- A bin, tumbler, or worm farm (vermicomposter).
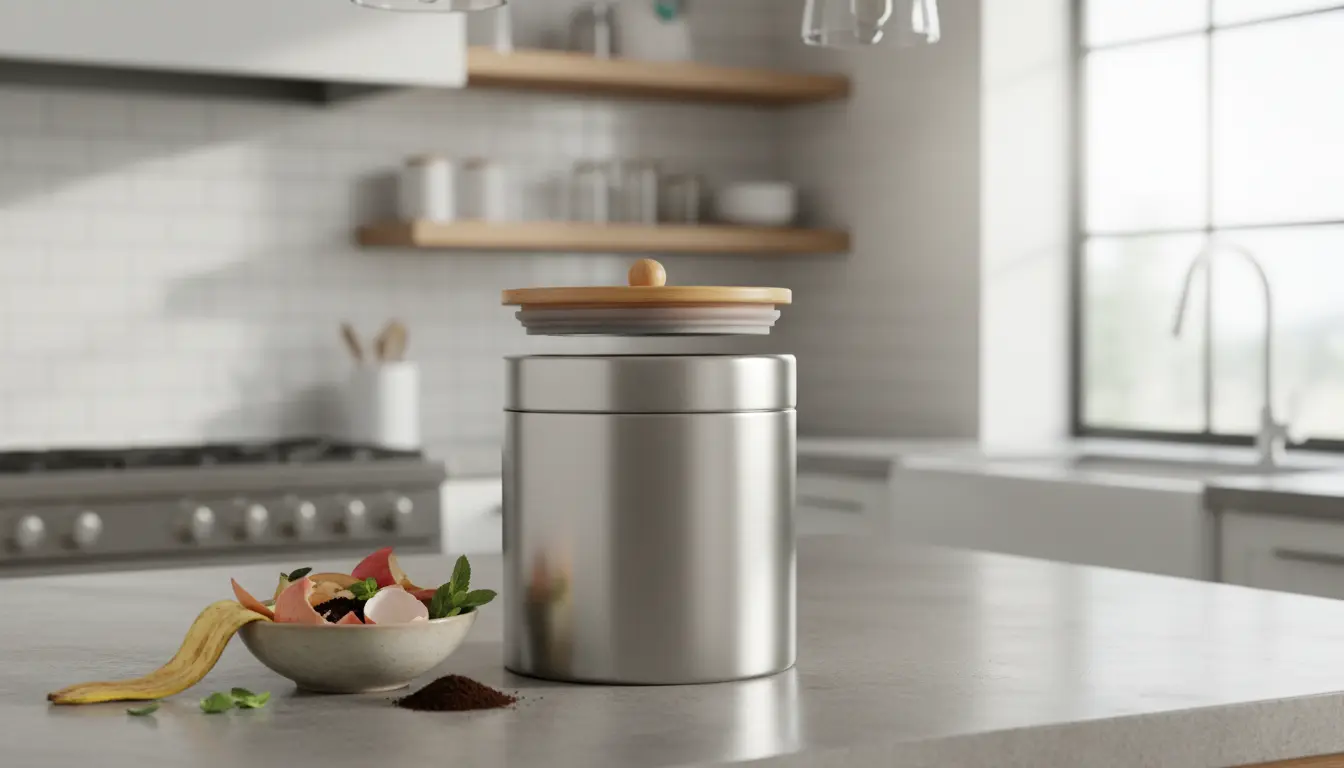
- Kitchen container for scraps (with a lid).
- Brown materials like dry leaves, paper, or cardboard.
- Green materials like fruit and vegetable scraps, coffee grounds, and grass clippings.
Step-by-Step Start
- Place your bin on soil or a stable surface to allow drainage and access for organisms.
- Begin with a layer of coarse browns (twigs or straw) to encourage airflow.
- Add alternating layers of greens and browns; aim for roughly a 2:1 ratio of browns to greens by volume.
- Keep the pile moist like a wrung-out sponge and turn or mix periodically.
Choosing a Home Composting Method
Different methods suit different living situations. Choose one based on space, effort, and the type of waste you generate.
Common Methods
- Open bin: Simple and low-cost, good for yards with space.
- Tumbler: Easier to turn and faster composting, needs regular rotation.
- Vermicomposting: Uses worms in a contained bin; ideal for apartments and kitchen scraps.
Maintaining Your Home Compost
Maintenance focuses on balance, moisture, and aeration. Check the pile weekly in the first few months.
Key Maintenance Tasks
- Turn or mix the compost every 1–2 weeks to add oxygen.
- Monitor moisture: too dry slows decomposition; too wet causes odors.
- Add browns if the pile is slimy or smells; add greens if decomposition is very slow.
Troubleshooting Common Problems
- Bad smell: Add dry browns and turn the pile to increase air flow.
- Fruit flies: Bury fruit scraps under a layer of browns or use a closed bin.
- Pests: Avoid adding meat, dairy, or oily foods; use a secure bin if rodents are a concern.
Using Finished Compost
Finished compost looks dark and crumbly with an earthy smell. It is ready when original materials are no longer recognizable.
Use it as a soil amendment, top dressing, or potting mix ingredient. Mix 10–30% compost into garden soil for improved fertility and structure.
Practical Uses
- Vegetable beds: mix 1–2 inches of compost into the topsoil before planting.
- Potted plants: blend one part compost with two parts potting mix to add nutrients.
- Lawn care: top-dress with a thin layer to improve soil and reduce the need for fertilizer.
Small Real-World Example
Case Study: A small urban household started home composting in a 50-liter kitchen caddy and a 100-liter outdoor bin. They separated coffee grounds, vegetable peels, and paper towels into the caddy, emptying it into the outdoor bin twice weekly.
After four months of regular turning and adding dry leaves, they produced about 30 liters of finished compost. They mixed this into balcony planters and reported healthier tomato plants and reduced store-bought fertilizer use.
Quick Checklist for Home Composting
- Select a method that matches your space and commitment.
- Balance greens and browns and monitor moisture.
- Turn the pile for oxygen and faster breakdown.
- Use finished compost to enrich soil and reduce waste.
Home composting is a practical way to cut waste and support plant health. Start small, observe the process, and adjust as you learn what works best in your home.