
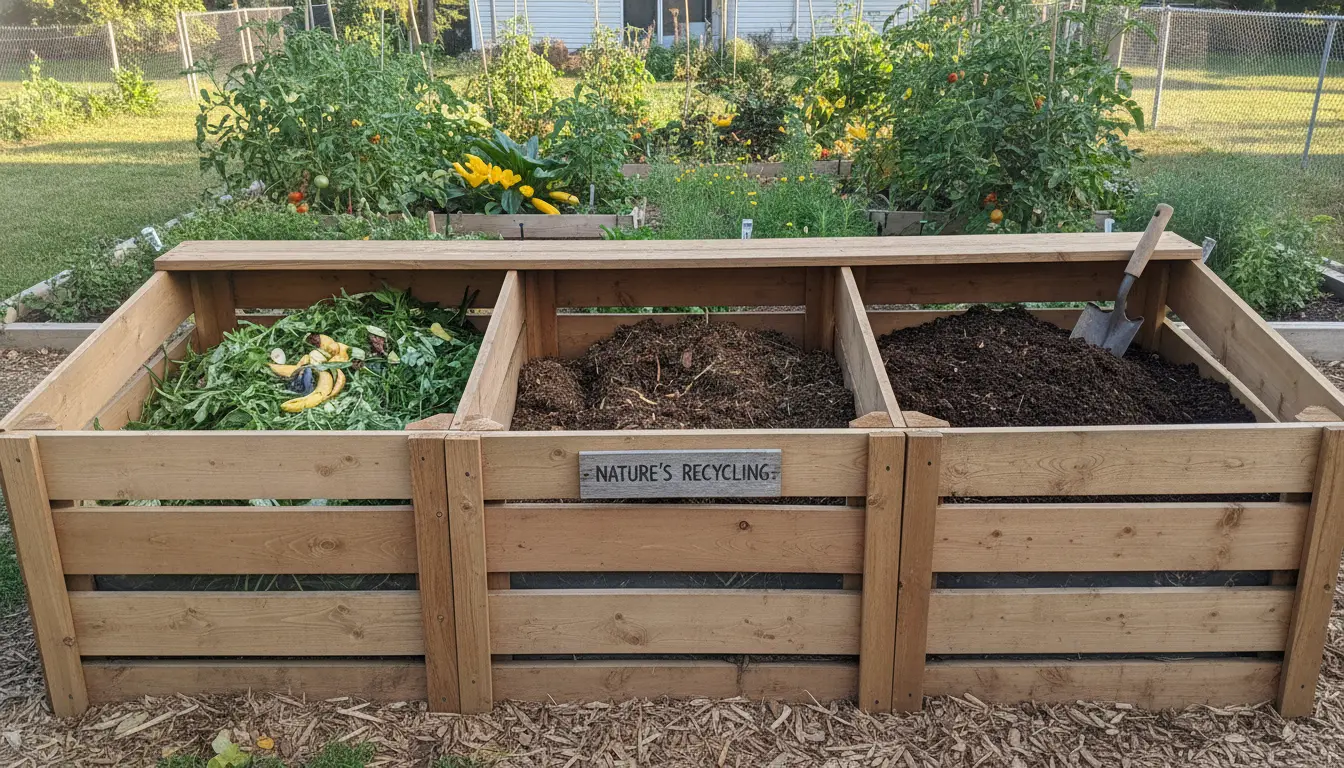
Why home composting matters
Home composting turns kitchen scraps and yard waste into a nutrient-rich soil amendment. It reduces landfill waste and improves garden health with minimal cost.
This guide explains simple methods, common problems, and practical tips you can use right away.
Basic principles of home composting
Compost is a living process where microorganisms break down organic material into stable humus. To keep that process active, balance three main factors: carbon, nitrogen, and airflow.
Think of carbon as the structural materials and nitrogen as the food. Too much of one or the other slows decomposition.
Key composting ingredients
- Carbon (brown): dry leaves, straw, cardboard, paper
- Nitrogen (green): vegetable scraps, coffee grounds, fresh grass clippings
- Water: keeps microbes active but avoid waterlogging
- Air: turning or aeration prevents stink and speeds composting
Simple home composting methods
Choose a method that fits your space and time. Each method uses the same ingredients but differs in management and speed.
Open pile or bin
Best for yards with space. Layer browns and greens, then leave the pile to mature. Turn every 2–4 weeks to speed breakdown.
Tumbler composting
Tumblers make turning easy and contain compost neatly. They work well for small yards or patios and speed up the process slightly.
Vermicomposting (worms)
Worm bins are ideal for apartments and kitchens. Red wigglers eat food scraps and produce high-quality castings. Keep the bin in a shaded, moderate-temperature spot.
How to build and maintain a healthy compost
Follow these steps to create and manage an effective compost pile or bin.
- Choose a spot with partial shade and good drainage.
- Start with a layer of coarse browns (twigs, straw) for airflow.
- Add alternating layers of greens and browns, aiming for a rough 2:1 ratio by volume of browns to greens.
- Keep the pile moist like a wrung-out sponge.
- Turn or mix the pile every 2–4 weeks to add oxygen.
- Monitor temperature—active piles warm to 120–150°F (50–65°C); cooler piles still compost but slower.
How long does home composting take?
Timeline depends on method and management. Warm, turned piles can produce usable compost in 2–3 months. Cold piles or unturned systems take 6–12 months.
Troubleshooting common compost problems
Many issues come down to balance or moisture. Identify the symptom and use the simple fixes below.
- Bad smell: Add more browns and turn to introduce air.
- Too dry: Add water and some greens; mix to distribute moisture.
- Pile not heating: Add more greens, increase size, and turn to activate microbes.
- Fruit flies: Bury food scraps deeper or cover with a layer of browns.
Materials to avoid in home composting
Some items attract pests or break down slowly. Keep these out of your home compost pile.
- Meat, dairy, and oily foods (use municipal collection or bokashi system if needed)
- Diseased plants or weeds with viable seeds
- Pet feces (risk of pathogens)
- Coal ash or synthetic chemicals
Using finished compost
Finished compost is dark, crumbly, and earthy-smelling. Use it to improve soil structure and fertility.
Top-dress lawns, mix into potting soil, or incorporate into garden beds. A thin layer (1–3 inches) helps retain moisture and feed plants.
Small real-world example
Case study: An urban family of four started a 55-gallon tumbler and a small worm bin two years ago. They diverted roughly 40% of their weekly waste from the trash to compost.
They used finished compost in balcony planters and one raised bed. After one season, vegetable yields improved and watering needs decreased, saving time and money.
Composting reduces household waste volume by up to 50 percent and can lower methane emissions from landfills.
Quick tips to get started with home composting
- Begin small: one bin or a single tumbler is enough to learn basics.
- Chop kitchen scraps to speed decomposition.
- Keep a brown materials stash (dry leaves, shredded paper) ready.
- Monitor moisture and mix weekly when possible.
- Label bins and keep records of what works in your climate.
Final checklist for home composting success
- Balance greens and browns
- Maintain moisture like a damp sponge
- Turn or aerate regularly
- Avoid prohibited materials
- Be patient—composting is a natural process
Home composting is practical and scalable. Start with one method, learn by doing, and expand as you gain confidence. The result is healthier soil, less waste, and a more sustainable home.