
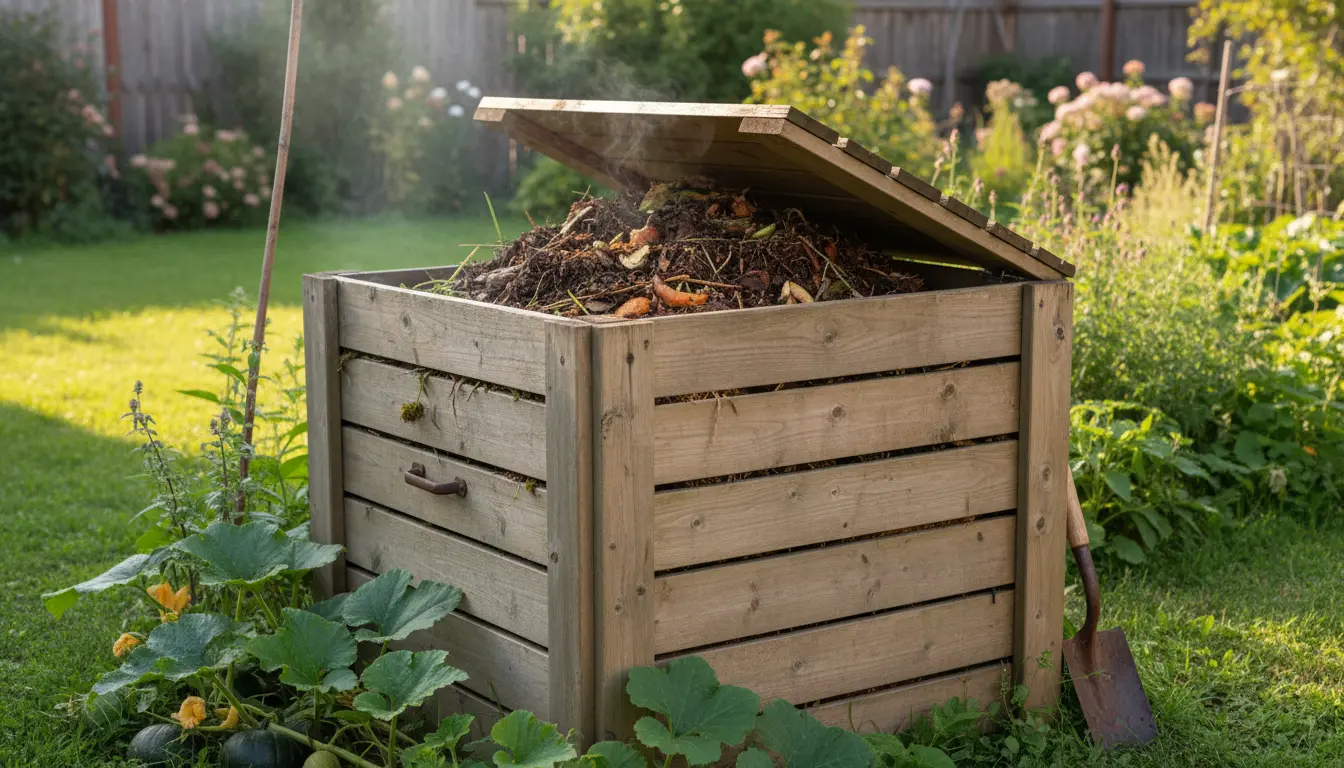
Why Home Composting Matters
Home composting turns kitchen and yard waste into useful soil amendment while cutting household garbage. It reduces landfill waste and returns nutrients to your garden, saving money on fertilizers.
For beginners, composting can seem technical, but basic rules and a bit of routine produce reliable results. This guide focuses on practical steps you can follow today.
Home Composting Basics
At its core, composting is controlled decomposition. Microorganisms break down organic matter into humus when given the right mix of ingredients, moisture, and air.
Key components are carbon-rich browns, nitrogen-rich greens, water, and oxygen. Balance these consistently to avoid odors and speed decomposition.
What to Add: Browns and Greens
- Browns (carbon): dry leaves, shredded paper, cardboard, straw.
- Greens (nitrogen): vegetable scraps, coffee grounds, fresh grass clippings.
- Avoid: meat, dairy, oily foods, diseased plants, and pet waste.
Choosing a Compost Bin
Pick a container that fits your space and amount of waste. Options include enclosed tumblers, stationary bins, or a simple backyard pile.
For small households, a 50–100 gallon bin or a tumbler is usually sufficient. Apartment dwellers can use a worm bin (vermicompost) under a sink or on a balcony.
Step-by-Step: How to Start Home Composting
Follow these simple steps to begin composting at home. Keep actions small and repeatable for best results.
1. Pick a Location
Choose a well-drained spot with some shade. Accessibility matters — place the bin where you’ll routinely deposit kitchen scraps.
2. Build the Base Layer
Start with coarse material such as small branches or straw to promote airflow. This helps prevent compacting and improves oxygen flow.
3. Add Material in Layers
Alternate a few inches of greens with thicker layers of browns. A typical layering sequence is 2 parts browns to 1 part greens by volume.
4. Maintain Moisture and Air
Compost should feel like a wrung-out sponge — damp but not dripping. Turn the pile every 1–2 weeks using a pitchfork or by rotating a tumbler.
5. Monitor Temperature
A well-balanced pile heats to 120–160°F (50–70°C) in the active phase. That heat speeds decomposition and kills many pathogens and weed seeds.
If the pile is cool and not breaking down, add more greens and turn more often to reintroduce oxygen.
Troubleshooting Common Problems
Even simple compost systems run into issues. Here are common problems and practical fixes.
- Bad smells: Usually from too much wet greens or inadequate air. Add browns and turn the pile.
- Pests: Avoid open food scraps; bury kitchen waste and use closed bins or secure lids.
- Too dry: Water the pile lightly and cover with a tarp during heat waves.
- Pile not heating: Increase pile size, add more greens, and turn to add oxygen.
Simple Composting Methods for Different Homes
Choose a method based on space, time, and how much waste you produce. Each method has trade-offs in maintenance and speed.
- Backyard bin: Low cost, moderate effort, good for larger volumes.
- Tumbler: Faster turning, cleaner, slightly more expensive.
- Vermicompost (worms): Ideal for apartments, produces rich castings, requires temperature control.
Composting a ton of food waste can save roughly 0.5 to 1 ton of CO2 equivalent emissions from going to landfill, where food would otherwise produce methane.
Real-World Example: A Small Home Case Study
Case study: A two-person household in a suburban town switched to a 60-gallon tumbler. They added kitchen scraps and mixed yard waste, aiming for a 2:1 browns-to-greens ratio.
Within three months, they produced finished compost for their vegetable boxes. Regular turning every seven days resolved odor issues, and coffee grounds improved nitrogen balance.
The family reduced their trash bin volume by nearly half and reported healthier plants after adding a few inches of compost to soil each season.
Using Finished Compost
Finished compost looks dark, crumbly, and earthy-smelling. It should no longer resemble the original materials and can be used immediately or stored.
Use finished compost as a top dressing, mix into potting soil, or incorporate into garden beds to improve structure and nutrient content.
Quick Checklist to Start Today
- Choose a bin type that fits your space.
- Collect kitchen scraps in a small countertop container.
- Keep a supply of dry browns handy (shredded paper, leaves).
- Layer materials, maintain moisture, and turn regularly.
- Use finished compost in your garden or potted plants.
Home composting is a manageable, practical step toward sustainability. Start small, observe your system, and adjust the mix and turning schedule to match your local climate and waste production.
With a little routine, you’ll divert waste, enrich soil, and enjoy the benefits of home-produced compost.