
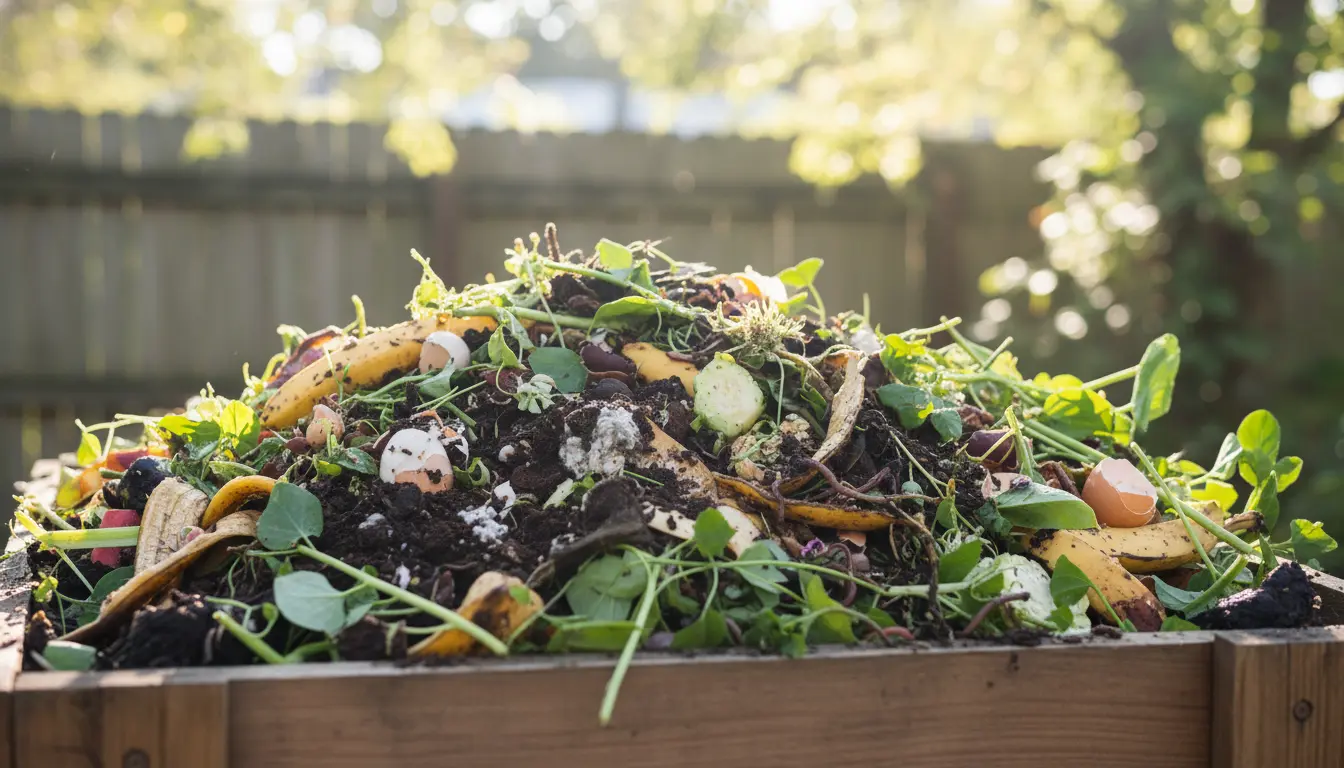
What Is Home Composting and Why It Matters
Home composting is the controlled decomposition of organic kitchen and yard waste into nutrient-rich material for gardens. It reduces household waste, lowers methane emissions from landfills, and creates free soil conditioner.
This guide explains simple, practical steps for beginners to set up and maintain a compost system that fits small yards, balconies, or community gardens.
Choosing a Compost System
Selecting the right compost system depends on space, time, and how much waste you produce. Common options include backyard piles, enclosed bins, tumblers, and worm bins (vermicomposting).
- Backyard pile: Low-cost and flexible but needs space and basic turning.
- Enclosed bin: Neater and reduces pests, good for suburban yards.
- Tumbler: Faster mixing and easier turning, ideal for small yards.
- Worm bin: Best for indoor or balcony composting of kitchen scraps.
Key Principles: Greens, Browns, Air, and Moisture
Good compost requires a balance of nitrogen-rich “greens” and carbon-rich “browns”, plus oxygen and the right moisture level. Aim for a crumbly, moist texture similar to a wrung-out sponge.
Greens (Nitrogen)
Include fresh kitchen scraps, coffee grounds, tea leaves, and grass clippings. These provide nitrogen to feed microbes that break down material.
Browns (Carbon)
Add dried leaves, torn cardboard, shredded paper, straw, and wood chips. Browns provide structure and slow decomposition so the pile doesn’t smell.
Air and Turning
Oxygen is essential. Turn a backyard pile or spin a tumbler every 1–2 weeks to introduce air and accelerate decomposition.
Moisture
Keep the pile moist but not waterlogged. If it is too dry, decomposition slows. If too wet, it becomes anaerobic and smelly.
Step-by-Step Setup for Beginners
- Pick a location: Shaded, level ground near a water source for easy maintenance.
- Choose a container: Use a bin or make a simple 3-sided pallet bin for airflow.
- Start layering: Begin with coarse browns for drainage, then alternate greens and browns.
- Monitor: Check moisture and temperature weekly; turn or mix as needed.
- Harvest: Finished compost is dark, crumbly, and earthy-smelling; harvest after 3–12 months depending on method.
Troubleshooting Common Problems
New composter questions are normal. Here are quick fixes for typical issues.
- Bad odors: Add more browns and turn the pile to reintroduce air.
- Pests: Bury food scraps under browns or use an enclosed bin; avoid meat, dairy, and oily foods.
- Slow decomposition: Chop materials smaller, increase greens for nitrogen, and keep moist and warm.
- Too wet: Add dry browns and mix to improve aeration.
Speeding Up Composting
If you want finished compost sooner, follow these methods to accelerate the process.
- Shred or chop larger items to increase surface area.
- Maintain a 25–30:1 carbon-to-nitrogen ratio where possible.
- Use a compost starter or a shovel of finished compost to introduce microbes.
- Keep the pile between 120–150°F (49–66°C) for hot composting, turning frequently.
Composting one household can divert up to one ton of organic waste from landfills each year, depending on household size and habits.
What You Can and Cannot Compost
Knowing acceptable materials prevents problems and speeds results. Here’s a quick reference.
- Good: Fruit and vegetable scraps, coffee grounds, eggshells, grass clippings, dry leaves, shredded paper.
- Use with caution: Citrus peels and onions in small amounts; chop to speed breakdown.
- Avoid: Meat, dairy, bones, oils, diseased plants, and pet waste from carnivores.
Case Study: Small Garden, Big Result
Emma lives in a small suburban house with a half-size backyard. She started with a 40-gallon tumbler and a mix of kitchen scraps and yard waste. Within six months, she produced rich compost and used it in vegetable beds.
Results: Healthier tomato plants, reduced grocery spending on fertilizer, and fewer kitchen bags to the curb. She averaged turning the tumbler twice a week and added a 2:1 ratio of browns to greens.
How to Use Finished Compost
Apply finished compost as a top dressing, mix into potting soil, or blend into garden beds. Use a 1–3 inch layer on top of soil or mix 10–25% compost into potting mixes.
Quick Tips for Long-Term Success
- Keep a small indoor container with a lid to collect kitchen scraps between trips outside.
- Chop materials and keep consistent layers to avoid imbalances.
- Record what you add and how often you turn to learn what works best for your climate.
- Join local composting groups or swap tips for regional advice on pests and materials.
Final Thoughts on Home Composting for Beginners
Home composting is a practical, low-cost way to reduce waste and improve soil health. Start small, monitor conditions, and adjust the greens-to-browns balance as you learn.
With basic practices and regular attention, beginners can produce usable compost in a few months and enjoy the environmental and gardening benefits.